Showing posts with label Adhesive. Show all posts

Wednesday, March 1, 2017

You Are Loved Card


Hello Crafty Friends!! If you follow me regularly, you know that I am an avid cardmaker. In fact, cardmaking is how I got into paper crafting to begin with. 

So, when Xyron said our first project was a cardmaking one, I squealed like a little pig. Seriously.

But I wanted to try a little something different... 
I came up with this three dimensional die cut overlay, layered over foil cardstock.


Supplies Used
Peri & Peach Stack (DCWV)
Tim Holtz Alterations- Mixed Media Set #2 (Sizzix)
Tim Holtz Distress Inks- Weathered Wood, Walnut (Ranger)
Tim Holtz Ideaology- Word Bands (Advantus Corp)
Mega Runner (Xyron)
Engraver Brads (Prima Marketing)
Engraver Roses (Prima Marketing)
Craft Foam Sheets
Gears- Found Object (Bead Landing)
Clear Liquid Adhesive
Mini Brads (Recollections)
Heart Lock (Michael's)

 I wanted my overlay to look as if it leapt of the card. In order to do that, I need a thicker material to cut out my overlay. Since most thin metal dies don't cut out thick and dense materials, I opted to use a sheet of craft foam. It adds the thickness I'm looking for without the having to cut through a dense material or unnecessary weight.

I started by first running a piece of foam through my Xyron Creative Station Lite. I peeled off the protective layer, flipped it over, and ran it back through my machine again.

Now, I have a very die-cut friendly piece of material that is also self adhesive.
Then, I used very pretty flourish die, from Tim Holtz's Mixed Media dies, to cut out this pretty pattern. You may wanna crank it through a few times to make sure it cut thoroughly through.

I peeled off the protective liner and immediately attached the overlay onto a sheet of blue foil cardstock.

The foil shining through the cutout image catches the light like you would not believe... It's absolutely gorgeous!
 To add even more depth, I used my mini blending tool and applied Distress Ink around the cutout image and along the edges. I started with Weathered Wood and then added Walnut.


Then,  I tied crinkled silk seam binding along the left side of the card. 

I tied the heart charm in place onto the silk ribbon bow.


I used my Xyron Sticker Maker to add adhesive to the back of my gear embellishments, then attached them to my card front.

For the thicker and bulky pieces (like the flower and the sentiment band), to simply adhered them using a clear liquid glue.


And here is my finished card... 

I absolutely love how the blue foil shines through the cutout areas. 
It immediately draws your attention to it.

Well, that's my project for today! 

I hope that it inspires you to create your own foiled dimension die cut overlay!!

Until next time...
Happy Crafting Everyone!!

~Mitsy

Thursday, December 22, 2016

Candy Cane Caddy

Happy Holidays Crafty Friends!
I am super excited to be guest designing for Eileen Hull Designs today!!
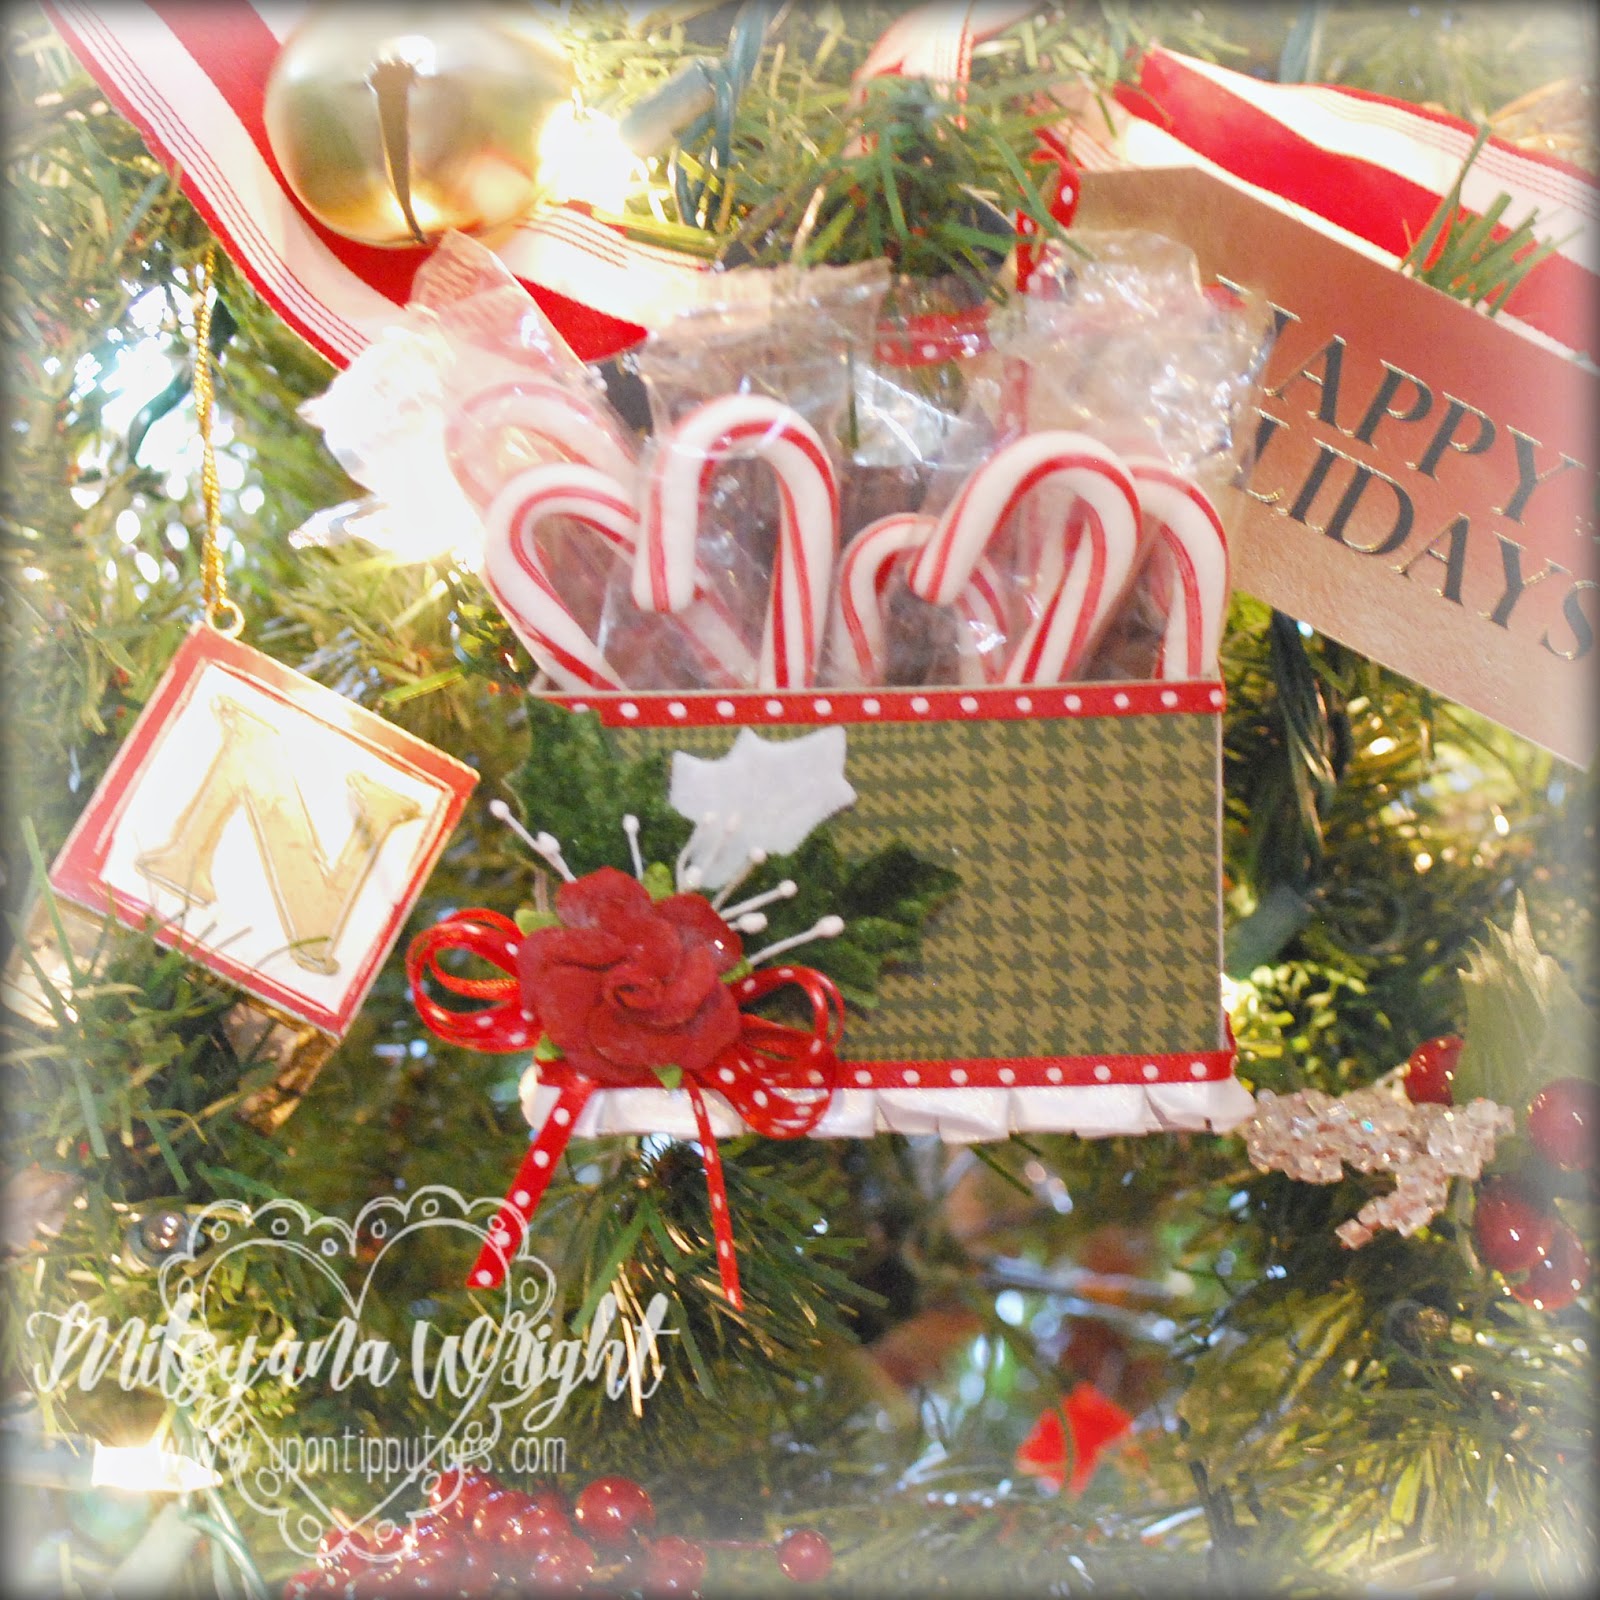
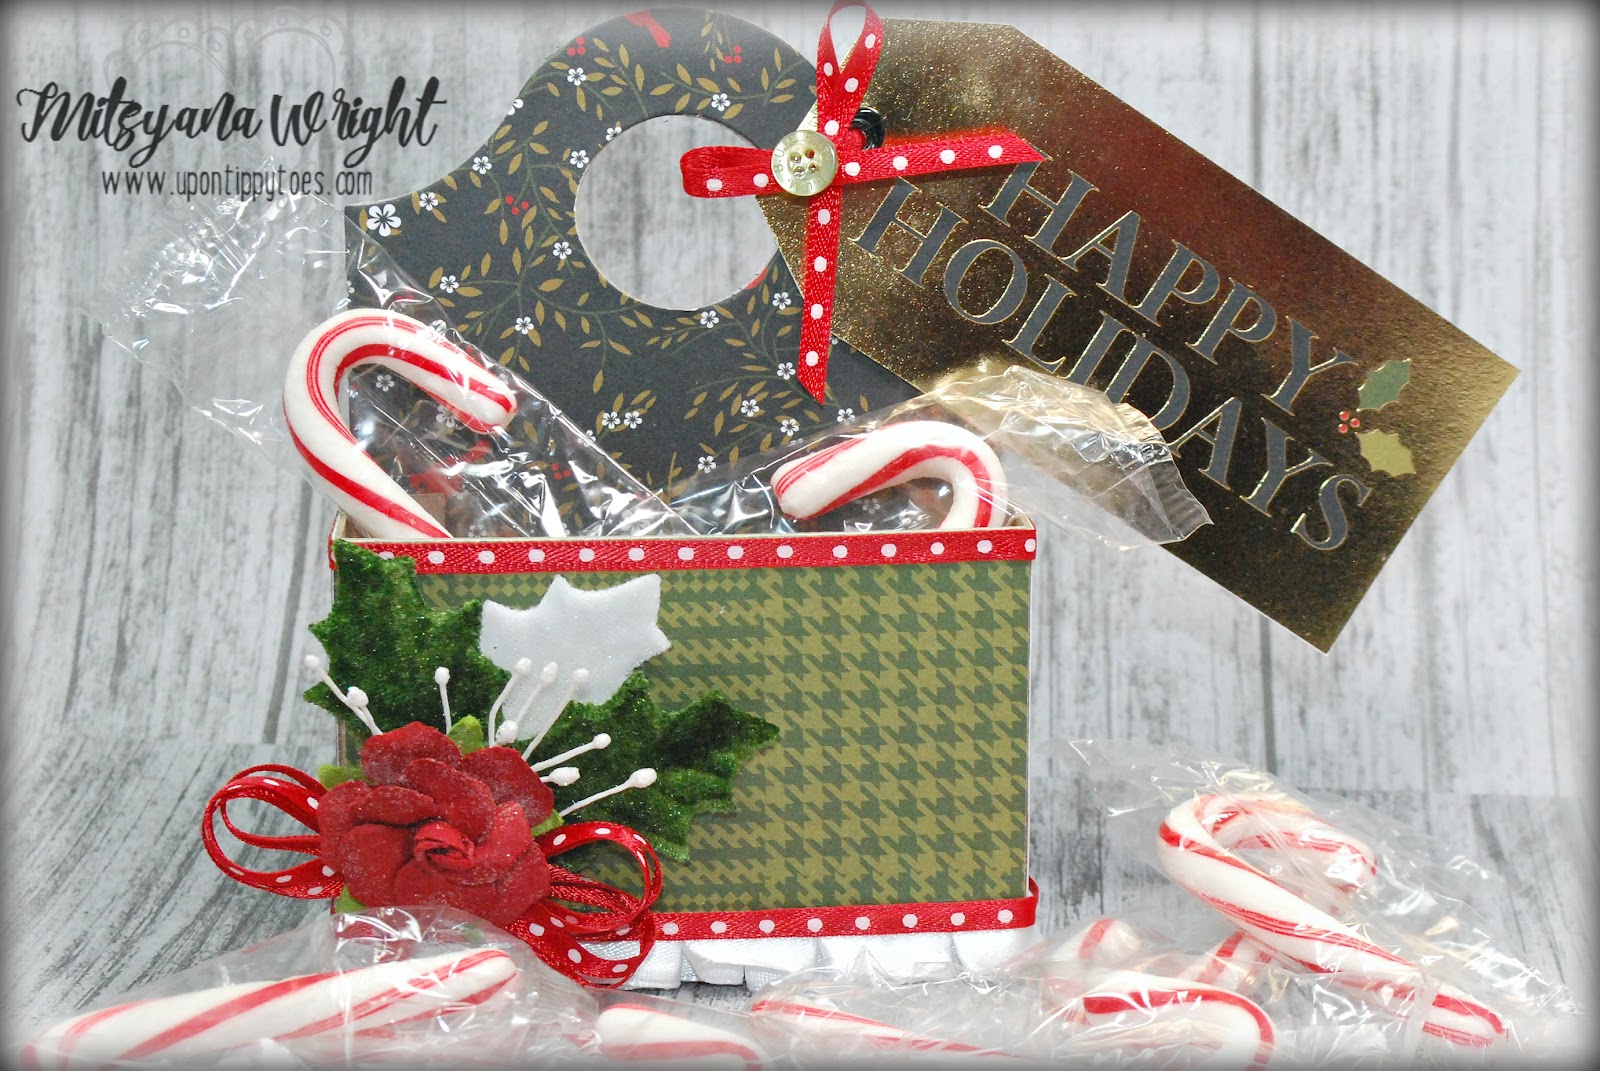
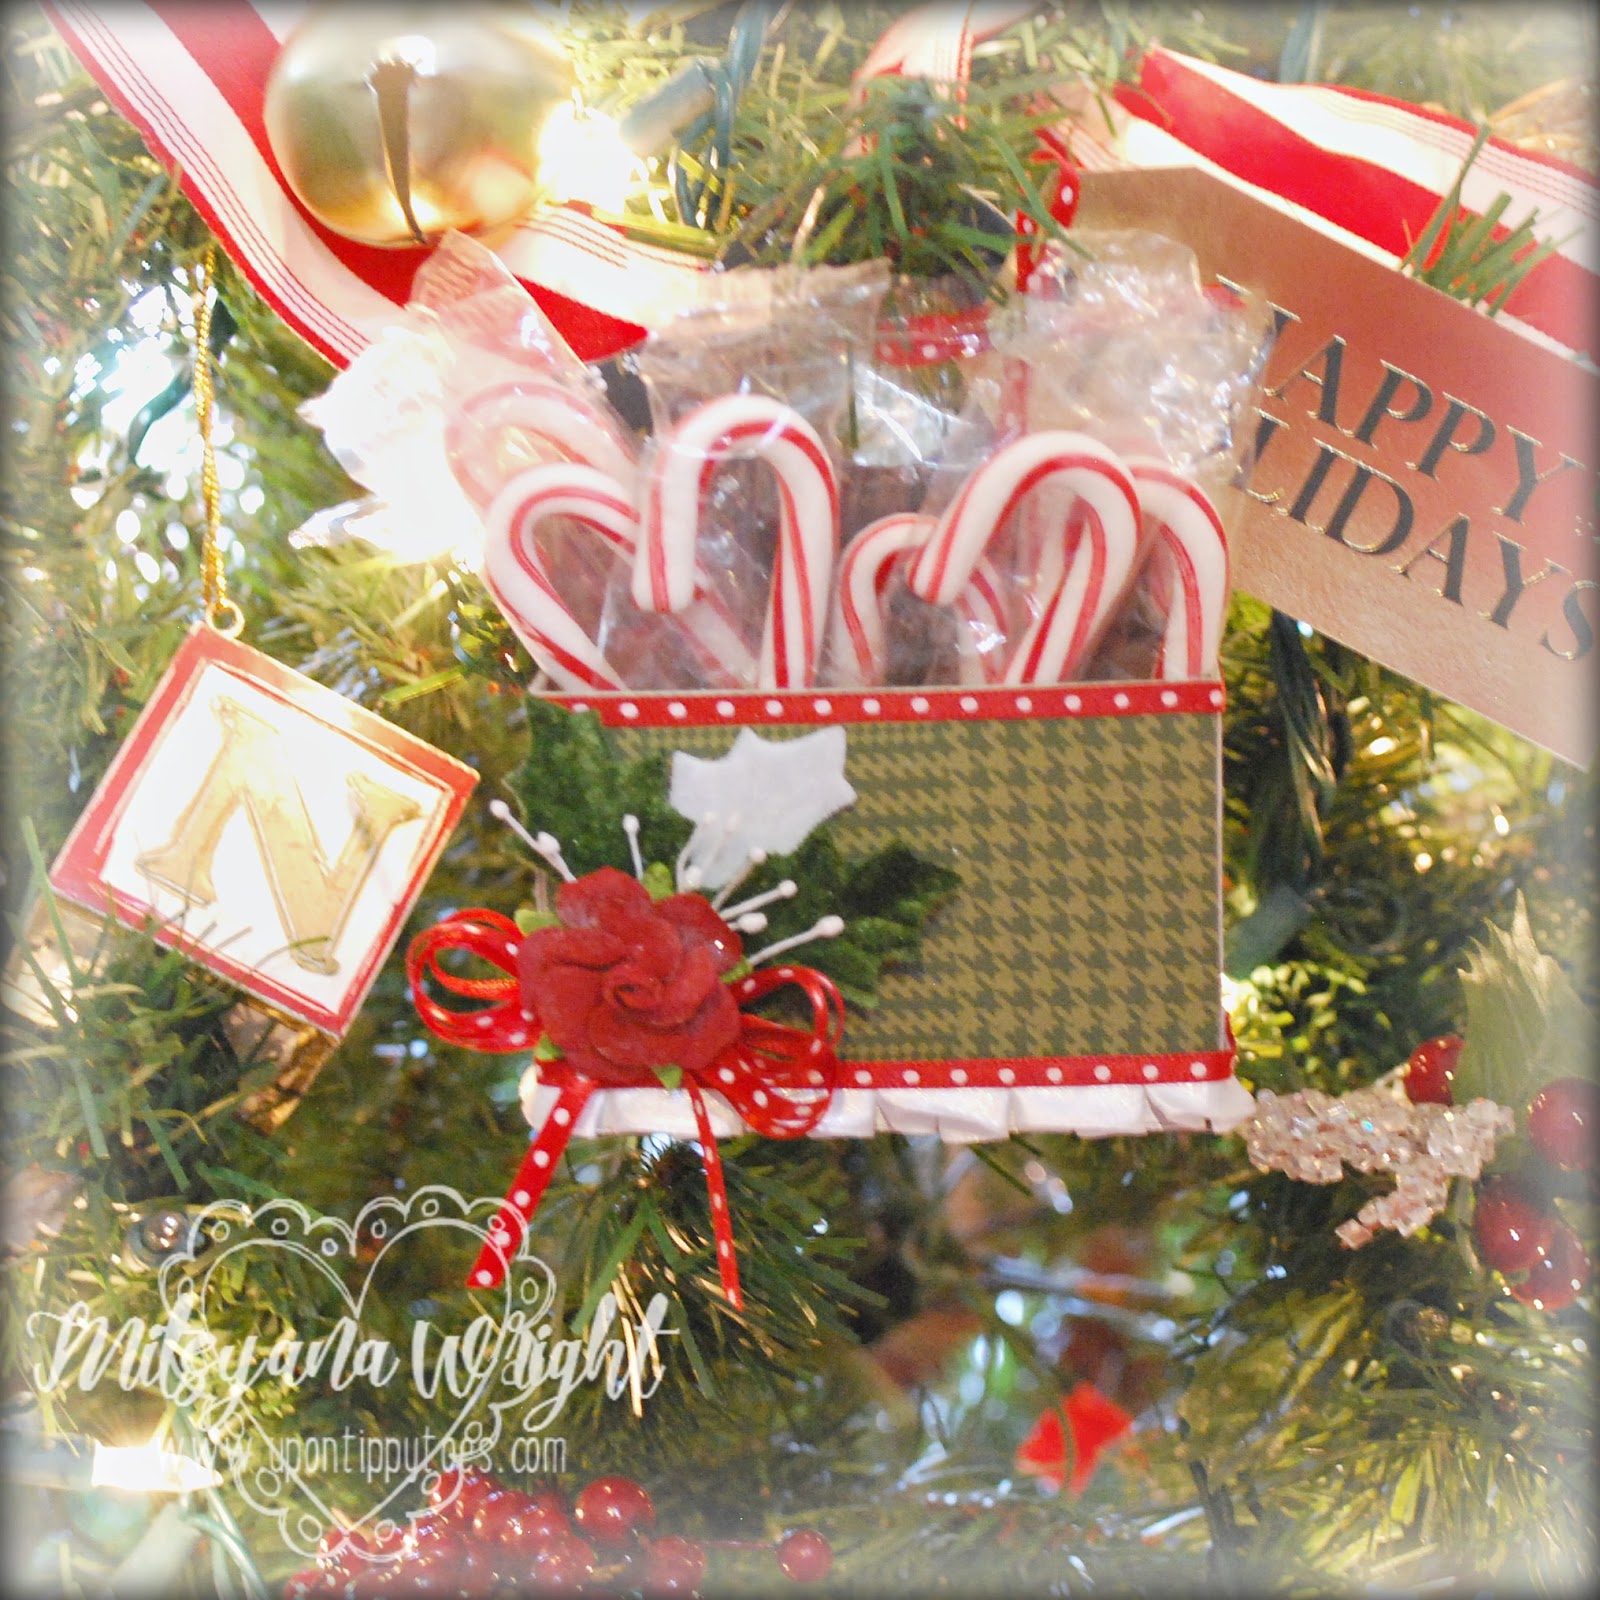
I love the versatility of her dies and how many of her designs are multifunctional. Here, I’ve made a candy cane caddy that also doubles as a Christmas ornament!

candy cane caddy2.jpg

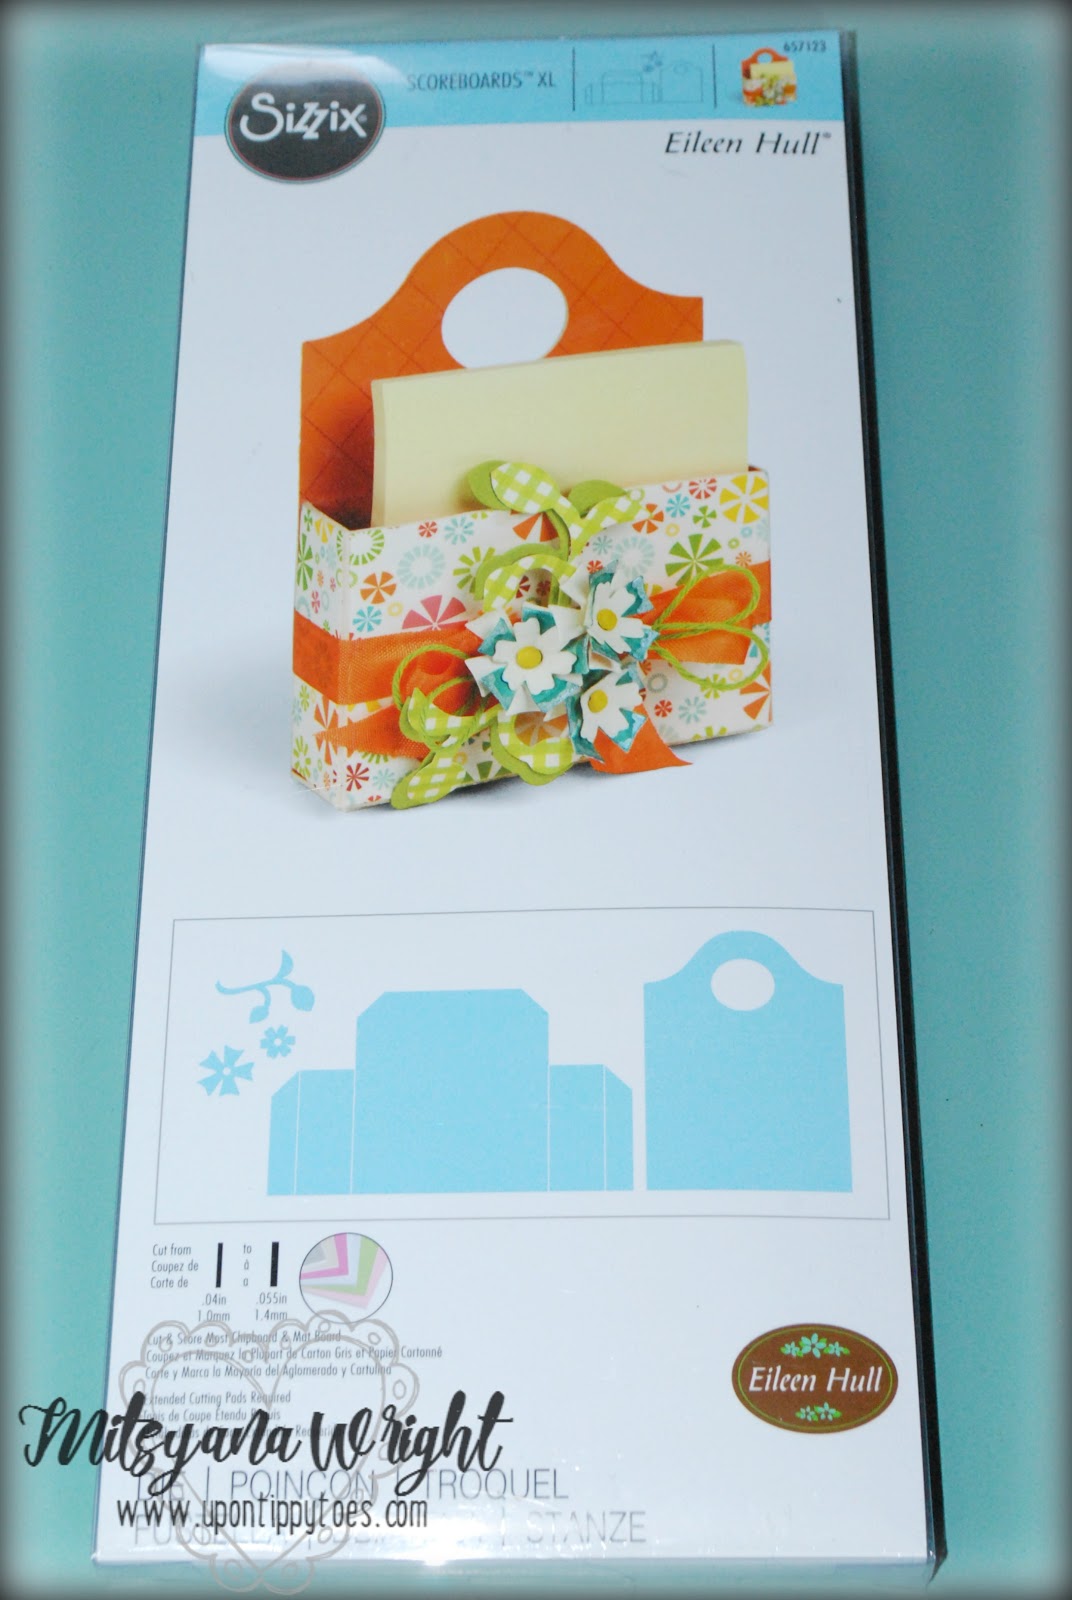
For today’s project, I used Eileen Hull’s Caddy Die by Sizzix.

caddydie.jpg

This is a steel rule XL Scoreboard die. You will need to use the Sizzix Big Shot Extended Cutting Pads in order to use these dies.

Other Supplies Used
Big Shot (Sizzix)
Christmas Plaid Stack (DCWV)
Chipboard
Creative Station Lite (Xyron)
1/8" Red w/ White Polka-dot Ribbon (Offray)
White Pleated Ribbon (Offray)
Velvet Holly Leaves (Petaloo)
Flower Stamens (Wilton)
Paper Rose (Michael's)
Glossy Accents (Ranger)
Green Button


candy cane caddy3.jpg

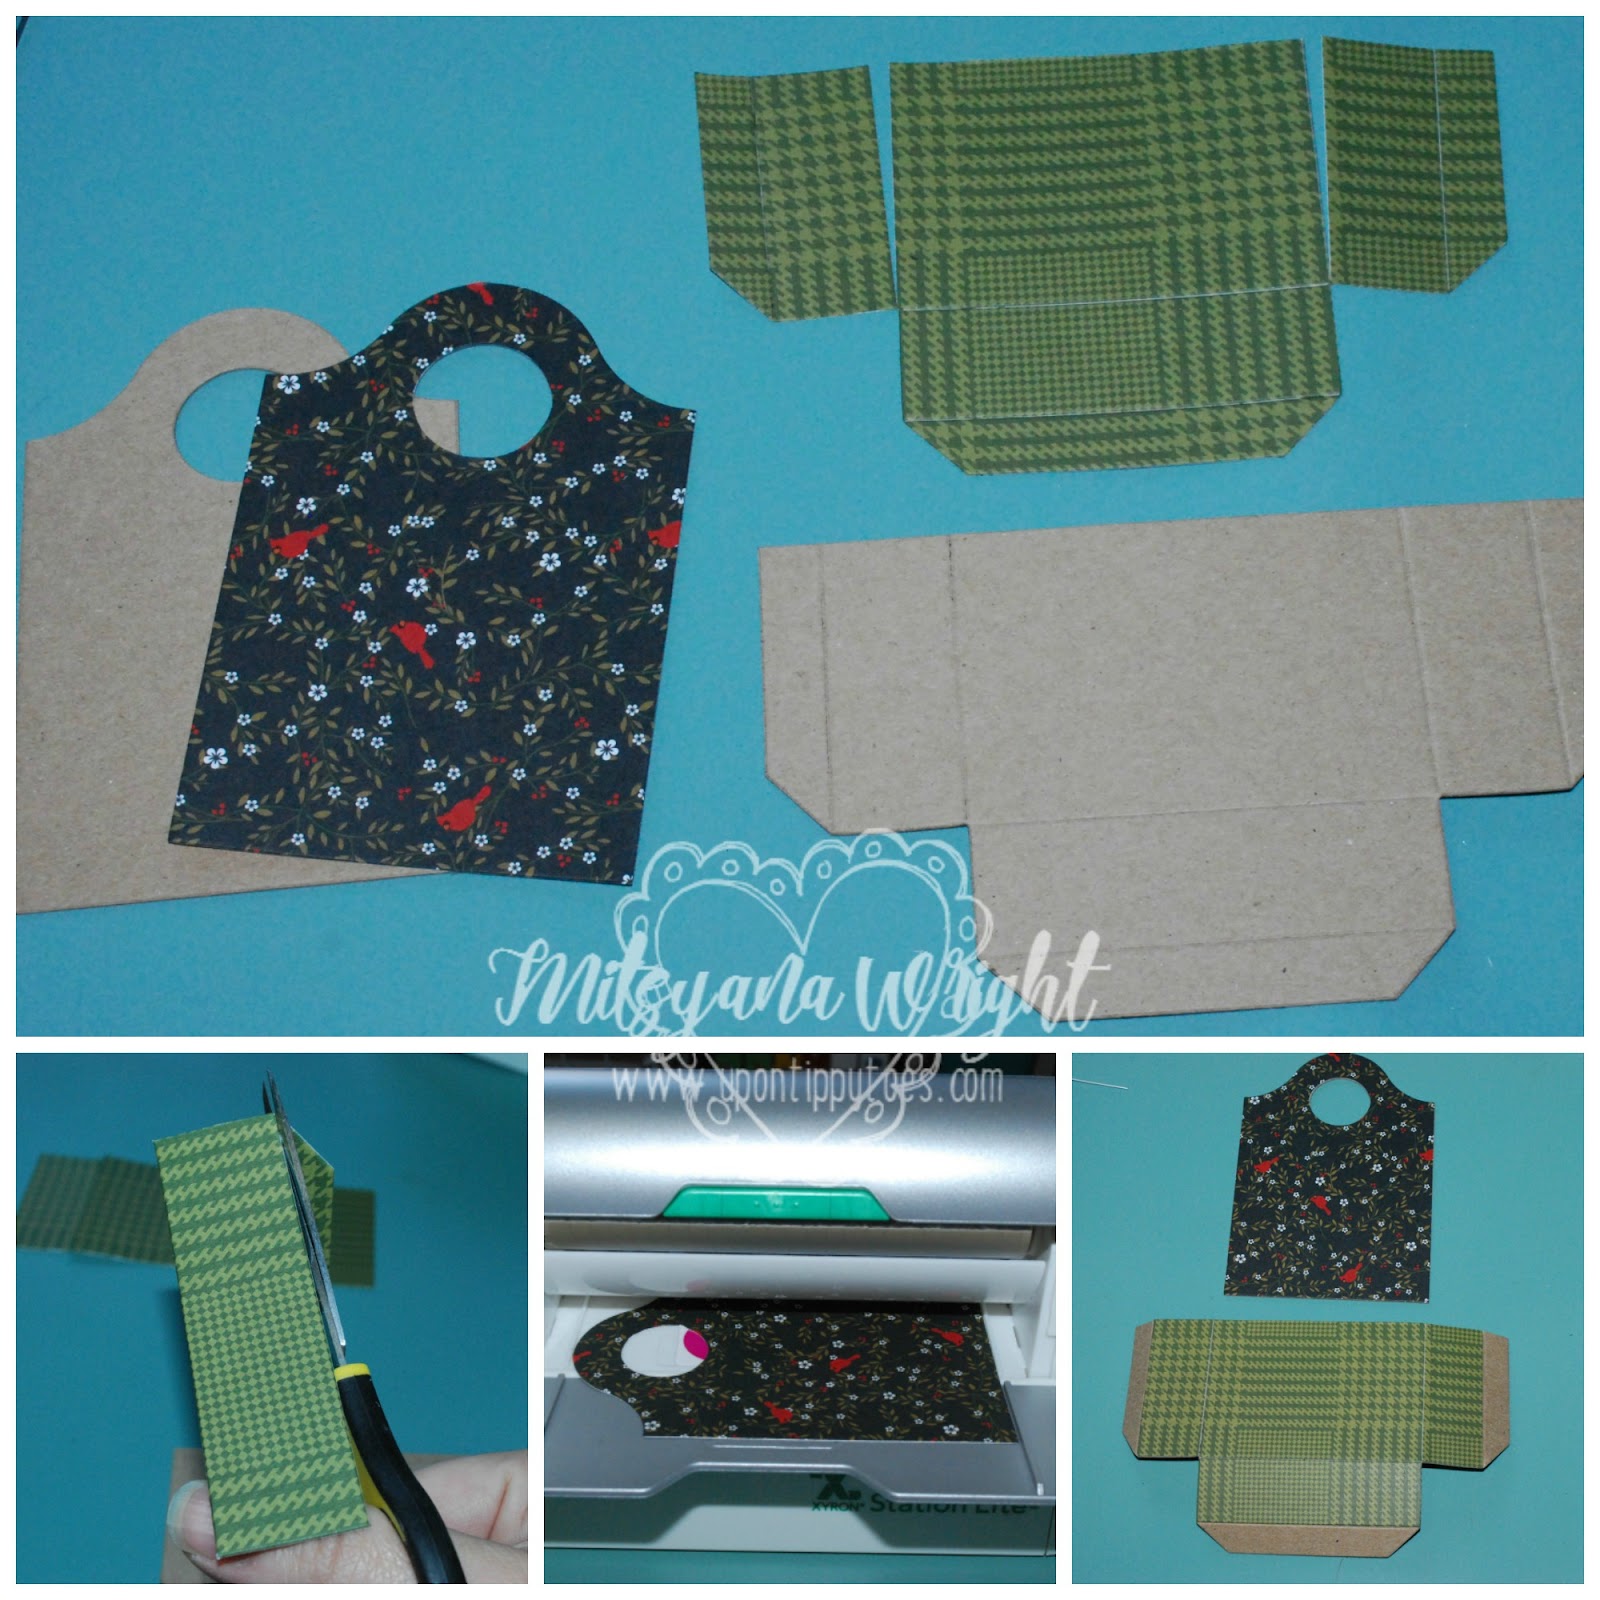
I started my project by first cutting down my 12” x 12” materials (chipboard and patterned paper), down to a workable 6” x 12” size so I can die cut them.

I didn’t want the entire caddy to be just one patterned paper. So, I trimmed down my 6” X 12” sheet into smaller pieces (4”x 6” and 6”x 8”) to cover just one of the panel pieces each.

Then, layered my chipboard piece over the patterned papers and ran all the material through my die-cut machine at the same time.

It cut through all the layers with ease!!

candy cane caddy4.jpg

I trimmed off the “tucking” flap pieces of the bottom box portion (for the patterned paper only)... you will not see these pieces so there’s no need to add them.

Then, I cut apart this cut out on the crease lines.

Next, I ran my papers through my Xyron Creative Station Lite and attached them to their coordinating chipboard pieces.

I also cut an extra back piece out of the same black patterned paper to cover the back of the caddy, ran it through my adhesive machine, and attached it to the backside of the caddy’s back wall.

candy cane caddy5.jpg

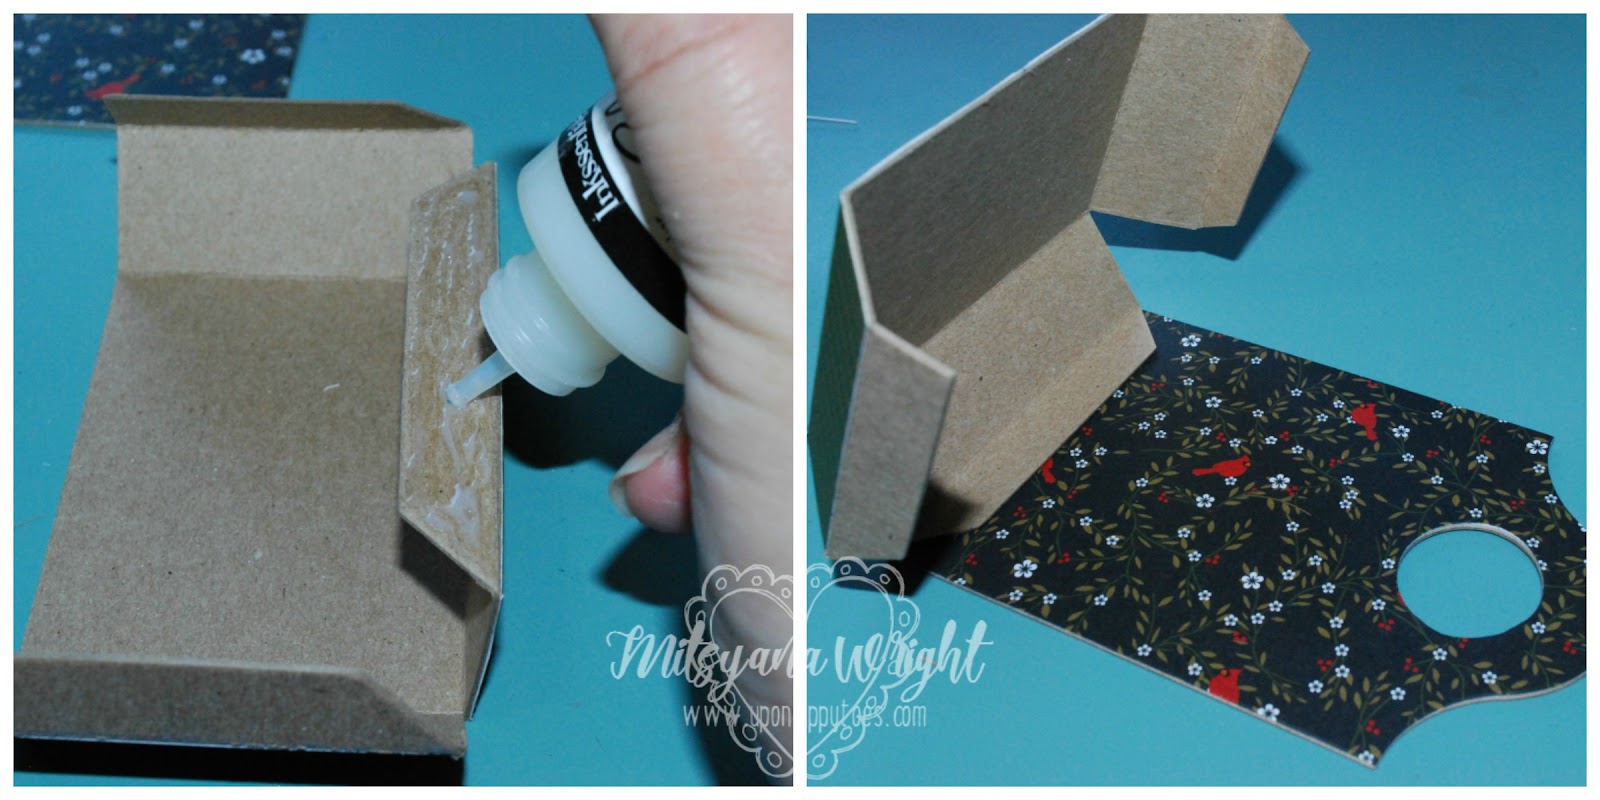
I added clear adhesive to the bare flaps and adhered them to the back panel.
candy cane caddy6.jpg

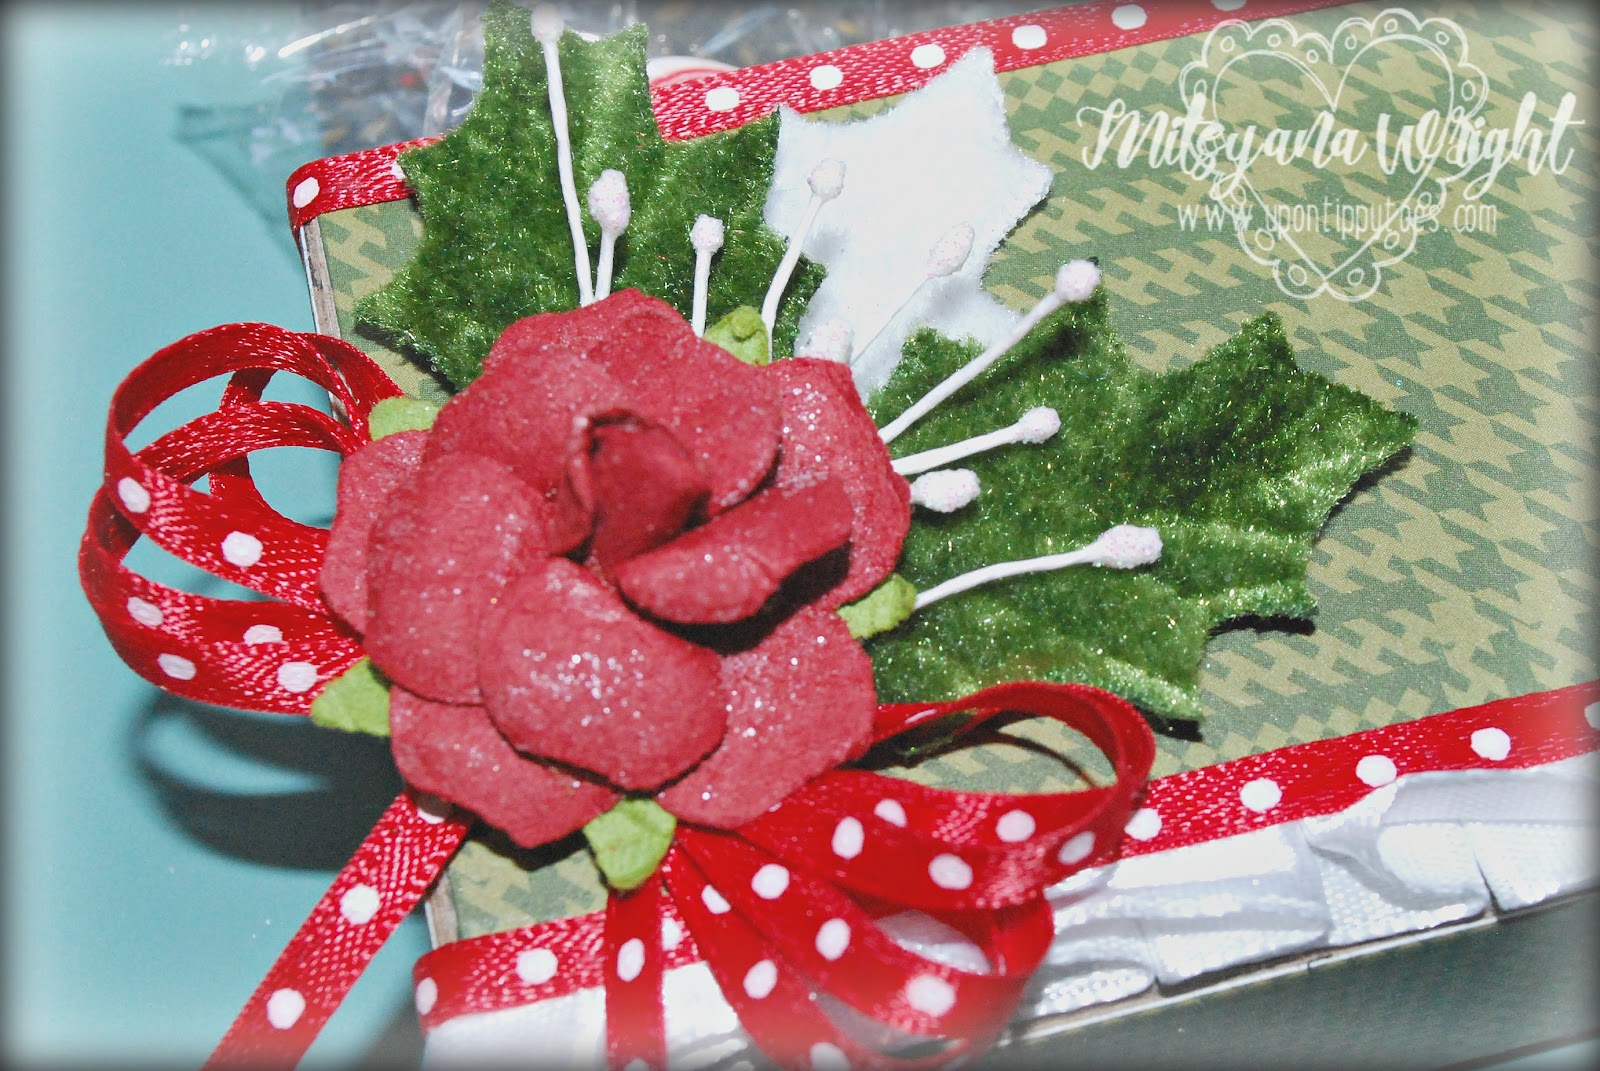
Then, I used more clear adhesive to attach a few embellishments and to trim with ribbons.

candy cane caddy0.jpg

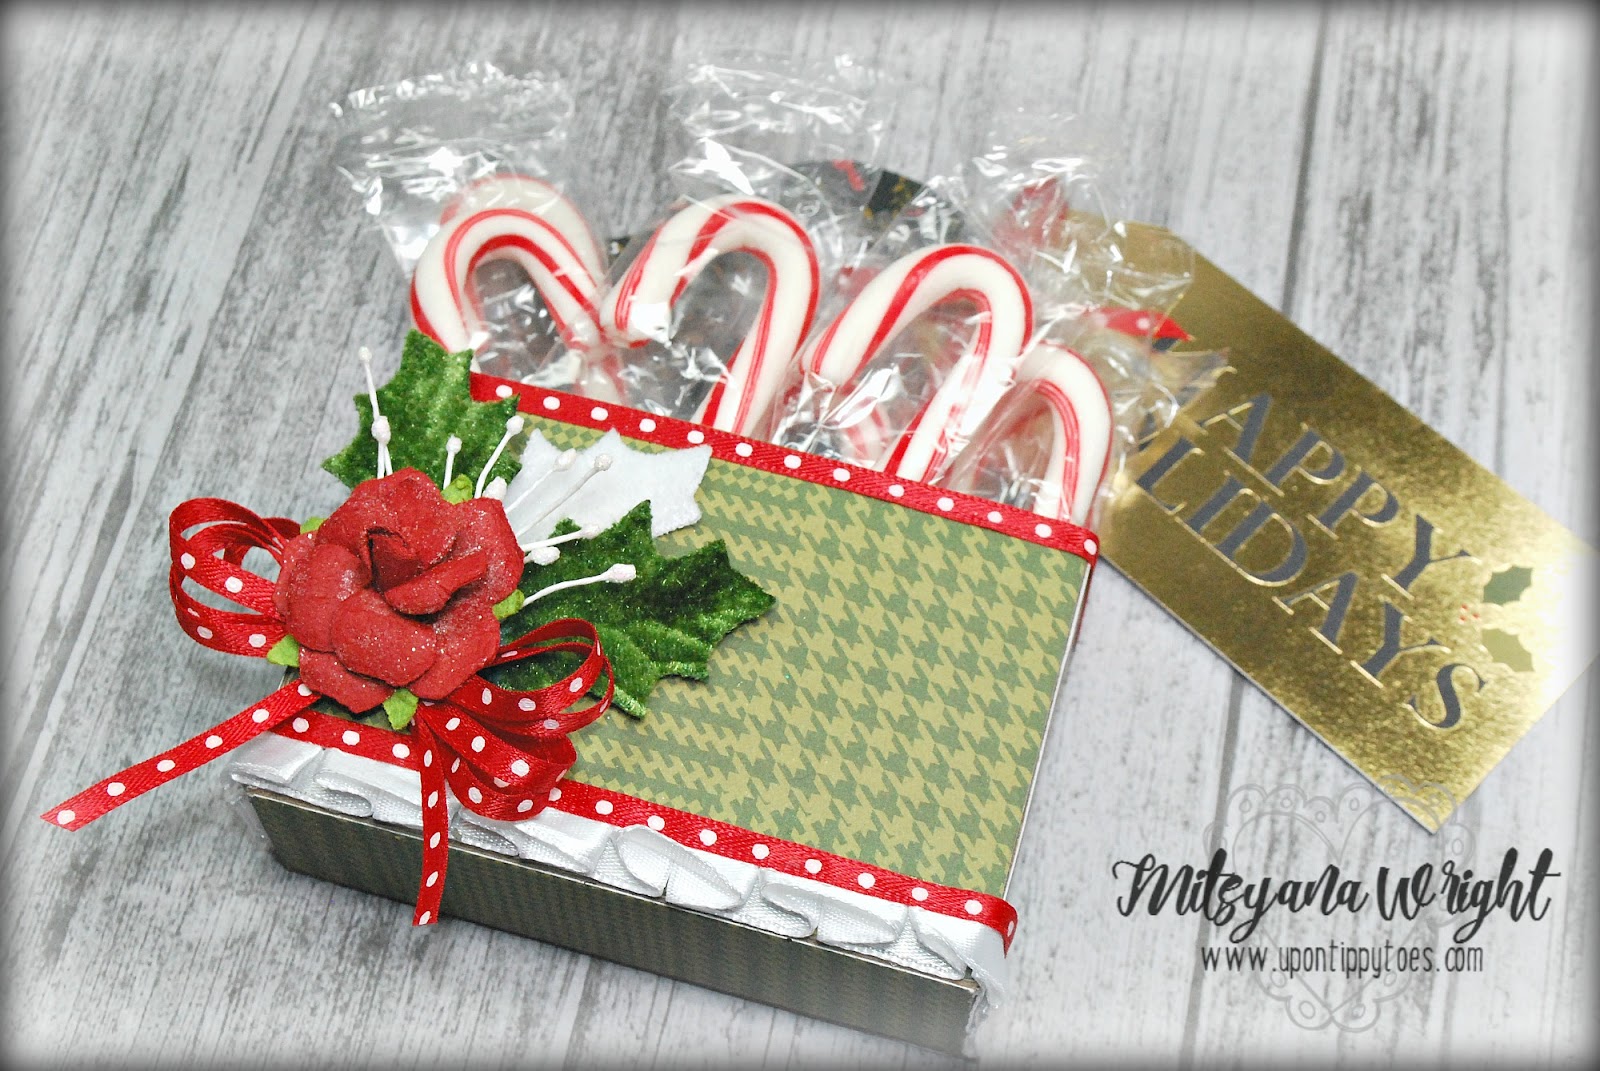
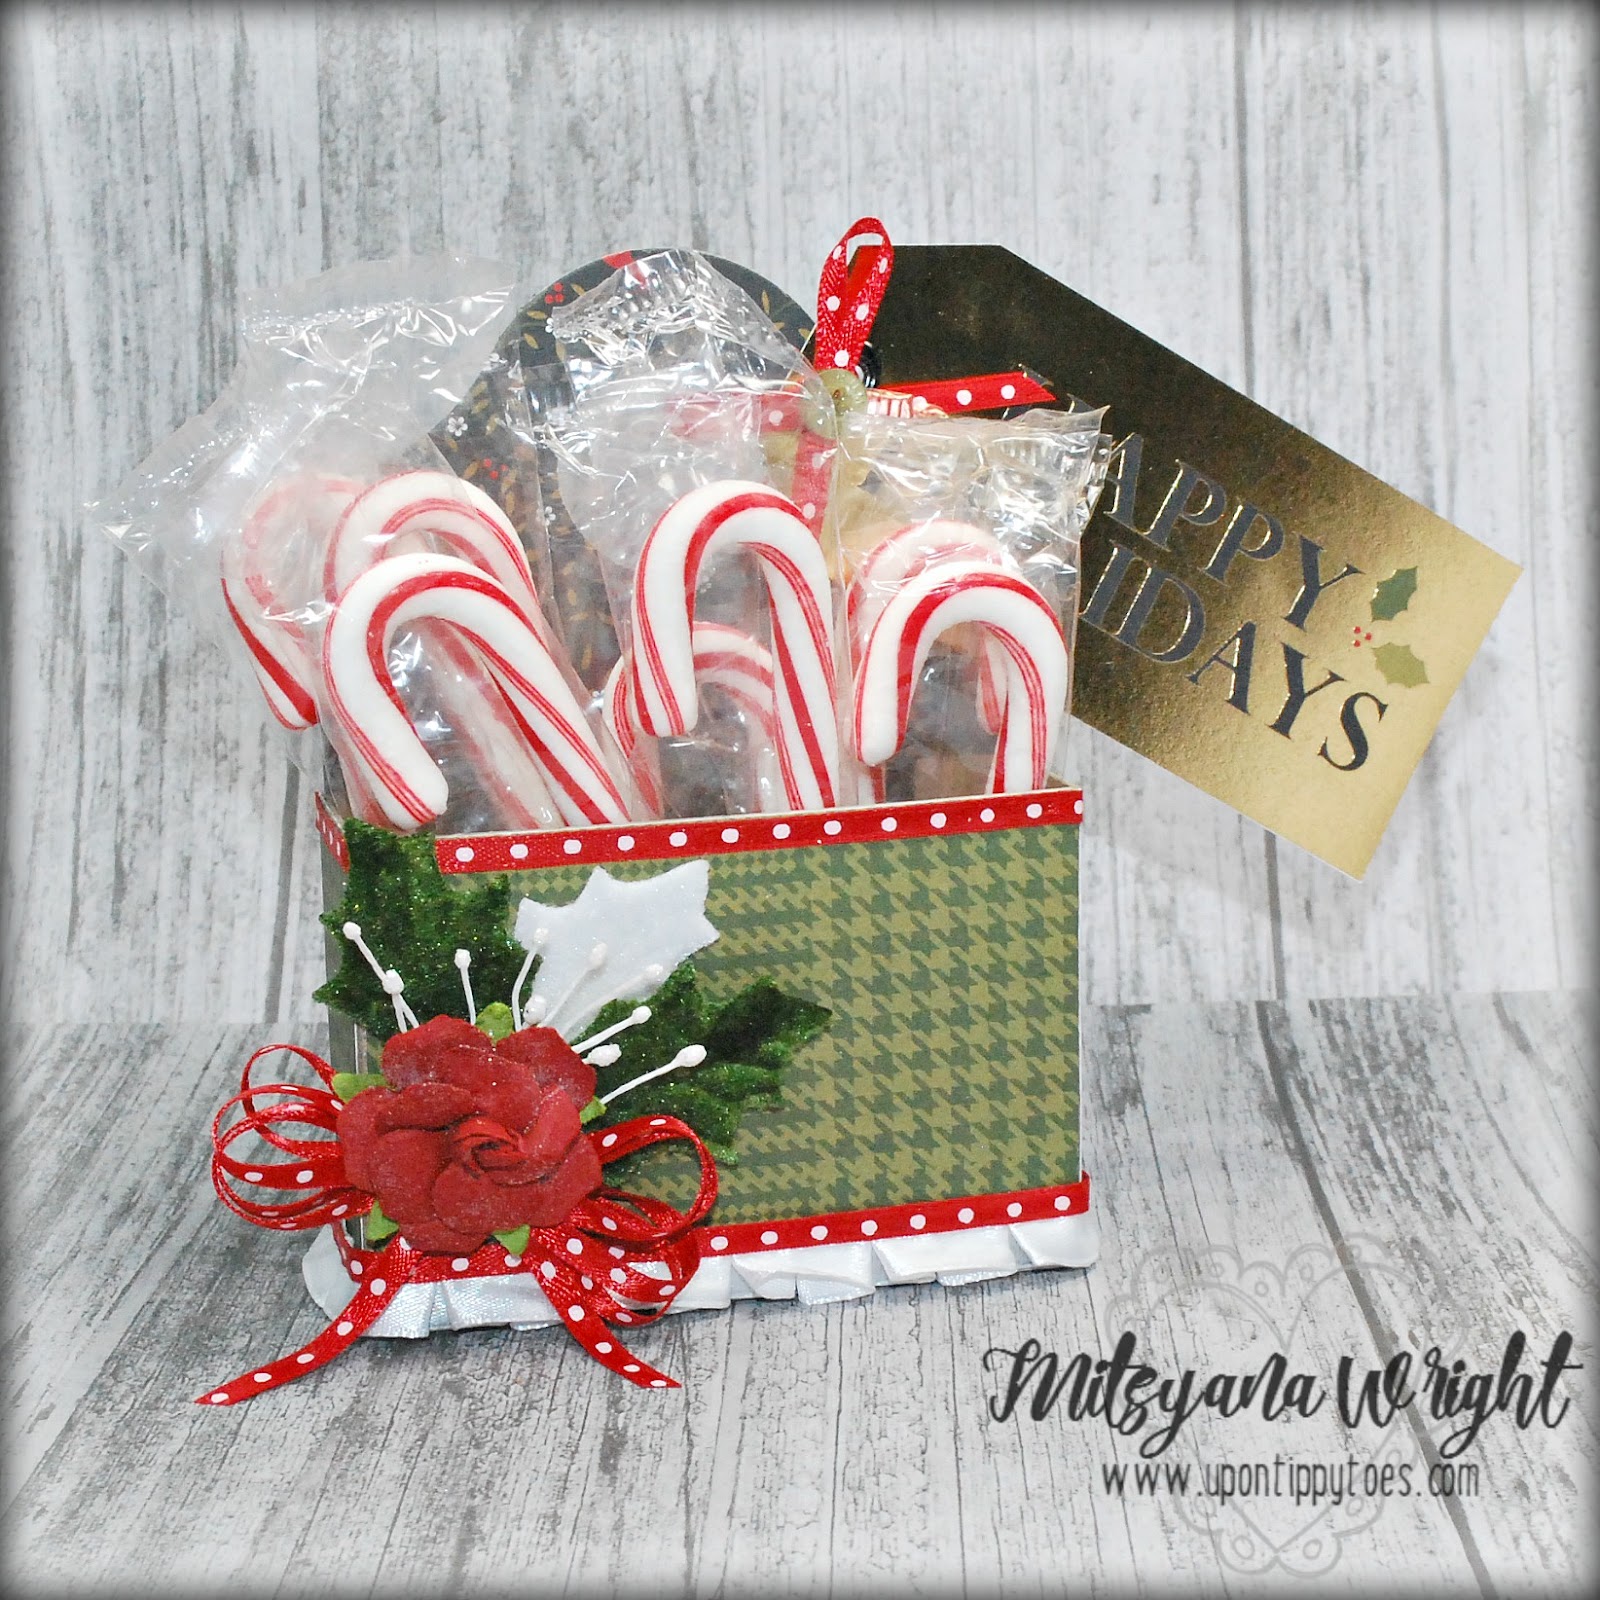
You can fill with your favorite holiday treats…

candy cane caddy1.jpg

Ready to gift as favors...
candy cane caddy.jpg

OR

Because it has the wonderful handle built in…
Hang it on the tree as festive decor!!
candy cane caddy2.jpg

I hope you enjoyed my project for today!! I am very honored to be able to guest design for the Eileen Hull Design Team.

HAPPY HOLIDAYS, EVERYONE!!
~ Mitsy

Wednesday, October 19, 2016

BEWARE OF (CUTE) ZOMBIES

**ZOMBIE ALERT**
zombies2
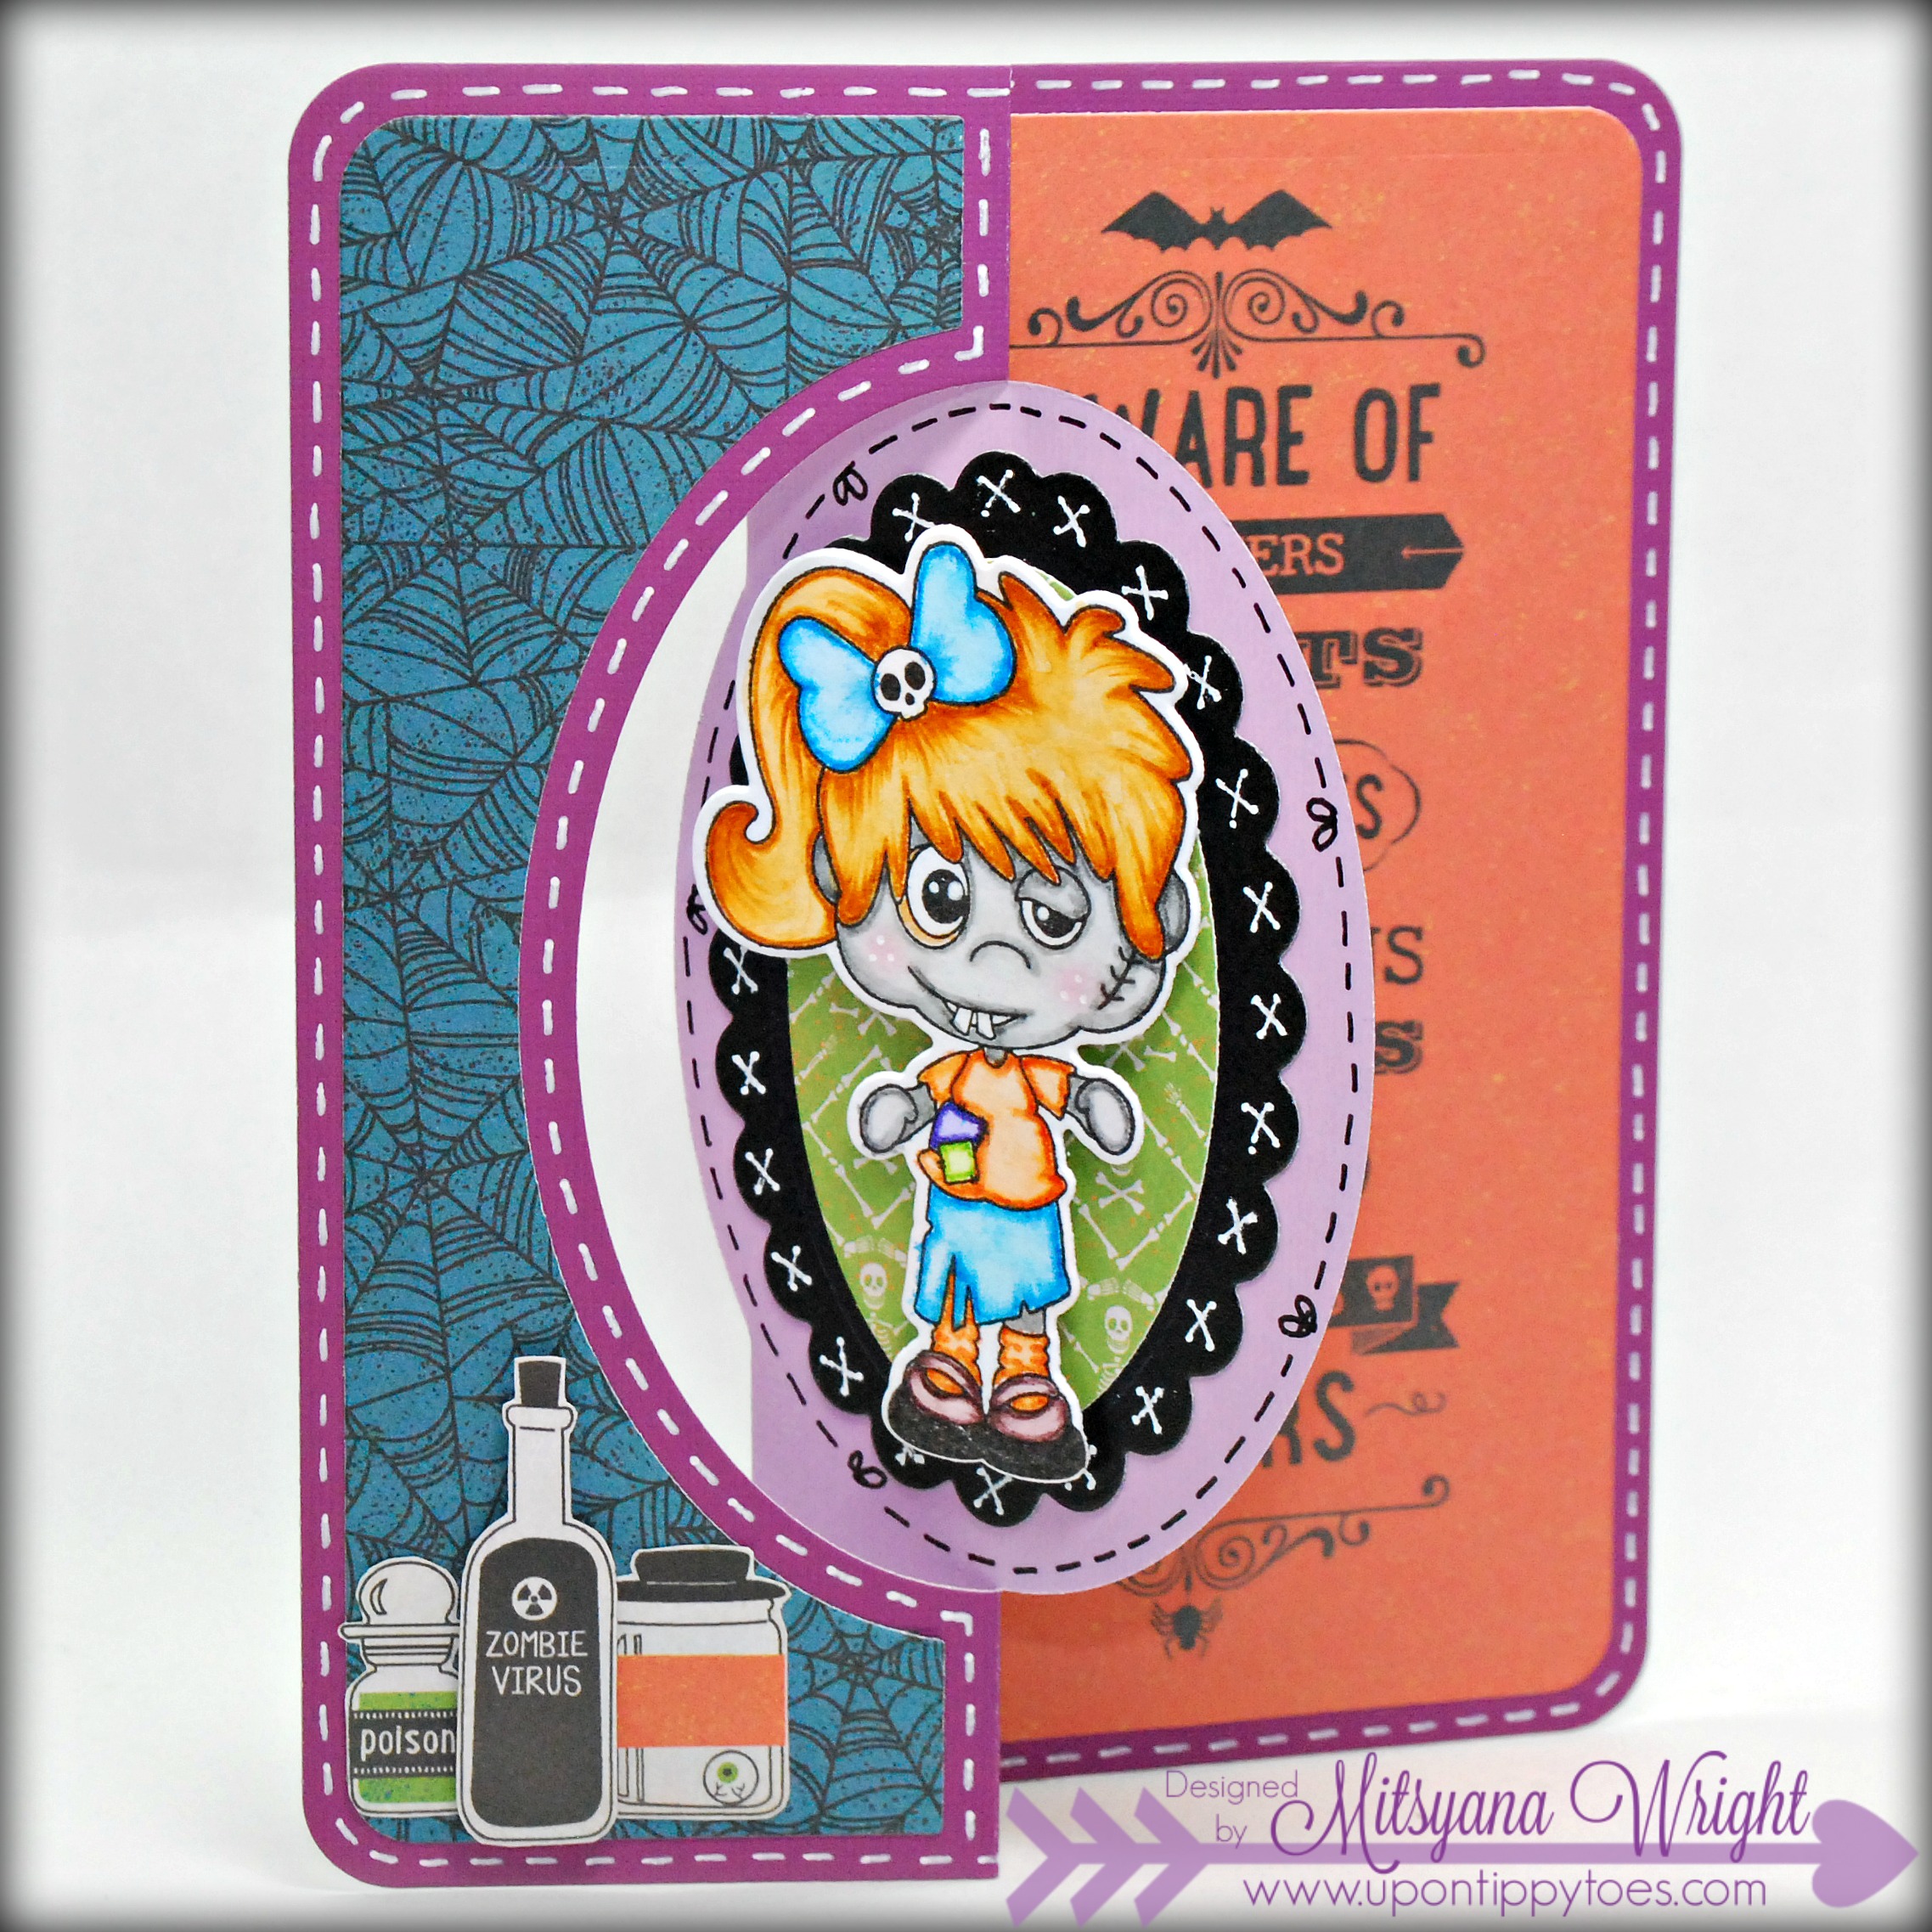
Hello Guys & Ghouls... I've got a hauntingly cute and spooky card for you today. 

Supplies Used
Zombies Stamp Set (Pink & Main)
Zombies Dies (Pink & Main)
Distress Markers (Tim Holtz)
Le Plume II (Marvy) 
Double-Sided Cardstock(DCWV)
Chalkboard Paper (DCWV)
Eek-A-Boo Stack (DCWV)
Mega Runner (Xyron)
Stephanie Barnard Oval Flip-Its Card Base (Sizzix)
VersaFine Ony Black (Imagine Crafts/ Tsukineko)
White Gel Pen (Sakura)
PITT Artist Pen S (Faber-Castell)
Chalklets (EK Success)
3D Dots (EK Success)

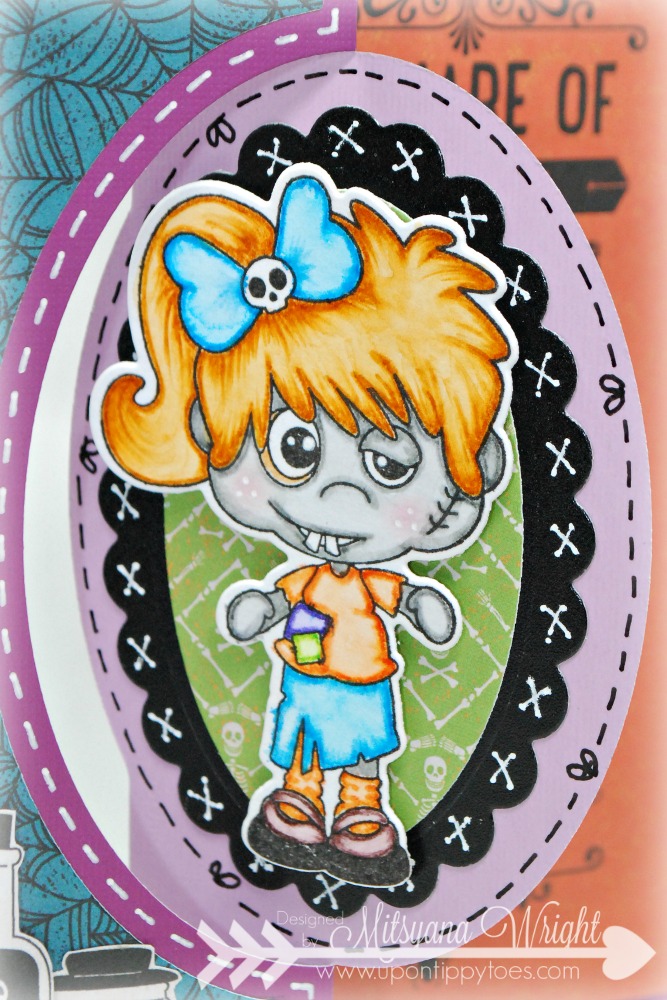
I used the girl zombie from Pink and Main's Zombies stamp set.
I stamped this creepy cutie with VersaFine Onyx Black ink
 and mostly colored her with Tim Holtz Distress Markers and a waterbrush. I used  the colors Carved Pumpkin (shirt & socks), Hickory Smoke (skin), & Mermaid Lagoon (bow & skirt). 

The rest of her was colored using Marvy Le Plume II Markers (also with a waterbrush) in Ochre (hair), Violet & Lt. Green (small patches), Rosewood (inner eye), & Dark Brown (shoes).


Then I die-cut her out using the matching Zombies Dies.


I used this zombie as my focal point and mounted her onto the inner oval of my flip it card.
I mounted her with foam adhesive for a bit of dimension.

zombies3

She is just adorable and I absolutely love the little skully bow in her hair and bucked teeth!
I added a little pink chalk to her cheeks then added freckles on top using a white gel pen.
Who knew zombies could be so cute?!!
zombies4
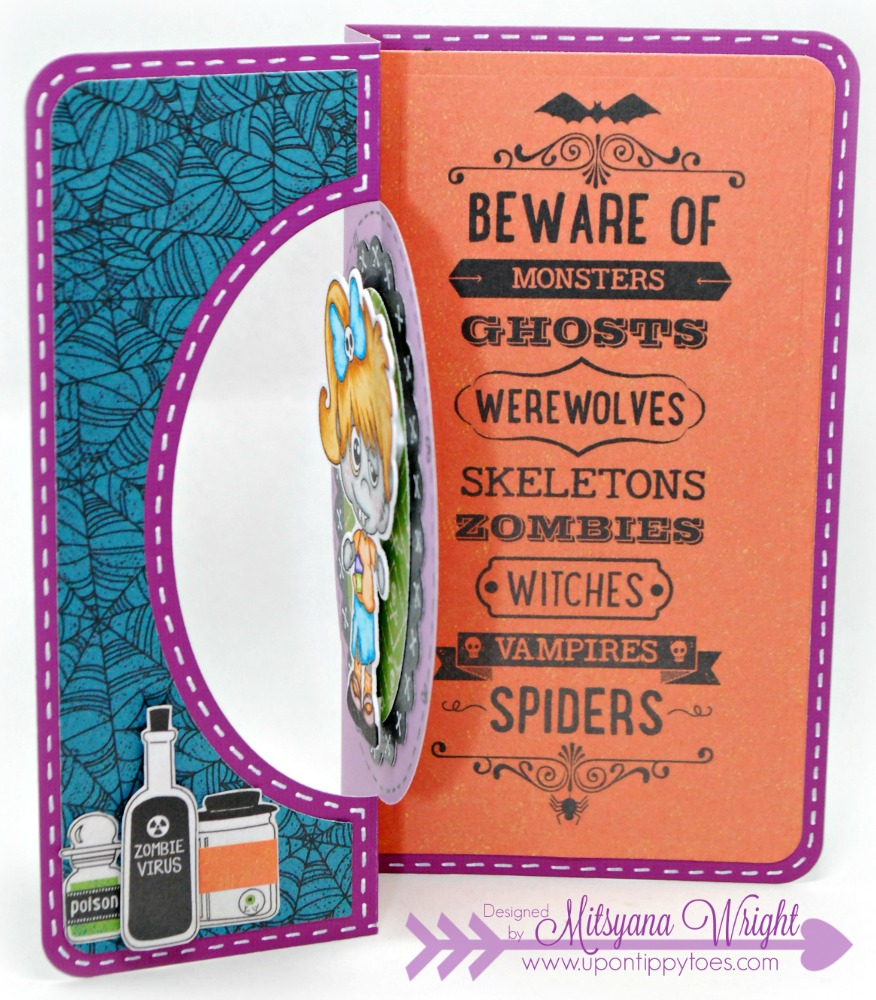
 You can really see the dimension of my zombie from the side profile.
I was excited to find this awesome paper in my stash that matched this stamp set perfectly! All the paper is from DCWV. The patterned paper is from a mini stack called Eek-A-Boo Stack and  assemble the pieces to the card base using my Mega Runner.

I think this card came out so awesome!!  It totally makes me want to color more zombies!! LOL

Well, Happy Haunting Everyone!! 
Hope to scare you real soon!!
~ Mitsy

Thursday, May 14, 2015

Xyron Design Team Box Reveal


Hello Crafty Friends!! Time has just slipped away from me the pass couple of weeks. I've been  swamped with my girls' dance recital, picture taking, and now May Fest event on top of all my many design team obligations... 

But I am happy to say I did get to open my HUGE box of GOODIES that Xyron has generously sent me! If you follow me on Facebook you may have seen a picture of a ginormous box on my livingroom couch... Many of you asked what was in it... And, at long last, HERE IT IS:

MY BOX REVEAL


CONTENTS

1 New & Improved Creative Station (HYBRID- Takes BOTH 9" and 5" refill cartridges)


SIDE VIEWS

BACK VIEW


It's streamlined and SLEEK!! The new white and gray color is ultra chic! This Beast is flat out SEXY!! The first hybrid of it's kind, it takes the place of both the 9" and 5" machine all under one roof! A definite spacer saver!!

And as if this BEAUTY wasn't enough...

Xyron also sent:


And here are all the GOODIES out of the box!!


OH EM GEE... What is a girl to do with herself??!!

Why PLAY of course!!

I'll be posting my first Xyron project so stay tuned!!

And, thanks for stopping by!!
~ Mitsy