Showing posts with label stick pins. Show all posts

Monday, February 16, 2015

Tweet Friend

Hello Crafty Friends… I can’t wait for Spring to be here and the warm weather to come back! I really shouldn’t complain, at least I’m not buried under snow, right?! I mean, I live in Texas. And it was 80 degrees here on Saturday. Now, it isn’t all that it’s cracked up to be… our weather is rather erratic and has a hard time making up it’s mind.  We went from 80’s on Saturday to 30’s tonight… and the 50 degree jump is the norm. I still can’t get used to it. I came from an Island where the temperature between hottest and coldest never staggered more than 20 degrees from each other.
But being so far away from home all I can do now is imagine… dreaming of warmer days and not so cold nights.
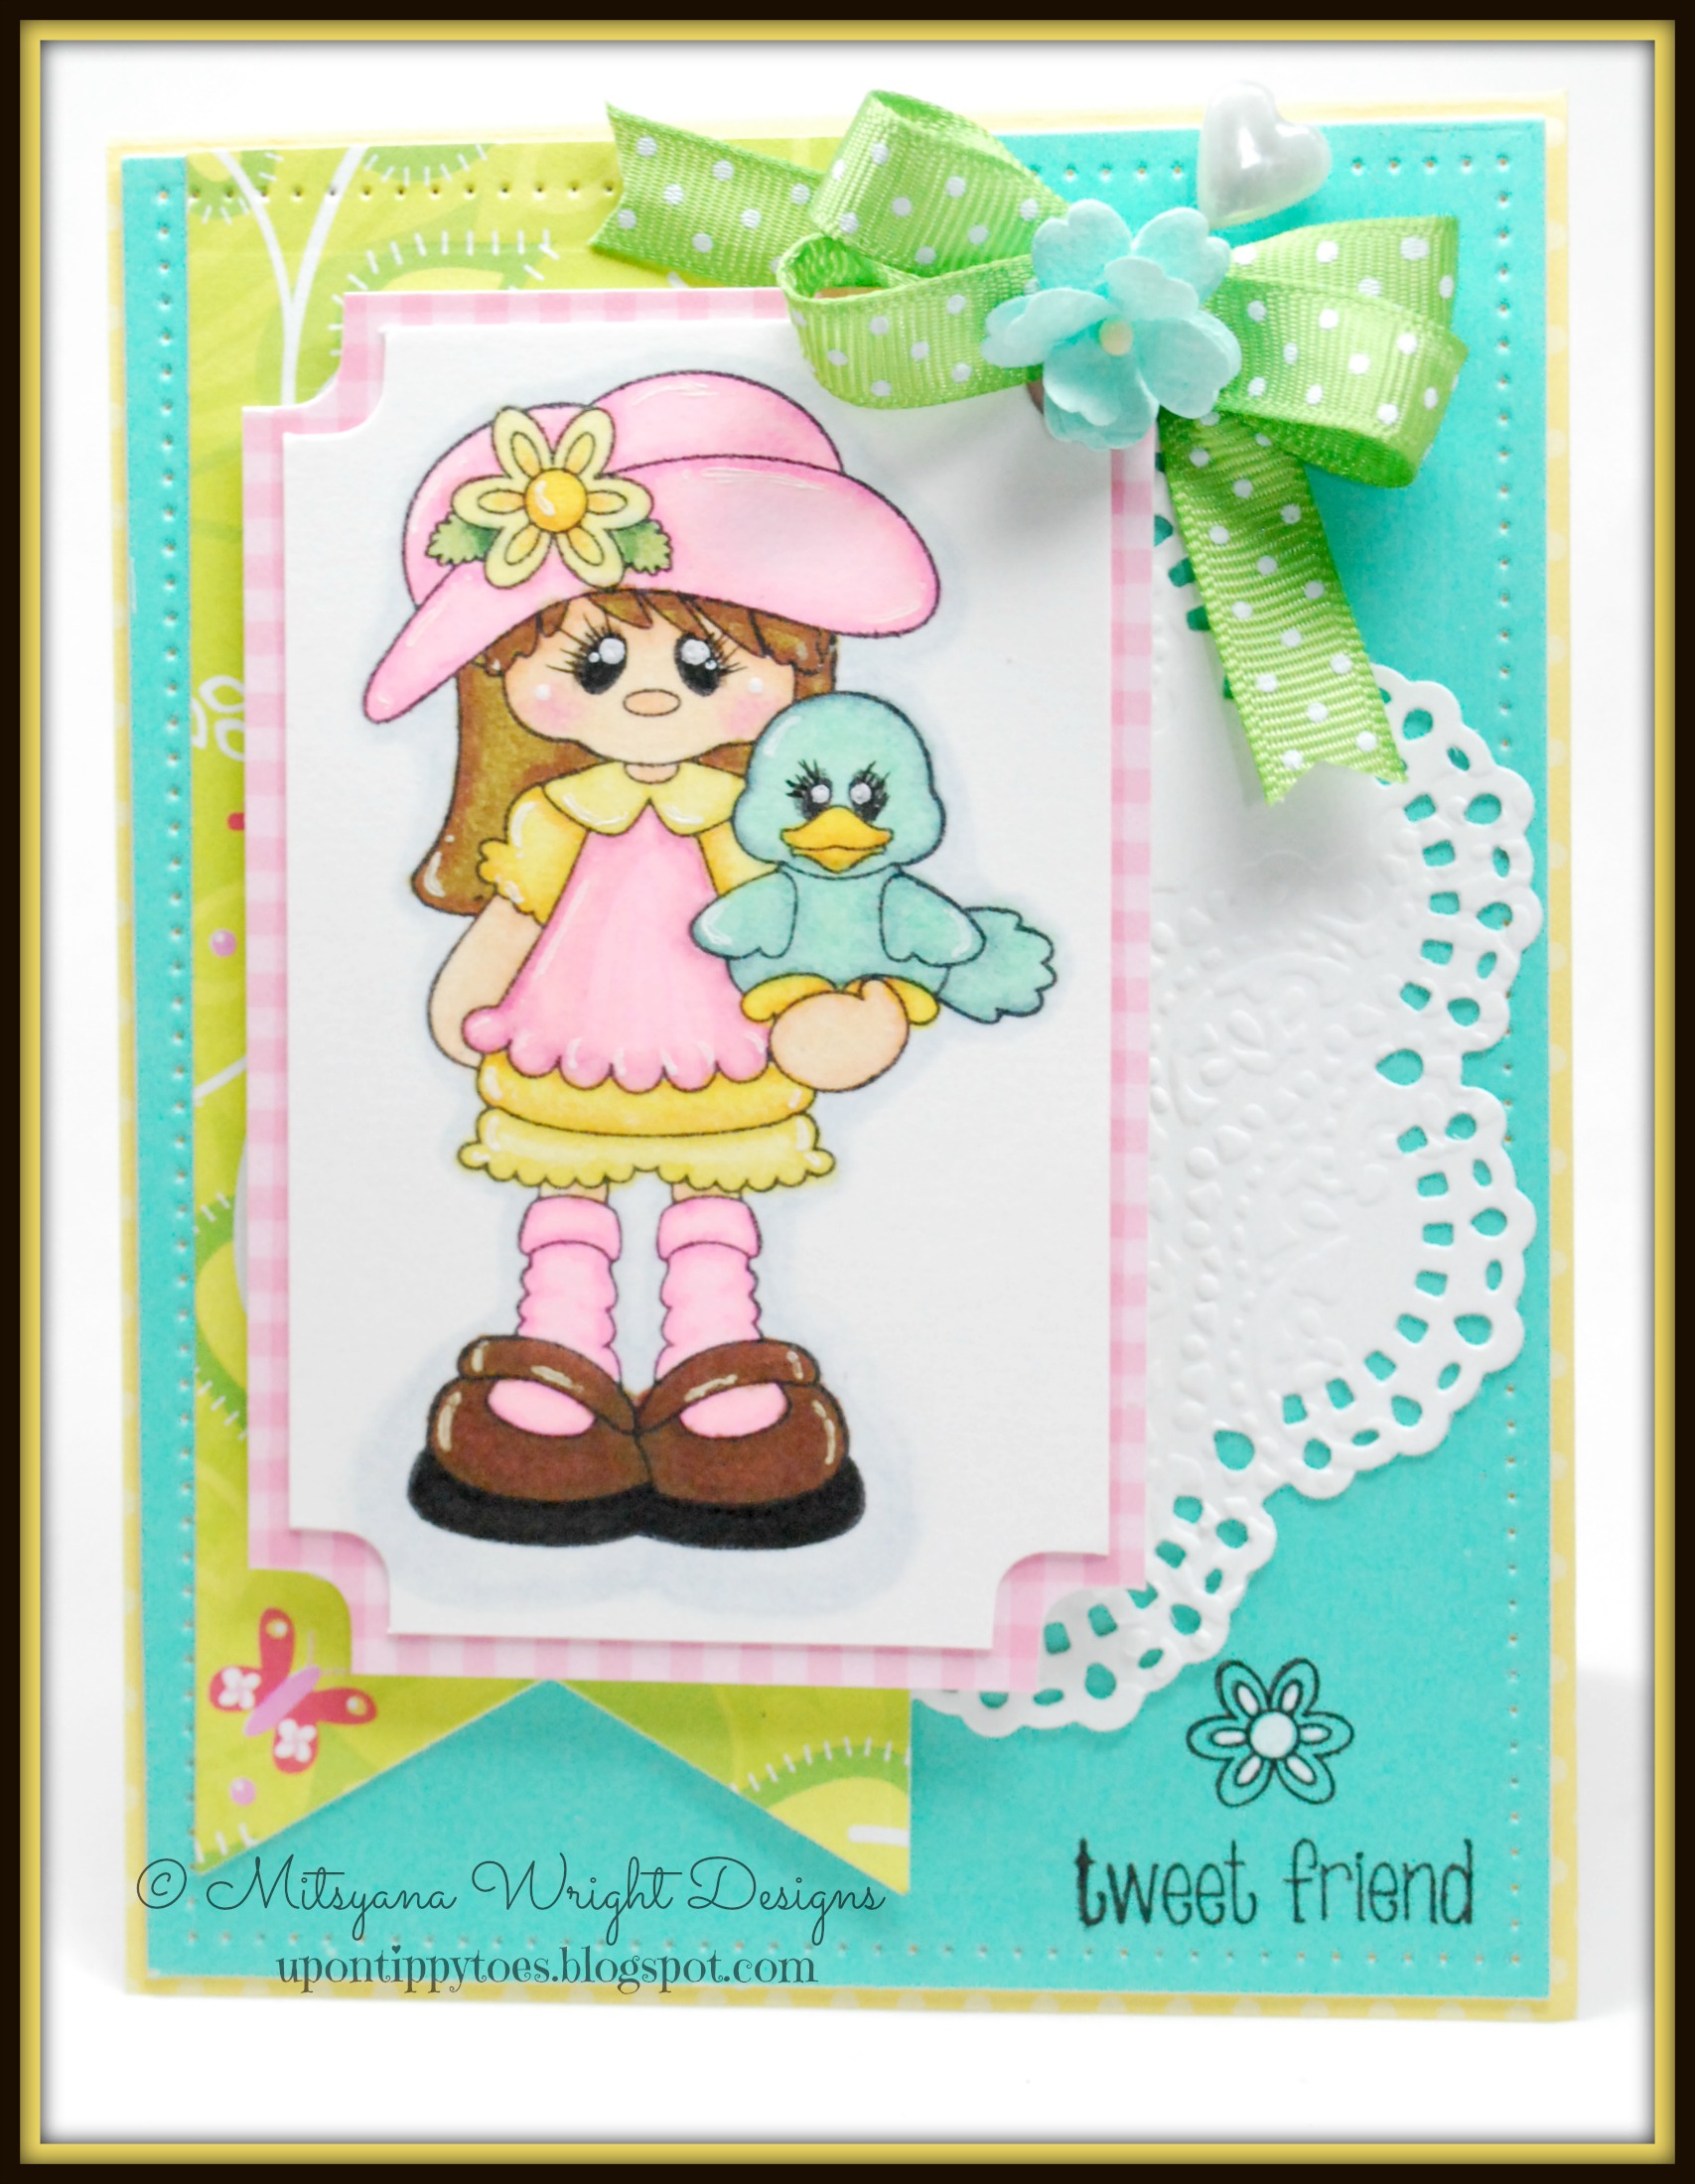
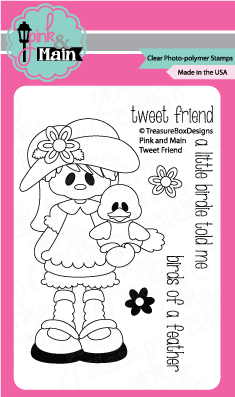
 Here I used Pink and Main’s Tweet Friend set to make this cute little card. This little set is great for Spring and Easter projects and can easily transition into  summer! This is a great everyday set and is awesome for all those “just because” moments!
tweetfriend
tbd_tweet_friendWEB
I Love this little “tweet-y”! She is an adorable must-have addition to your Pink and Main Collection!
Happy Stamping!!

Thursday, November 27, 2014

Altered Keepsake Box

Hello Crafty Friends... Just stopping by to share with you this elegant keepsake box I made for a very close family friend. 


Supplies Needed
Storage Box/ Photo Box (letter size)

eBrush by Craftwell with SP (Sharpie) adapter head
Sharpies( lt, green, dk. green, red, orange, brown, gray)
Flower steel rule die (Sizzix/ Tim Holts-Tattered Florals)
Embossing Tool
Hot Glue Gun and Glue Sticks
Stamens
Ostrich feather
Feather Butterfly
Chipboard Frame
Rub-ons
Assorted Ribbon and Lace
Decorative Stick Pins
Pre-made Paper Flowers (Prima)
Patterned Paper or Sheet Music
Assorted Brads

Cut you patterned paper using Tattered Florals die. You will need at 5 flowers to make 1 complete flower. To make the the 3 peonies on my box I cut out 5 large & 6 medium (6 pt flowers), 5 daisies
(9 pt flowers), and 3 leaves.
I eBrushed my peonies with my red sharpie and then brown. And ebrushed my daisies with an orange sharpie and then brown. Adding the brown deepens the color so it doesn't look so flat. With my embossing tool I curled my flowers into a bowl shape and stack them together, alternating petals. 

For the leaves I started with the light green sharpie, then dark green, and added orange and brown  around the edges. I again used my embossing tool to curl the edges of the leaves.

I bought these stamens in the baking department of a major craft store, They come in a variety of colors but I always have white on hand because they can be colored to match any color scheme. I ebrushed these with just my red sharpie.

The stamen are double sided and come with a bulb at each end so I cut them in half and inserted about 12 stamen (6 halved) into a hole I punched of the top flower. Secured it with hot glue.

Then I attached the leaves to the flower with hot glue.

These butterflies are pretty in just plain white but it was a little too stark for my project. I toned it way down by ebrushing it in gray black. One of my favorite things about using the ebrush is that most colors spray on translucent... and when sprayed over glitter the shine still shows through. I don't lose any of the sparkly effect!

I added my rub-on sentiment to the pre-made chipboard frame. Hot glued my ribbon down to my box,  before hot gluing my frame. Then hot glued my flowers, feather and butterfly on top of my frame. I inserted my decorative stick pins behind the base of the flower. I did not glue them into place... some people like to wear their pins, so I left that option up to them.


and there you have it a beautiful keepsake box to hold treasured memories. It also makes a very elegant gift box that would surely "wow" it's recipient! 

I made this one to give to my children's god-mother. It will house a scrapbook full of  our children's pictures. She is such a beautiful person and I wanted something that reflected her loving nature.

Hope you have a Beautifully Crafty Day!!

~Mitsy

Saturday, November 22, 2014

LOTS & LOTS of cards

Hey Crafty Friends, with the holiday season in full swing I have been swamped up to my eyebrows!!
SO... I am jam packing this post full of all the cards that I had recently made.

supplies used:
Oh Snap stamp set  (Pink and Main)
"Happy" pocket die from Thankful die set (Teresa Collins/ Craftwell)
pattern & cork paper by DCWV
eBrush
Spectrum Noir Markers 
momento ink pad (tuxedo black)Mucho
supplies used:
Christmas Cardinal file ( Designs on Cloud 9)
Sentiment from the Sugarplums stamp set ( Pink and Main)
Doily die (We R Memory Keepers)
Lace Trimmings die set (Cuttlebug/ Anna Griffin)
Giga Scalloped Circle punch ( Marvy Uchida)

Card front made with  6x8 Cutout Pages December Album (Designs on Cloud 9)
Joy stamp set (Pink and Main)
Stitched Traditional Tag die from (My Favorite Things Die-namics)


Card front made with  6x8 Cutout Pages December Album (Designs on Cloud 9)
Joy stamp set (Pink and Main).
Scalloped oval die from TeresaCollins/ Craftwell.
Buckle is from a retired Sizzix die called Charms, Buckles.

Card base from Stephanie Barnard's Fancy Flip-its card 
Stamped image and sentiments from Pink and Main's Frosty friends, Snow Globe, & Ho Ho Ho stamp sets.


Here's another interactive card made from another Stephanie Barnard die...

This card base was made using Stephanie Barnard's Royal Stand-ups die by Sizzix... In fact, this whole card was made using 100% Sizzix stamps! Even the stamps are all from a stamp and die set Sizzix/ Hero Arts set called Floral.

The primitive hearts were from a retired Sizzix sizzlit Window and Frame Makin set.
Leaves were from the Flowers, Branches, and Leaves set.


And, here is the mot recent... 

I ebrushed the ornate heart frame (Sizzix), leaves (Sizzix), stick pins, and flowers.
Doily is from We R Memory Keepers.
Embossing folder is from the Anna Griffin Lace Trimmings set by Cuttlebug.
Scalloped edge is from an EK Success' Scalloped Scallop border punch. 


There ya go... lots and lots of crafty goodness!!

Hope you're inspired! Thanks for stopping by!!

And as always...
HAPPY CRAFTING!!


Friday, October 10, 2014

Snowone Like You Bow Card

Hello Crafty Friends... Just stopping this super Simple card I made with all those stinkin' cute bows I've been making.

You can read more about it here. While you're there don't forget to download your free template!! Then you too can make this bows anytime you need them.


For this awesome overlay  and label, I used Designs on Cloud 9's Designer Card 1.  I cut the overlay out of super shiny metallic paper. Then eBrushed an ombre effect onto the entire surface... Love it! 
Now I can have custom colored metallic paper and not just the run of the mill silver & gold! And did you know you can even ebrush your rhinestones to match?! Now you'll never be without coordinating bling!!

For the sentiment, I used Pink and Main's Snow Sweet stamp set. This set includes 8 different sentiments and numerous snowflakes. I stamped it on the label that was included in the Designer Card 1 file and then surrounded it the sentiment with "snow" (iridescent flake glitter) with dimensional adhesive.  Perfect for Holiday and winter cards and projects! 

It's never too early to start on your holiday card!!
So go make some now! The holidays will be here before you know it! 

Happy Crafting!!


Wednesday, July 30, 2014

Birthday Swing Card


Hello Crafty Friends... Today's project is another first for me. Using my eclips machine from Sizzix  and ecal software I made this... my very first "flip" card.  I was more than happy (ecstatic really) to test Designs on Cloud 9's new Swing Card file. 


The file comes with the card base, center panel and mat, and scalloped borer.
Sorry, flowers and leaves are not included. Hydrangea flowers and leaves pictured throughout are from Prima Marketing.

Another thing is the center panel is rectangular... not just the matted ornate shape in the center. I made it look like it's floating by creating this card with a plastic/ acetate panel. Basically I cut 3 of the card base panels out (2 panels of patterned paper and 1 panel made from clear acetate). I sandwiched all three sheets together with the clear acetate as the center panel.

Just a little note: This card folds up to a standard A2 sized card.


^^^ Folded Front View^^^

^^^ Flat Front View^^^

Remember... Because this is a flip/ swing card, whatever you put on your center window will be "flipped" to the opposite side that is on (what's on the front will end up on the back & vice versa).

^^^ Flat Back View

^^^Folded Back View^^^

This was a lot of fun to put togethher... I think I'm gonna make these cards on a regular basis!

And I think everyone should attempt interactive cards! It's not just fun making them but fun for whomever receives them as well!

Now, go get crafting! 
See you next time!!


All digital files and svgs are cut using my Sizzix eclips machine & ecal software.

Thursday, September 5, 2013

Luv u a latte card

Sorry Friends! I've been out of touch for quite some time now. Between having my two boys getting sick, me house sitting for a week, and then coming back and the whole household getting the stomach flu it's not been easy to sneak in some quality crafting time.

I did however sneak in two quickie cars between weeks... sigh... and now that things seem to be slowing down and the family is getting back on their feet i think it's about time I get into serious crafting mode!!

But until things get into full swing... 
Here are the two cards I made. The first I made while house sitting. The second when I got home ( right before everyone got the flu).


The bear and cup came from Designs on Cloud 9's Latte Bears set. And the scalloped background is from their Scallops set. I made thi to be a 5"x5" card... came out as a great "guy" card with all the dark neutral colors I used.

For this next card I used the exact same bear but just put him into a sitting position. 


That what I love about these files... you can make them into paper dolls you can pose!! 
I also used Fiskars' threading water & fall leaves(??)- border punches, Sizzix (retired green die)- photo corners, & Marvy Uchida's Oval Clever Lever Mega Punch to make the pumpkin.

This card is a standard A2(4.25"x5.5") size card.

Then for a simple elegant touch I added one of my handmade stick pins.

I've been experimenting with stick pins and I think I'll be posting more about stick pins in the future. This one came out super cut and was sooooo easy to make!

Well, that all I got time for today! Thanks for looking and don't forget to check back soon!