Showing posts with label candy. Show all posts

Tuesday, August 30, 2016

Trick-OR-Treat

Hello again, Crafty Friends!!

Did you know that the "holiday" season will officially start in just a few short weeks??!

EEEEEKKK!! I am beyond excited!
Especially because the seasons officially kicks off with my all time favorite holiday... Halloween!!
 I don't just love it because of the candy either! I love it because my birthday happens to land on the day before All Hallows Eve!! And, every year we have a masquerade birthday bash on Halloween night. 

Guest dress up in costumes, eat, and take a break from the party to take the children trick-or-treating. Then we come back and eat and continue partying and the kids rummage through their haul. It has become a annual tradition! So much fun and so many memories!!

So in the spirit of all things Halloween-y I made this super sweet card, for Team Pink and Main, that is sure to give you a tooth ache!


Supplies Used
Sweet Halloween (Pink and Main)
Sweet Halloween Dies (Pink and Main)
Planning Fall (Pink and Main)
Big Shot (Sizzix)
Die-namics Blueprints 29 (My Favorite Things)
Mixed Media Stack (DCWV Inc.)
White Embossed Stack (DCWV Inc.)
Solar White Cardstock (Neenah)
Mega Runner (Xyron)
Momento Tuxedo Black (Imagine Crafts/ Tsukineko)
Colored Pencils (Spectrum Noir) 
Alcohol Markers (Spectrum Noir)
White Opaque Marker (Recollections)
Chalklets (EK Success)
3D Dots (EK Success)
Glitter Gel Pen- Clear (Sakura)
PITT Artist Pen XS (Faber-Castell)

I start by stamping my images from the Sweet Halloween stamp set with Momento Tuxedo Black ink onto Neenah Solar White cardstock.

 To color my images I used Spectrum Noir Alcohol ink based markers. Then shaded with color pencils for more depth.

For the the images above, I used the following colors:

Cupcake- HB2, HB3, GB4, and OR1;
then shaded with 081 and 017.
Caramel Apple- DR2 and CR9; then shaded with 
Candy Corn- LY3, GB4, and OR1; then shaded with 017 and 013
Candies- HB2, HB3, BP1, GT3; then shaded with 081, 053, 054, and 029
Chocolate Bar- TN4,TN9, EB3, and EB4; then shaded with 090, 094, and 103

I rubbed hot pink chalk onto for cheeks on the cupcake. Then added highlights throughout using a white opaque marker.

I also colored the wrapper of the chocolate bar with a glitter pen to give it the look of foil.

When I was happy with all my coloring I die cut my images with coordinating Sweet Halloween Dies by running it through my Big Shot.


Then, I used my MFT Blueprints 29 dies to die cut a mat from DCWV's White Embossed Stack , and a frame from holographic paper from the Mixed Media Stack.

I used my Mega Runner to attach my frame to lime green cardstock (also from the Mixed Media Stack), then hand cut around the frame with scissors and attached it to my white embossed paper cut-out. Then, mounted it on purple shiny metallic cardstock (also in the Mixed Media Stack).

To make my cut-out pop off the card I mounted all my pieces with foam adhesive. Attaching them into the windows.


Then, I made a cardbase from more Neenah White Cardstock and mounted a  4.25"x 5.5" piece of gold glitter cardstock directly on top.

I stamped the phrase "trick or treat" from the Planning Fall stamp set and cut it out by hand forming a double ended fishtail banner.

Finally, I hand doodled around the inside perimeter of each window with a PITT Artist Pen in XS. with the same pen I also added tiny little eye lashes.


I think this batty cupcake is just too stinkin' sweet!!

I hope you enjoyed today's project!!

Until next time...
HAPPY CRAFTING!!
~Mitsy


Monday, October 26, 2015

Grateful heart treats

Hello, Crafty Friends!!
I'm back again with another treat/ favor idea. This year, why not treat Thanksgiving dinner guests with a special treat. Or if you have a fall birthday baby in your family (like I do) these would make awesome party favors or thank you gifts.


Supplies Used
 Cut'n'boss (Craftwell)
Teresa Collins Pocket Dies (Thankful, Lover's Lane)
Spellbinders Grand Nestabilities (Labels One)
eBrush (Craftwell)
Thankful Stamp Set (Pink and Main)
Xyron Mega Runner
Stapler
VersaFine Onyx Black Ink Pad
Martha Stewart Scoring Board 
Foam Tape
Cardstock -Brown, Craft
Patterned Paper

These come together super easy and you can change your colors to suit your own theme or color scheme.
For each treat I cut out a doily (from the TC Lover's Lane set), a label (smallest from the Labels One set),  a ticket label (from the TC Thankful set), and 3 springs (Also from the TC Thankful set).

 Using a scoring board I scored a line down the middle of my label and doily, creased it, then folded them in half. I used my Xyron Mega Runner to add adhesive to the back of my doily and mounted it onto the label. This created the base of my treat toppers.

Then I used my ebrush and dark blue Sharpie to shade my sprigs to coordinate with the patterned paper I used to make my doily. Then I glued them to the front of my topper.

I filled a food safe cellophane bag with carmels, place the "topper" over the open end of the bag and staple close.

I used the CENTERS of the ticket frame (from the TC Thankful set) and stamped my sentiment onto it with black ink.

I used foam tape to mount my label, covering the staple.

And here is my finished favor. Specially wrapped treats for all those special guests.


These would also be great on a table setting. Instead of stamping you could have each treat labels with the name of your guests for amazing place cards!!


Hope you enjoyed today's "treat"!! LOL

Until next time...

Happy Crafting!!
~ Mitsy

To see more holiday inspiration please visit my personal blog at:
www.upontippytoes.com

Saturday, August 1, 2015

Happy Birthday Paper Sweeties!


Hi Crafty Friends!! 
Today marks the 3rd Birthday of a wonderful company... Paper Sweeties!!
And they are teaming up with other amazing companies to throw a month long celebration!! Me and my friends at Pink and Main and joining the party...I hope you join in too! There is lots of fun to be had and great ideas and awesome prizes along the way! 

 Speaking of prizes, keep reading to learn how you could win a stamp set of your choice from Pink and Main!!

Today I combined Paper Sweeties dies with Pink and Main stamps to make these super quick and easy, yet stylish, party favors!


Supplies Used
Birthday Boy stamp set (Pink and Main)
Die cut machine
Pretzel Treat Bags (Wilton)
Craft cardstock and Patterned paper (DCWV)
Metallic gold cardstock (Grafix)
VersaMark (Tsukineko)
Gold embossing powder (Hero Arts)
1.5" circle punch ( EK Success ) 
Stapler
2Way Glue (EK Success)
Bone folder

First I started by filling my bags up with my chocolates... but you can use any type of treat you want. These bag were made for pretzels but we're a big chocolate loving family here. You dont like chocolate?? Gumballs would go great in these too!!


Then I cut my tags out of  this awesome craft and gold polkadot paper. I used the traditional shaped tag for this. Then I took a bone folder and folded them on half.


I had left enough room at the top of each bag to crease and fold over a little flap. Then I slid the folded tag over that crease and stapled the tag onto each.

They should look something like this at this point.
Set aside.

I used the scallop circle tag die from my set to cut more tags. These I stamped with a gift stamp from my Birthday Boy set from Pink and Main. I used a VersaMark ink pad and then dusted the image with gold embossing powder.

The little present fit perfectly inside the stitched circle!! Its cute already but I didn't stop there!!

I also cut each craft tag a matching gold tag. There's a reason for my madness, I promise...

I then used a circle punch to cut out the centers of the tags. This one was a little too small so I trimmed off the excess so that only the stitches and scallops remained. Now I have a frame for my tag!

I glued my golden frames onto my tags using a glue pen.

Look at all these gorgeous tags!!

And here they are attached to the bags with sheer ribbon!! the holes from both tags makes attaching the ribbon a breeze!! 

I can't believe how easy these were to put together! I totally love how something so simple can look so fancy!! These would also be great as wedding favors too... not just for birthday parties!

And speaking of birthdays... Paper Sweeties is not the only awesome somebody having a birthday in August... My oldest is having a birthday coming up real soon and these will be some of the favors she'll be having at her party. You can check out the matching Popcorn Boxes here. **Spoiler Alert** There is no popcorn in these boxes!

I hope you enjoyed my tutorial! 

And now for the fun part... Michelle Currie, owner of Pink and Main, has given me permission to giveaway one of her awesome stamp sets!!! EEEeekk!! That's right, the winner will receive a Pink and Main Stamp Set of their choice!! 

Here's what you have to do:
1) Follow my blog
AND
2) Leave a comment below

And, that's it! Easy Peasy Mac and Cheesy!!

Oh, and don't forget to join the fun over at the Paper Sweeties Blog for more fun and awesome prizes and giveaways!!

http://papersweeties.com/category/blog/

Thanks for joining us!
And Good Luck!!


Saturday, May 30, 2015

Father's Day Candy Bouquet

Hello Crafty Friends!! I am back with another handmade gift idea. As we know, Father's Day is just around the bend. I don't know about you but I am always plagued with the decision on what to get my my husband for Father's Day.

Getting him a tie would be pointless... his work attire is ultra casual and consists for the most part of polo shirts and jeans... yes, jeans... told you ultra casual! 
Then, there's cuff links... Shoot, the last time he wore a set we were getting married, and that was practically a decade ago.
T-shirts... nah!! He's got a closet full.
Cologne... uh-uh, I have a sensitive nose... poor thing wouldn't be able to wear it.

Ok, well if you're just like me and in a rut... there's always that age-old saying...
"The way to a man's heart is his stomach"!

And my hubby (aka... my babies' daddy) is no exception. That is fine by me because it always seems that I'm gifting someone FOOD and it "food gifting" has become of my specialties!

I decided I wanted to make him a candy bouquet but not just any candy bouquet a manly bouquet. Packed full of "GUY" treats like beef jerky, nuts, and ok, a little bit of chocolate... hahaha, who am I kidding... I'm stock piling it with behemoth sized servings of chocolate.. because that is just how I roll! LOL
 And then the icing on the cake... gift cards!! My children wanted to get involved and helped get daddy something special... so each of their cute little selves chipped in to buy their daddy some google play gift cards. How sweet are they?!!
My husband is a big computer geek so I know these are always a welcomed gift.


Here is what I used to make this Daddy Bouquet...

Tools and Supplies Used
Xyron Creative Station
Spellbinders Nestablities- Label Twenty-Five
Spellbinders Shapeablities - Damask Motifs
Cut'n'Boss Machine
Eclips Machine with ecal software
Craft Smith - Natural Luxury
Grafix Arts Metallic Silver Cardstock
Bazzill Basics Paper- Raven
Wooden Dowels
Transparent Tape
Green Styrofoam block
Ad-Tech Hi Temp Glue Gun and Glue Stick
True North Chocolate Nut Crunch
Reese's Big Cup Peanut Butter Cups
Jack Links Beef Steak Sticks
Polka Dot Tissue Paper
Powdered Drink Container


This project is another easy way to recycle all your old powdered drink mix containers, oatmeal canisters, or empty coffee cans. Just remove the paper label (if any) and clean out the inside and presto... instant base for your bouquet.

First thing I did was measure my container. There is a lip at both the top and the container... so make sure you measure from the inside of both lips. Mine measured 6.75" high  by 16" around. 

Then, I added at least two inches onto the circumference to allow my paper to overlap a bit when wrapping the can.

Since I don't have 18" paper I made 2- 6.75"x9" pieces instead.

I then ran both pieces through my Xyron Creative Station(with 9" permanent adhesive cartridge). And set aside.

I then used my Cut'n'Boss Machine to cut all my Spellbinders dies at once... Gotta love that extra large cutting platform!!


Cuts like butter every time!!


I ran all my die cut shapes through my Xyron Creative Station... this time using the 5" permanent refill cartridge. Love how this bad boy takes the place of 2 machines!


And the 5" cartridge still has plenty of space to run all my pieces at one time!! LOVE IT!


Next using my Sizzix Eclips and ecal I spelled out "DAD". 

 T

Since these are smaller I decided to use my smaller Xyron  2.5" Create-a-Sticker. My Xyron machines make creating a breeze. There's no drying time and virtually no clean up too!! Simplicity at it's best!


I used to hot glue my paper but ran into a couple of problems with the glue cooling too fast and leaving unsightly lumps under the paper or my paper. I like that I can just peel the backing and stick and that my surface looks and feels smooth!


I took all my small damask diecuts peeled and adhered them onto my label making one big sticker label.


Then placed it onto the front of my canister,


This the only place hot glue onto my project. I added a good amount of hot glue on the inside bottom of my container and added my styrofoam. If you can't fit your foam in try cutting down your edges before inserting.


Then I taped my dowels to all my treats, even the big bag if chocolate covered nuts. For the heavier items I made sure to give it a sufficient amount of tape to support all the weight. 


Then I inserted the dowels into the foam. I made sure to arrange the dowels so that they look like they are cascading or "tiered". You may have to cut some of you dowels down in order to achieve the stadium seating type arrangement. LOL


Lastly, I inserted tissue paper in between the dowels and down into the can ... covering the gaps and concealing all the dowels.


I hope you enjoyed this yummy gift idea.. my Father's Day "Man" Bouquet!!

See you all again next time!!

Happy Crafting!!

~Mitsy


Monday, February 23, 2015

LOVE, not just for Valentine's Day

Hello Crafty Friends...
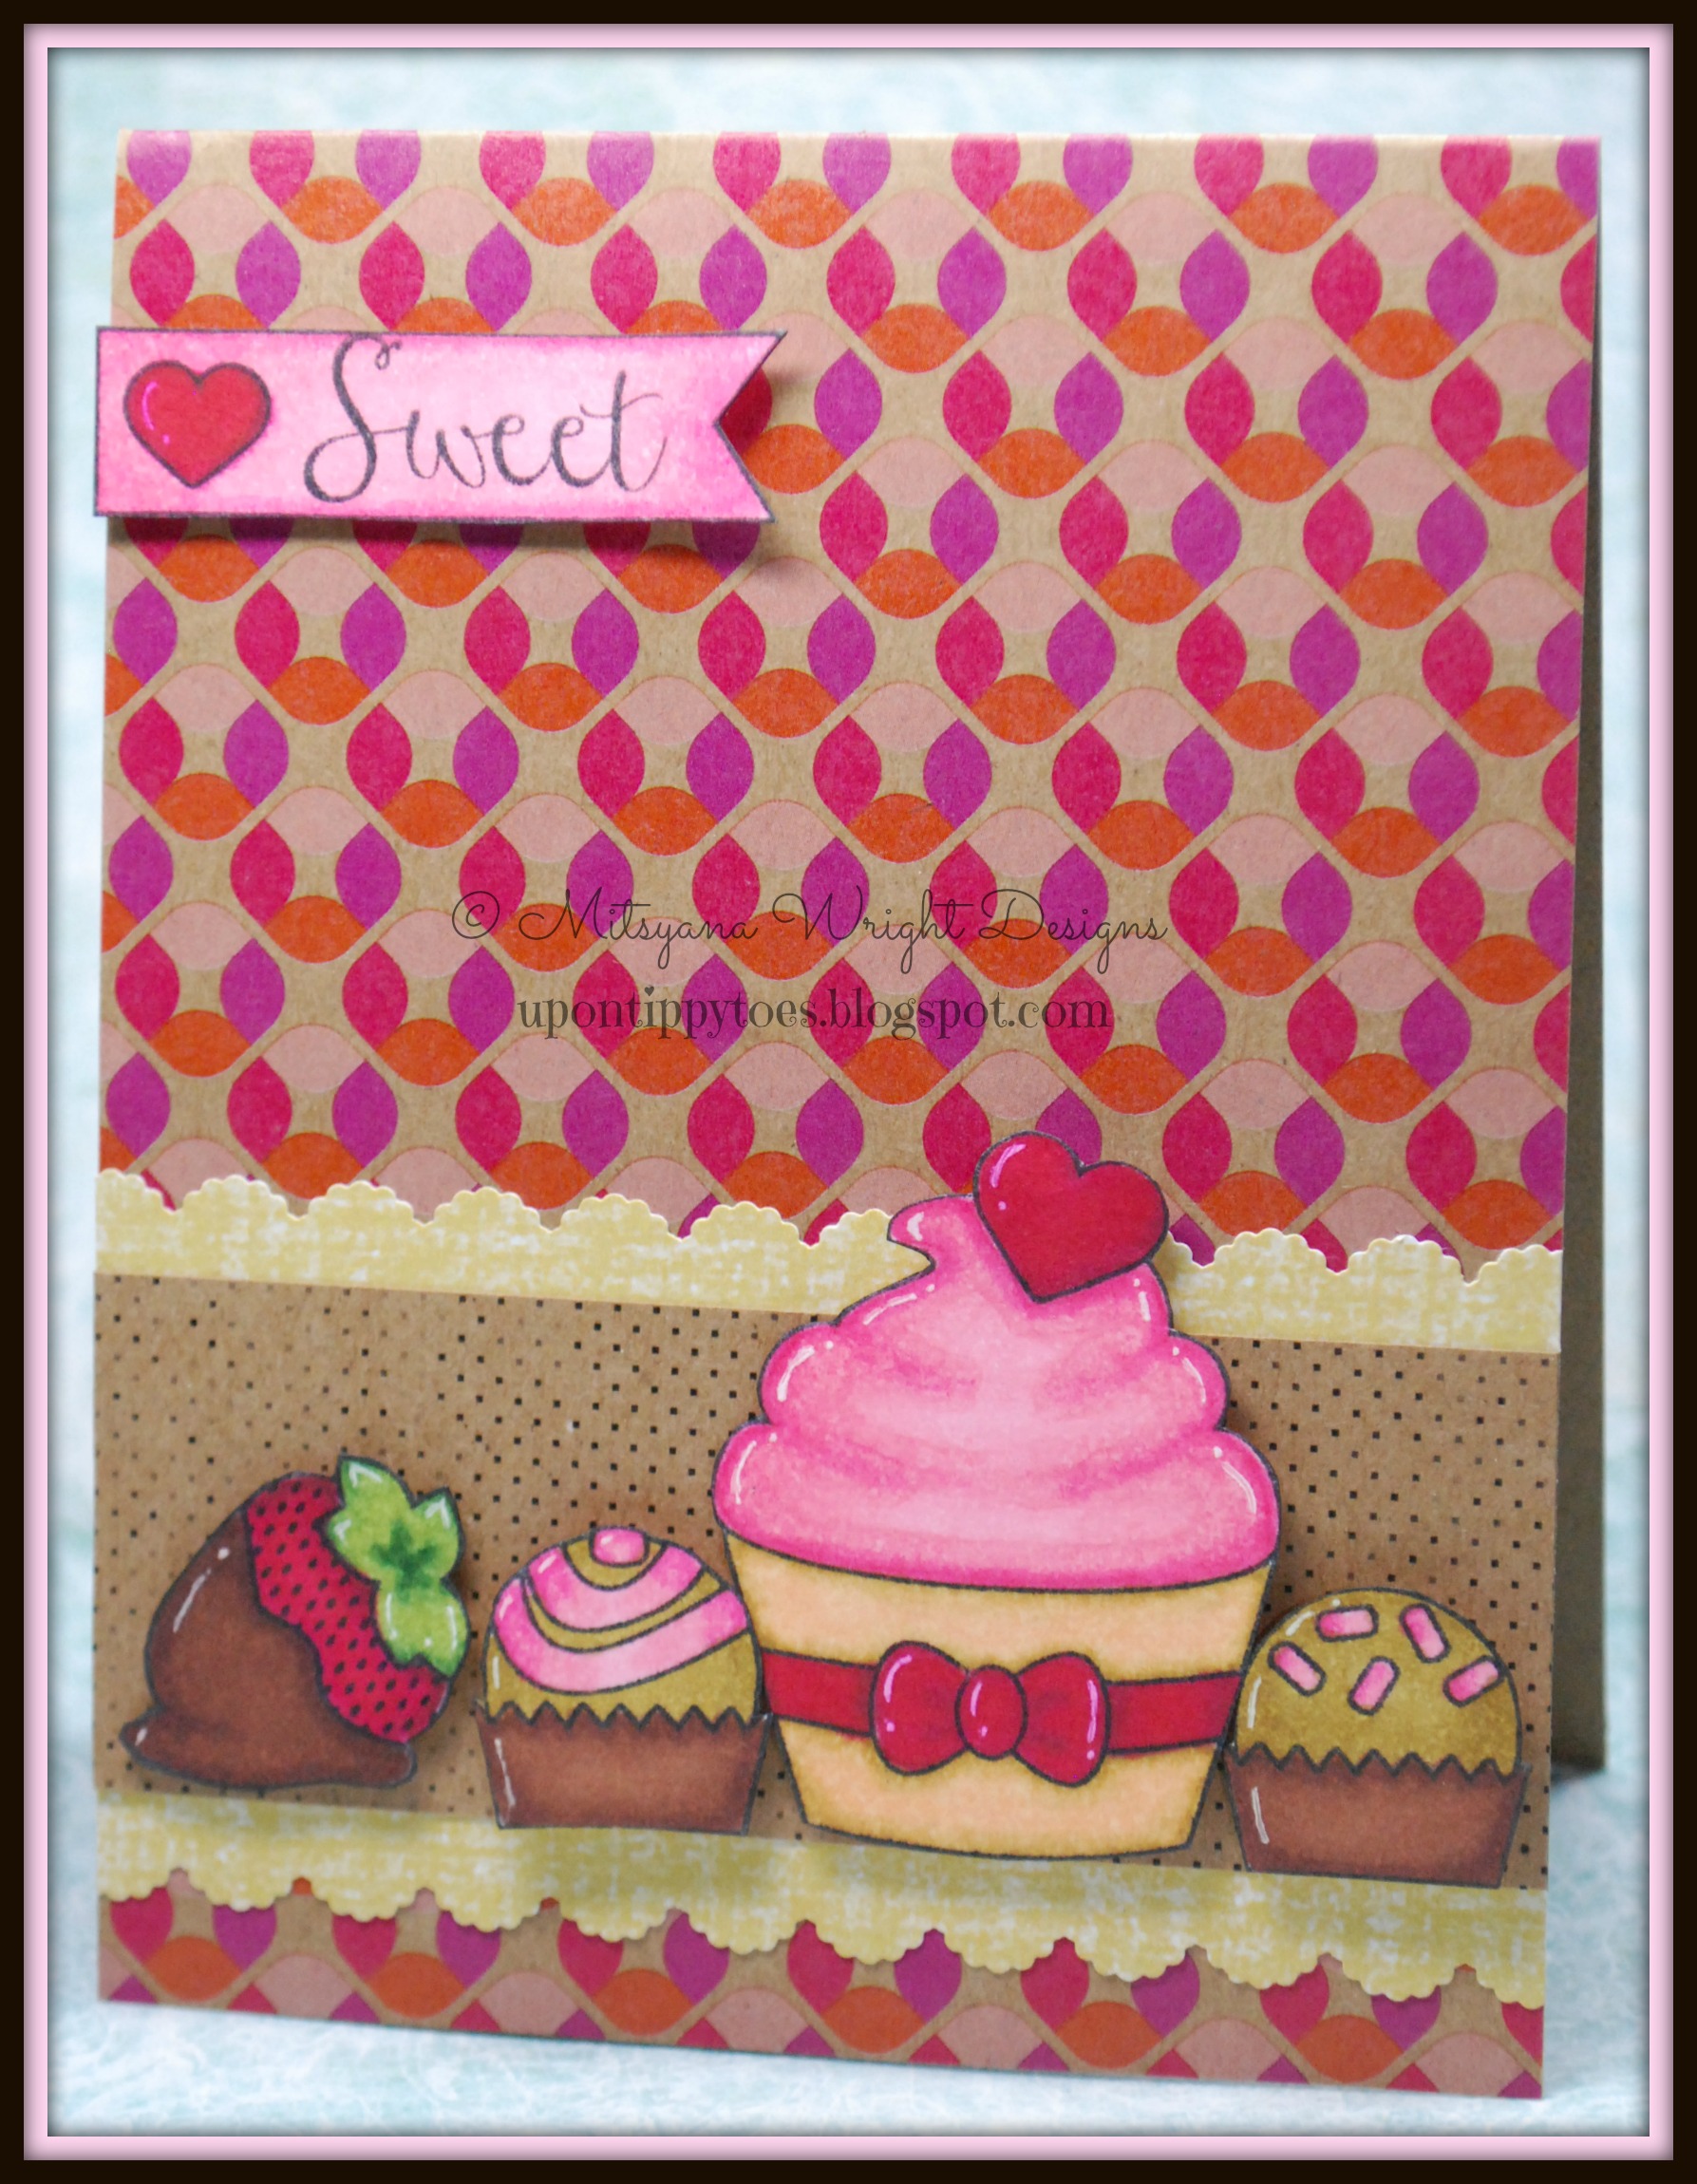
I know Valentine's day has passed but it shouldn't be the only reason to give someone some "LOVE". Sometimes sending friends and family a love themed card can tell them " hey, I'm just thinking of you" or "thanks, I really appreciate you". And, today's card does just that. I made a simple just because card... because it's nice to send some "love" to brighten someone's day!
sweet
 For this card I used Pink and Main's " Sweet on You" set for the cupcake, bon-bons, strawberry, and flag... and the "Sweet" is from the " Little One" set. These two sets work very well interchangeably as the flag and label shapes are pretty close in size.


 To color my stamped images I used Spectrum Noir Markers in colors P3, P5, DR3, DR5, DR7, GB2, GB8, TN7, and TN8.

Additional Supplies:
EK Success Scalloped Scallop Punch
Canson 150 lb. Illustration Paper
Momento Ink Pad by Tsukineko (Tuxedo Black)
Patterned Paper by 
Craft Smith (Typecraft)
and  DCWV (Sky's The Limit)

Hope you send someone some LOVE today!!
Happy Crafting!!
~ DT Mitsy