Hello, Crafty Friends!
I'm back with Team Xyron. And this week we are partnering up with the awesome people over at ClearSnap throughout the week we have been sharing amazing projects featuring products from both companies.
Today, I want to share with you how to make this dramatic background using ClearSnap Stencils, Ink Pads, and the Xyron Creative Station!

Supplies Used
ColorBox INK Premium Dye Mini Inkpads- Aqua, Mud Pie, Coal (ClearSnap)
ColorBox Art Screens- Bloom (ClearSnap)
ColorBox Art Screens- Bloom (ClearSnap)
Sorry Dies (Pink and Main)
So Sorry (Pink and Main)
Stitched Rounded Rectangle Dies (Pink and Main)
140 lb. Mixed Media Paper (Strathmore)
Pigma Micron Pen (Sakura)
Cardstock- Brown, Turquoise (Recollections)
Creative Station w/ Repositionable Adhesive Refill (Xyron)
Mega Runner (Xyron)
First, I started by adding adhesive to the back of my stencil... YES, I said to the back of my stencil! But don't worry, we are just going to make the stencil a self adhesive one. I like doing this to my stencils so they don't move while I stencil a project. I find it better than trying to tape my stencil down all the time.
For this, I had to change out my permanent adhesive refill for a repositionable one in my Xyron Creative Station. It is very important that it is the REPOSITIONABLE refill and not permanent! We don't want our stencil to be permanently bonded down on our project!
Then, I simply ran my stencil through my machine.
 After it has ran through, make sure you burnish the protetive film really well to remove all the excess adhesive in the cut-out areas.
Now, you have a self adhesive stencil that you can use over and over! No more wasting tape!
 Once I backed my stencil with adhesive I simply placed it over the material I wanted stenciled. I used a micron pen to trace along the image of the stencil. Then removed the stencil once I was done. Now I have a huge background image!! This is a great substitute for giant background stamp that tend to be on the pricey side. Most stencils (even very large ones) usually only cost a few bucks. Way cheaper than a standard A2 sized background stamp!
 Once I had my outline exactly how I wanted it, I "mushed" my Aqua dye ink pad on to glass work surface to use as a color palette. Then, with my water brush, I picked up color off my mat and colored in my traced image.
I started from the center, making it my darkest area... then, worked my way on out lighter. I do reapply more ink in areas that I think need more.
Look at how pretty coloring a stencil can be...
 Then, in the negative space, I add a second color. Again, working from the center of the image on out, darkest to lightest.
Adding the second color (Mud Pie), really makes that Aqua pop!!
 Once my image was dried, I trimmed it down to 3.75" x 5". Then my Mega Runner to attached it to a 4"x 5.25" mat made from brown cardstock and then onto a standard A2 sized card base made from turquoise cardstock.
This is a such a stunning background already and I didn't want to cover up all that beautiful work with flowers or other embellishments. So I opted to make it a clean and simple card and just added a simple sentiment to accent the card front.
I chose this "Sorry" die from Pink and Main. It comes with a nice thick shadow. Shadows can sometimes be over powering, especially if they are on the thicker side like this one. But I learned that if you cut out your shadows from vellum it gives that nice shadow effect with out blocking out what's behind it.
 I cut out the Sorry from Black cardstock, layered it onto the vellum shadow, then glued another Sorry made from craft foam directly under it. It's like giving it a pop dot without being able to see it. IT raises the image up and makes the vellum easier to see and lets in more light under the die cut.
 You can really see the dimension of that foam under the vellum. And because you place it directly under your die cut word no one will ever see it!
Then simply add it onto your card front!
 I decided to add the words "my friend" using Coal ink, and make it an all occassions apology card. There are so many occassions why you could be apologizing... to send a friend condolences, to say sorry after a fight or heated debate, or maybe you missed a birthday... By leaving it "generic" you can add it to your card stash and it'll cover all of them.
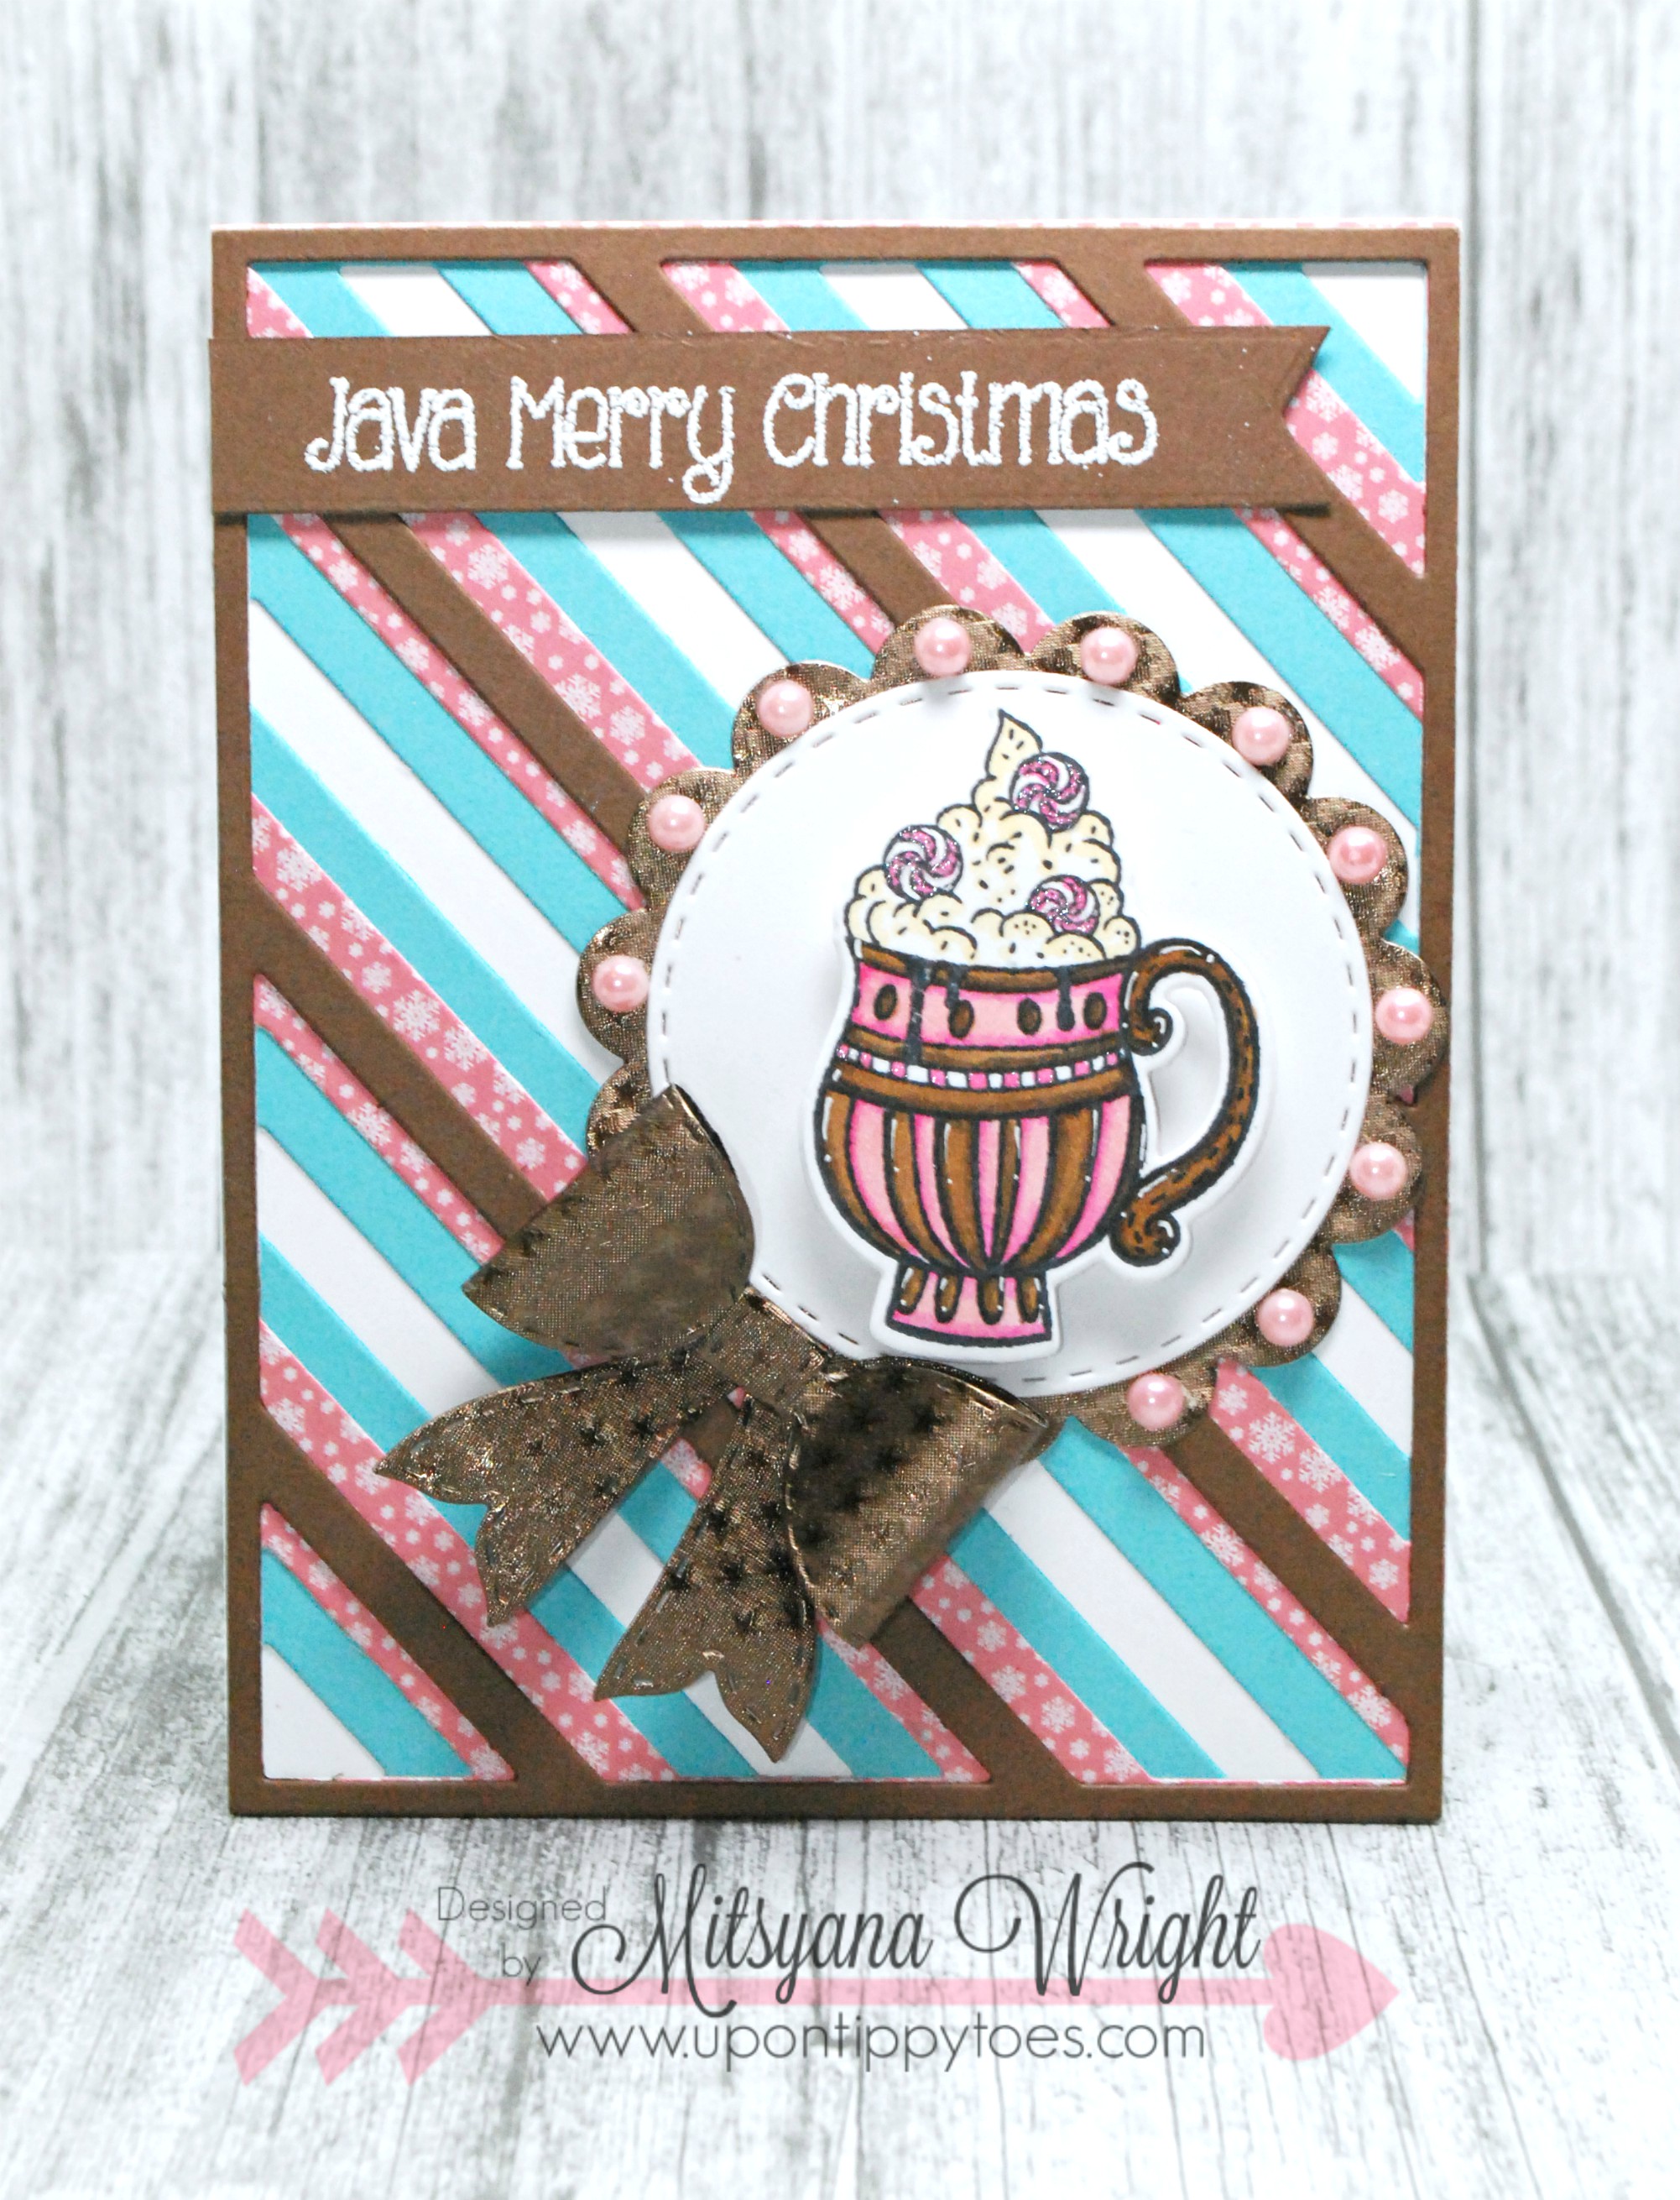
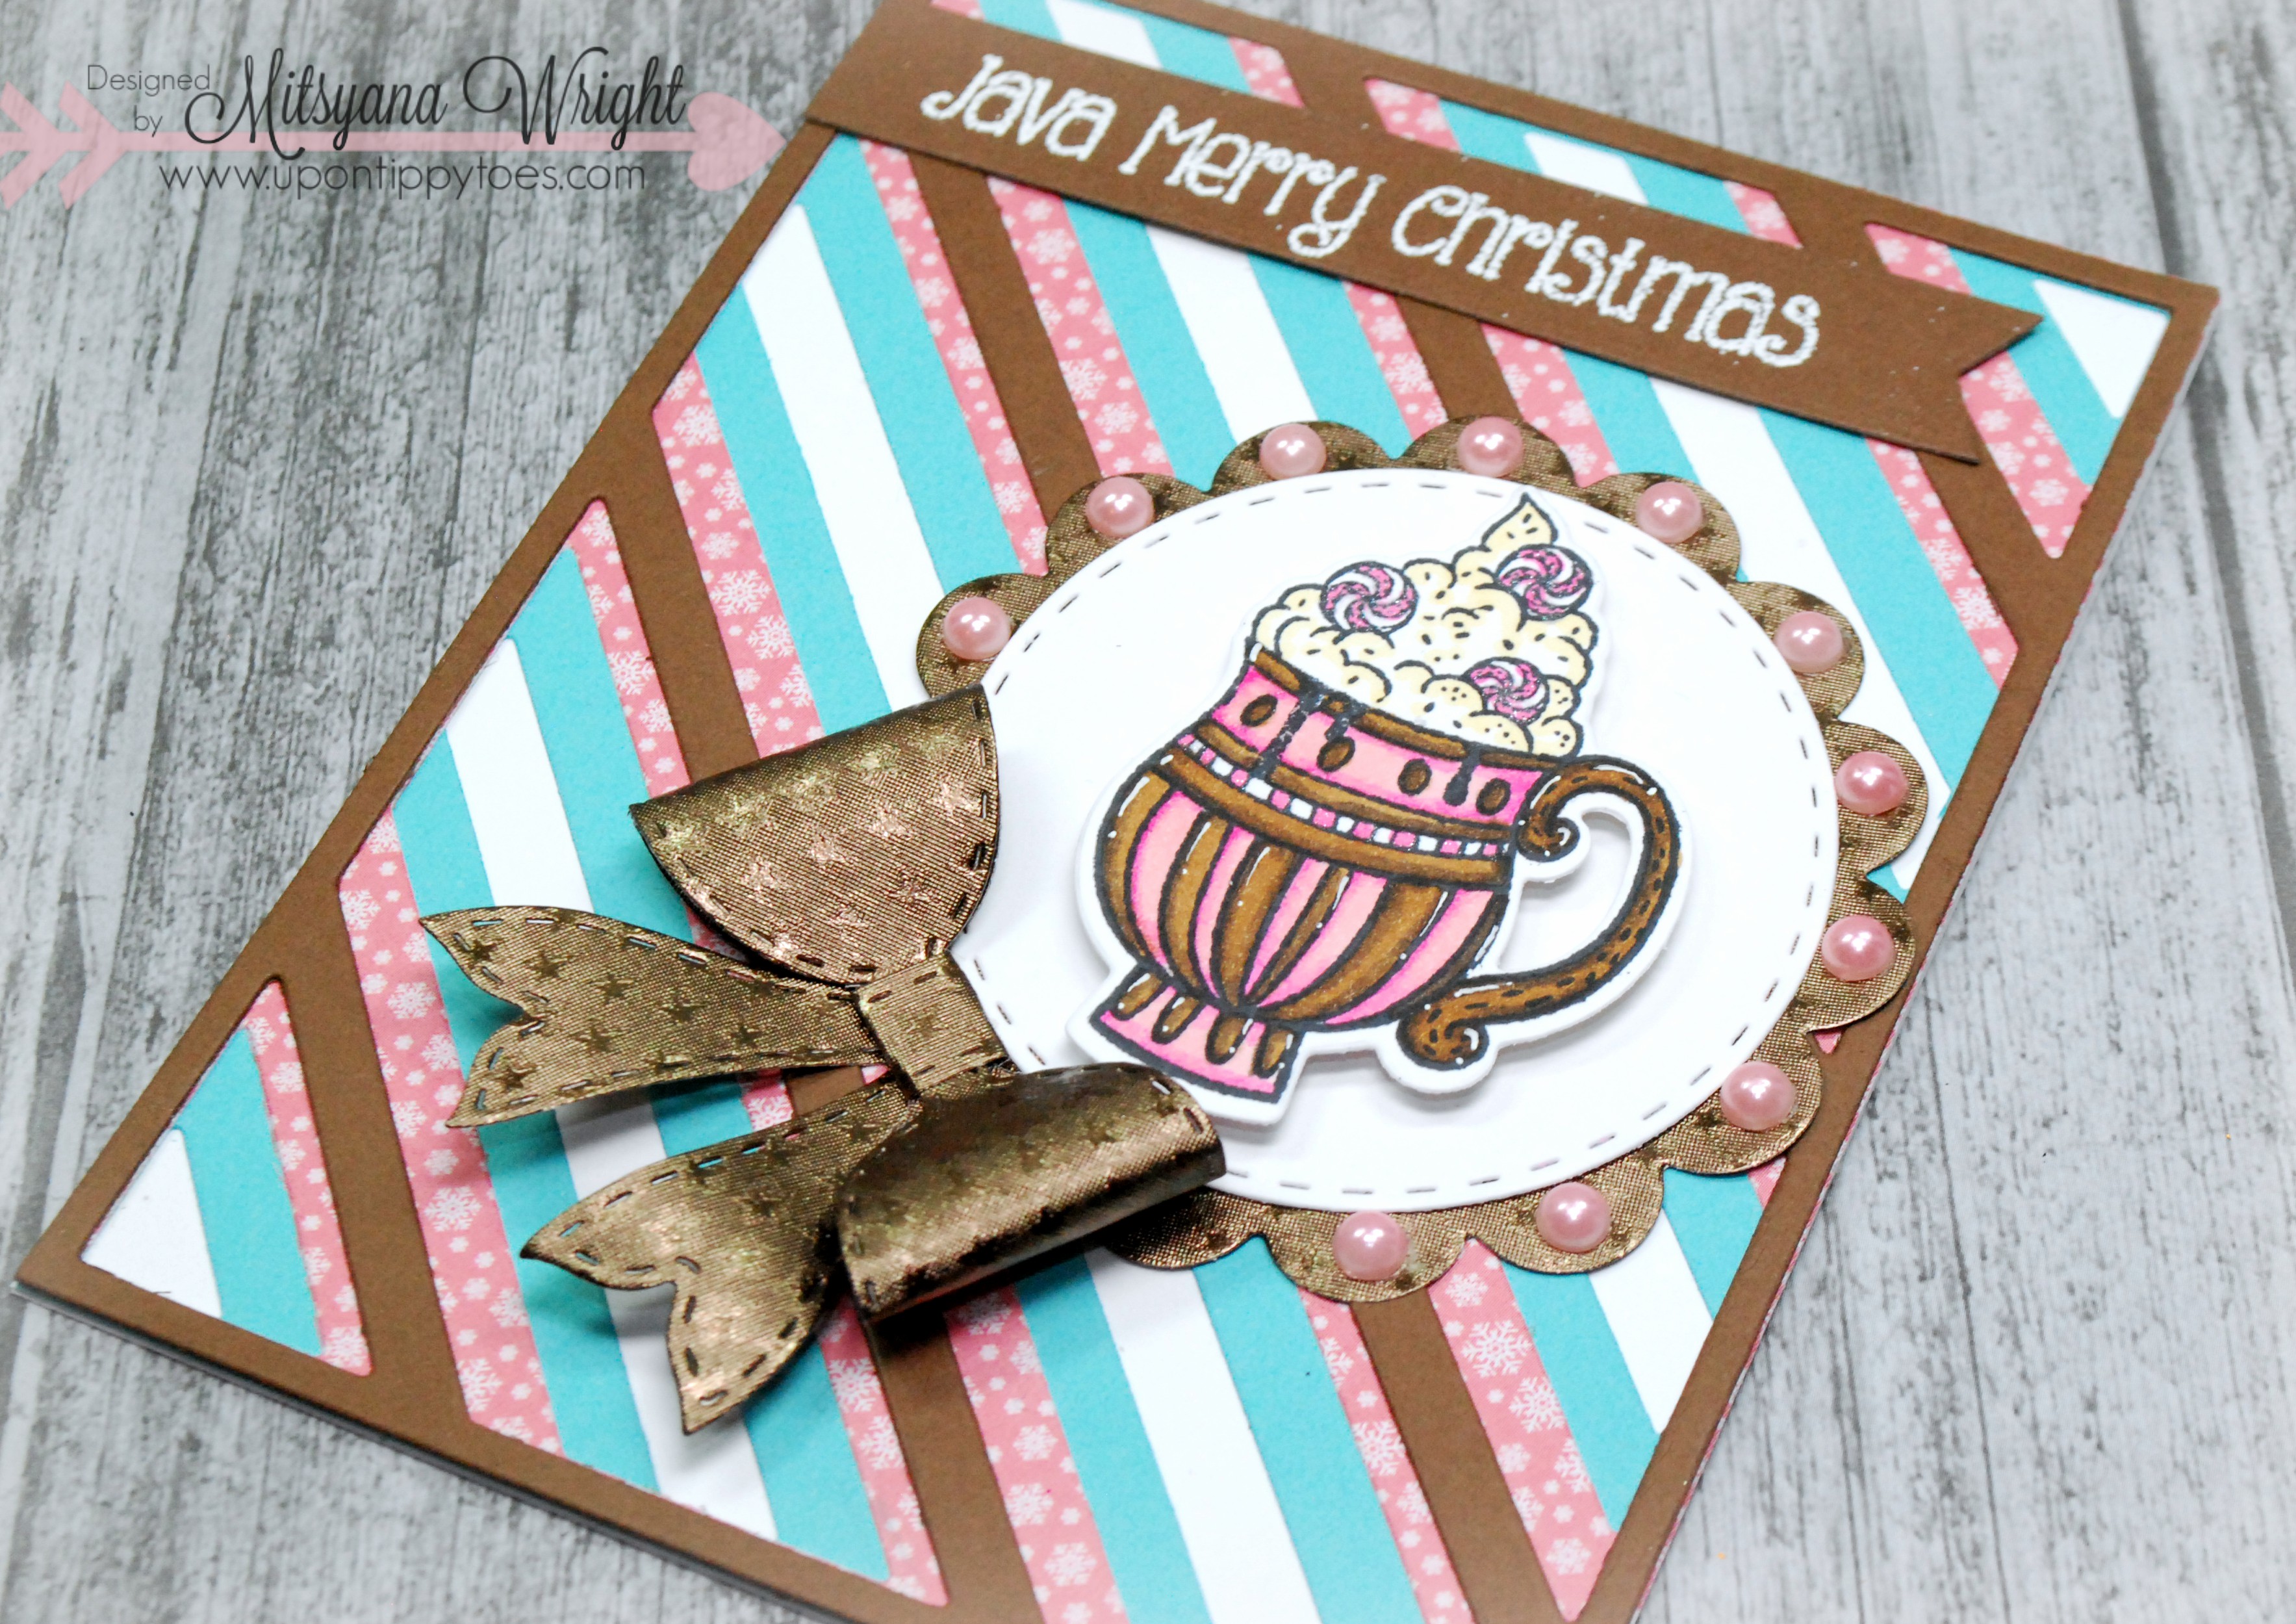
And here is my finished card...


Overall, this is a great technique to give a try and I hope you do!
Until next time...
HAPPY CRAFTING!!
~Mitsyana
So Sorry (Pink and Main)
Stitched Rounded Rectangle Dies (Pink and Main)
140 lb. Mixed Media Paper (Strathmore)
Pigma Micron Pen (Sakura)
Cardstock- Brown, Turquoise (Recollections)
Creative Station w/ Repositionable Adhesive Refill (Xyron)
Mega Runner (Xyron)
First, I started by adding adhesive to the back of my stencil... YES, I said to the back of my stencil! But don't worry, we are just going to make the stencil a self adhesive one. I like doing this to my stencils so they don't move while I stencil a project. I find it better than trying to tape my stencil down all the time.
For this, I had to change out my permanent adhesive refill for a repositionable one in my Xyron Creative Station. It is very important that it is the REPOSITIONABLE refill and not permanent! We don't want our stencil to be permanently bonded down on our project!
Then, I simply ran my stencil through my machine.

Now, you have a self adhesive stencil that you can use over and over! No more wasting tape!


I started from the center, making it my darkest area... then, worked my way on out lighter. I do reapply more ink in areas that I think need more.
Look at how pretty coloring a stencil can be...

Adding the second color (Mud Pie), really makes that Aqua pop!!

This is a such a stunning background already and I didn't want to cover up all that beautiful work with flowers or other embellishments. So I opted to make it a clean and simple card and just added a simple sentiment to accent the card front.
I chose this "Sorry" die from Pink and Main. It comes with a nice thick shadow. Shadows can sometimes be over powering, especially if they are on the thicker side like this one. But I learned that if you cut out your shadows from vellum it gives that nice shadow effect with out blocking out what's behind it.


Then simply add it onto your card front!

And here is my finished card...

This card came out so amazing! I love how bold the colors are and how they pop!

This technique is great to use for those "GUY" cards... some men like it clean and simple and no frills... Well, to be fair some women do too! LOL

Overall, this is a great technique to give a try and I hope you do!
Until next time...
HAPPY CRAFTING!!
~Mitsyana
***Disclaimer***
This blog is compensated to provide opinion on products, services, websites and various other topics. Even though the owner(s) of this blog receives compensation for our posts or advertisements, I always give my honest opinions, findings, beliefs, or experiences on those topics or products.
The views and opinions expressed on this blog are purely my own. Any product claim, statistic, quote or other representation about a product or service should be verified with each manufacturer, provider, or party in question.