Showing posts with label girly. Show all posts

Thursday, June 18, 2015

May your day be...

Hello Crafty Friends!! It is week #2 of our June Sponsor, Latina Crafter!! And today I have another adorable card!! I am loving combining my eBrush with Latina Crafter's Stamps and Stencils!! I was amazed at the quality of their product! The stamps stamp nice and crisp and the stencils are thick and sturdy!! WOW... just, WOW!!

For this card I used Latina Crafter's Birthday Girl - Chica Cumpleañera. This little girl is just so sweet and I love her little bloomers and striped stockings!!


I started by stamping my image on illustration paper with my Momento Tuxedo Black ink pad. Then colored my image using my Spectrum Noir Markers.


I then cut out my image using my second to the largest Spellbinders Labels Twenty-Five die.Using my eBrush machine I airbrushed around the outer edge f my cut out with some of the same colors I used to color my image.
I also cut out heart patterned paper with my the biggest of my Darice Nesting Square dies. I also ebrushed around the outer edge of this cut out. I find ebrushing my cut outs defines the shapes more and makes them really "pop"!


Next I taped my shaped down to my work area. I will be applying modeling paste and taping down whatever it is I'm working on helps minimize bulging and warping. 


I applied a thin layer on top of my stencil... the stencil I used is from the Latina Crafter's Stencils Cumpleaños set. I used a spatula to apply my modeling paste and scraped off the excess and removed my stencil. I cleaned my stencil right away and set my modeling paste aside to dry.

Once it was dried I place my clean stencil back on top of my modeling paste fitting it back into the grooves. I covered the remaining stencil cut-outs with blue painters tape so I wouldn't accidentally spray into any of the exposed areas.

Then I eBrushed each pennant with the same Spectrum Noir Markers I used previously. Now I have individually colored 3D pennants!! Too cute!


I had a border punch that went perfectly with a birthday theme... so I cut out about a 6 inch chain... I don't need that much but this way I can pick and choose which section looks the best and crop it. I ebrushed my cupcake chain too... isn't it just too sweet?!!

After stamping my sentiment and assembling my card front together I did notice a little warping in my paper so I ran the whole front through my Xyron Create-a-Sticker. 

Once it was adhered I couldn't even tell it was warped to begin with.  And lastly, I also ebrushed some flatback pearls to make them look like cherries and added them to the top of the cupcakes.


And here is my finished card!!

CLOSE UP


I hope you enjoyed today's project!!

Supplies and Tools used
eBrush  (Craftwell)
Stencils Cumpleaños (Latina Crafter)
Spectrum Noir Markers (TN3, TN4, TN5, LG1, LG2, LG3, PP1, PP2, PP3, PP4, HB1, HB2, HB3, LY1, LY2, LY3, IB1, IB2, IB3, FS4, FS6)
Spellbinders Nestabalities Labels Twenty-Five
Darice Nesting Squares
Ek Success Cupcake Chain Large Edger Punch
Canson Illustration Paper 150 lb
Momento Tuxedo Black Ink Pad
Patterned Paper ( DCWV- The Countdown Stack, Sanrio-Hello Kitty Paper Crafting Pad)
White cardstock 
EK Success Corner Punch
Flatback pearls (Michael's )
Opaque Marker- Snow (Recollections)

~ Mitsy


To see more of my work visit my personal blog at upontippytoes.com


Friday, May 22, 2015

Life's a Breeze!

Hello crafty friends... I wanted to share with you a paper piecing a did a while ago but never got around to finishing up my project. have you ever got into a crafting funk... you visualize something in your head and it just doesn't come out the way you planned. Well, this is one of those times!!

And when you get in a funk sometimes the best thing to do is stop, step away, and come back later! Well my "later" got later and later... until a couple weeks later I finally remembered her... that's right, I plain, flat out forgot all about this little cutie!!


For this little lady I used the Sunshine Cuties set from KaDoodle Bug Designs. 


The eyes, nose and mouth are not included in this file. It is a personal file I hand drew and then turned into an svg file using the trace function in my ecal software. 


BTW... the sentiment in the above picture came from a stamp set called "Life's a breeze" from Pink and Main. And it is their free with purchase stamp set for the month of May. 


  I believe, the patterned cardstock with the clouds came from DCWV's "The Great Vacation" stack.
The rest of the papers were actually scraps I pulled from my stash. Eveb that rolling hill was even cut from a scrap piece I had saved from a project done back around Easter!! I love to save my scraps... waste not, want not...I always say!! Ok, who am I kidding?! Waste not, but still will want a whole lot... but will "need" a little less! Ok, that sounds more accurate.  


Of course I had to eBrush my little cutie...

I used Spectrum Noir FS4 for the skin. GB3 and GB4 for the yellows of her dress and apron. PP5 for her pink balloon, bow, shoes, and lips. TN7 on her hair.

Isn't she just so sweet?! I love how she came out!!


Additional Supplies Used
Glossy accents (Ranger)
2-way glue (EK Success)
Chalklets (EK Success)
XS PITT Artist Pen (Faber-Castell)
3D Dots (EK Success)
Xyron 5" Sticker Maker
Snow White Opaque Marker (Recollections)

Come back soon fot more paper piecing inspiration!!


Thursday, April 16, 2015

Pretty Monogrammed Tote


Hey there eBrushing fans... 
DT Mitsy here to bring you a quick way to transform a plain cooler bag  into a pretty prim insulated tote. 

 
I was inspired by a project that you may have seen on HSN during their live eBrush segment... It was a mini burlap tote made by my awesome DT sister Yolie Burke...

How stinkin' adorable is that??!! 

So I too made a tote... but not just a regular tote and not a mini one either!
But I did stick to her layout... Why mess with a good thing!!


Supplies Used
Cooler bag (Coleman)
Steel Rule Flower Die ( Tim Holtz's Tattered Flowers- Sizzix)
White Tulle
Pink Ruffled Trim
Sharpie Markers ( Pink, Light Pink, Metallic-Silver)
needle & thread
Rhinstone Button
Contact Paper/ Shelf Liner
Digital/ Electronic Cutter


I started off by cutting my tulle. You can buy this at the local super store  for about 1 or 2 dollars. They come on a little roll 6 inches wide and contain several yards. I used my Tattered Flowers die to cut out flowers rom my tulle and because it's a steel rule die I can cut 20 layers layers through all at once.  

Then I stitched them all together, literally just a couple stitches through the center of the flower, making sure to alternated the petal in between each other. Then I  fluffed the petals to make a poof.


I then eBrushed my tulle flower with 2 different pink  sharpies. I first sprayed down a layer of light pink then dark pink toward the center.


I then attached a rhinestone button in the center and sewed onto the strap. I also sewed the pink ruffled trim along the edge of the outer pocket. 

Next, I cut a stencil using my Sizzix eclips and shelf liner paper. Because of it's adhesive backing it makes awesome stenciling material. My stencil is less likely to move which is extremely awesome because my surface isn't flat.

The font used for the monogram is called Egregio Script. It's a FREE font you can download for personal use only from dafont.com. I love this script it is very elegant and looks great as a monogram!


I then eBrushed my stencil with a metallic silver Sharpie.
I removed my stencil.... 
and...
AWESOME!!

Oh, it turned out so pretty!!


I was going to give this to one of my daughters but I may have to keep this one. I have two daughters and I wouldn't want them to fight over it!! LOL

Hope this inspire you to eBrush and alter things you may already have at home. You'll be surprised at your results!

~ Mitsy


Monday, February 16, 2015

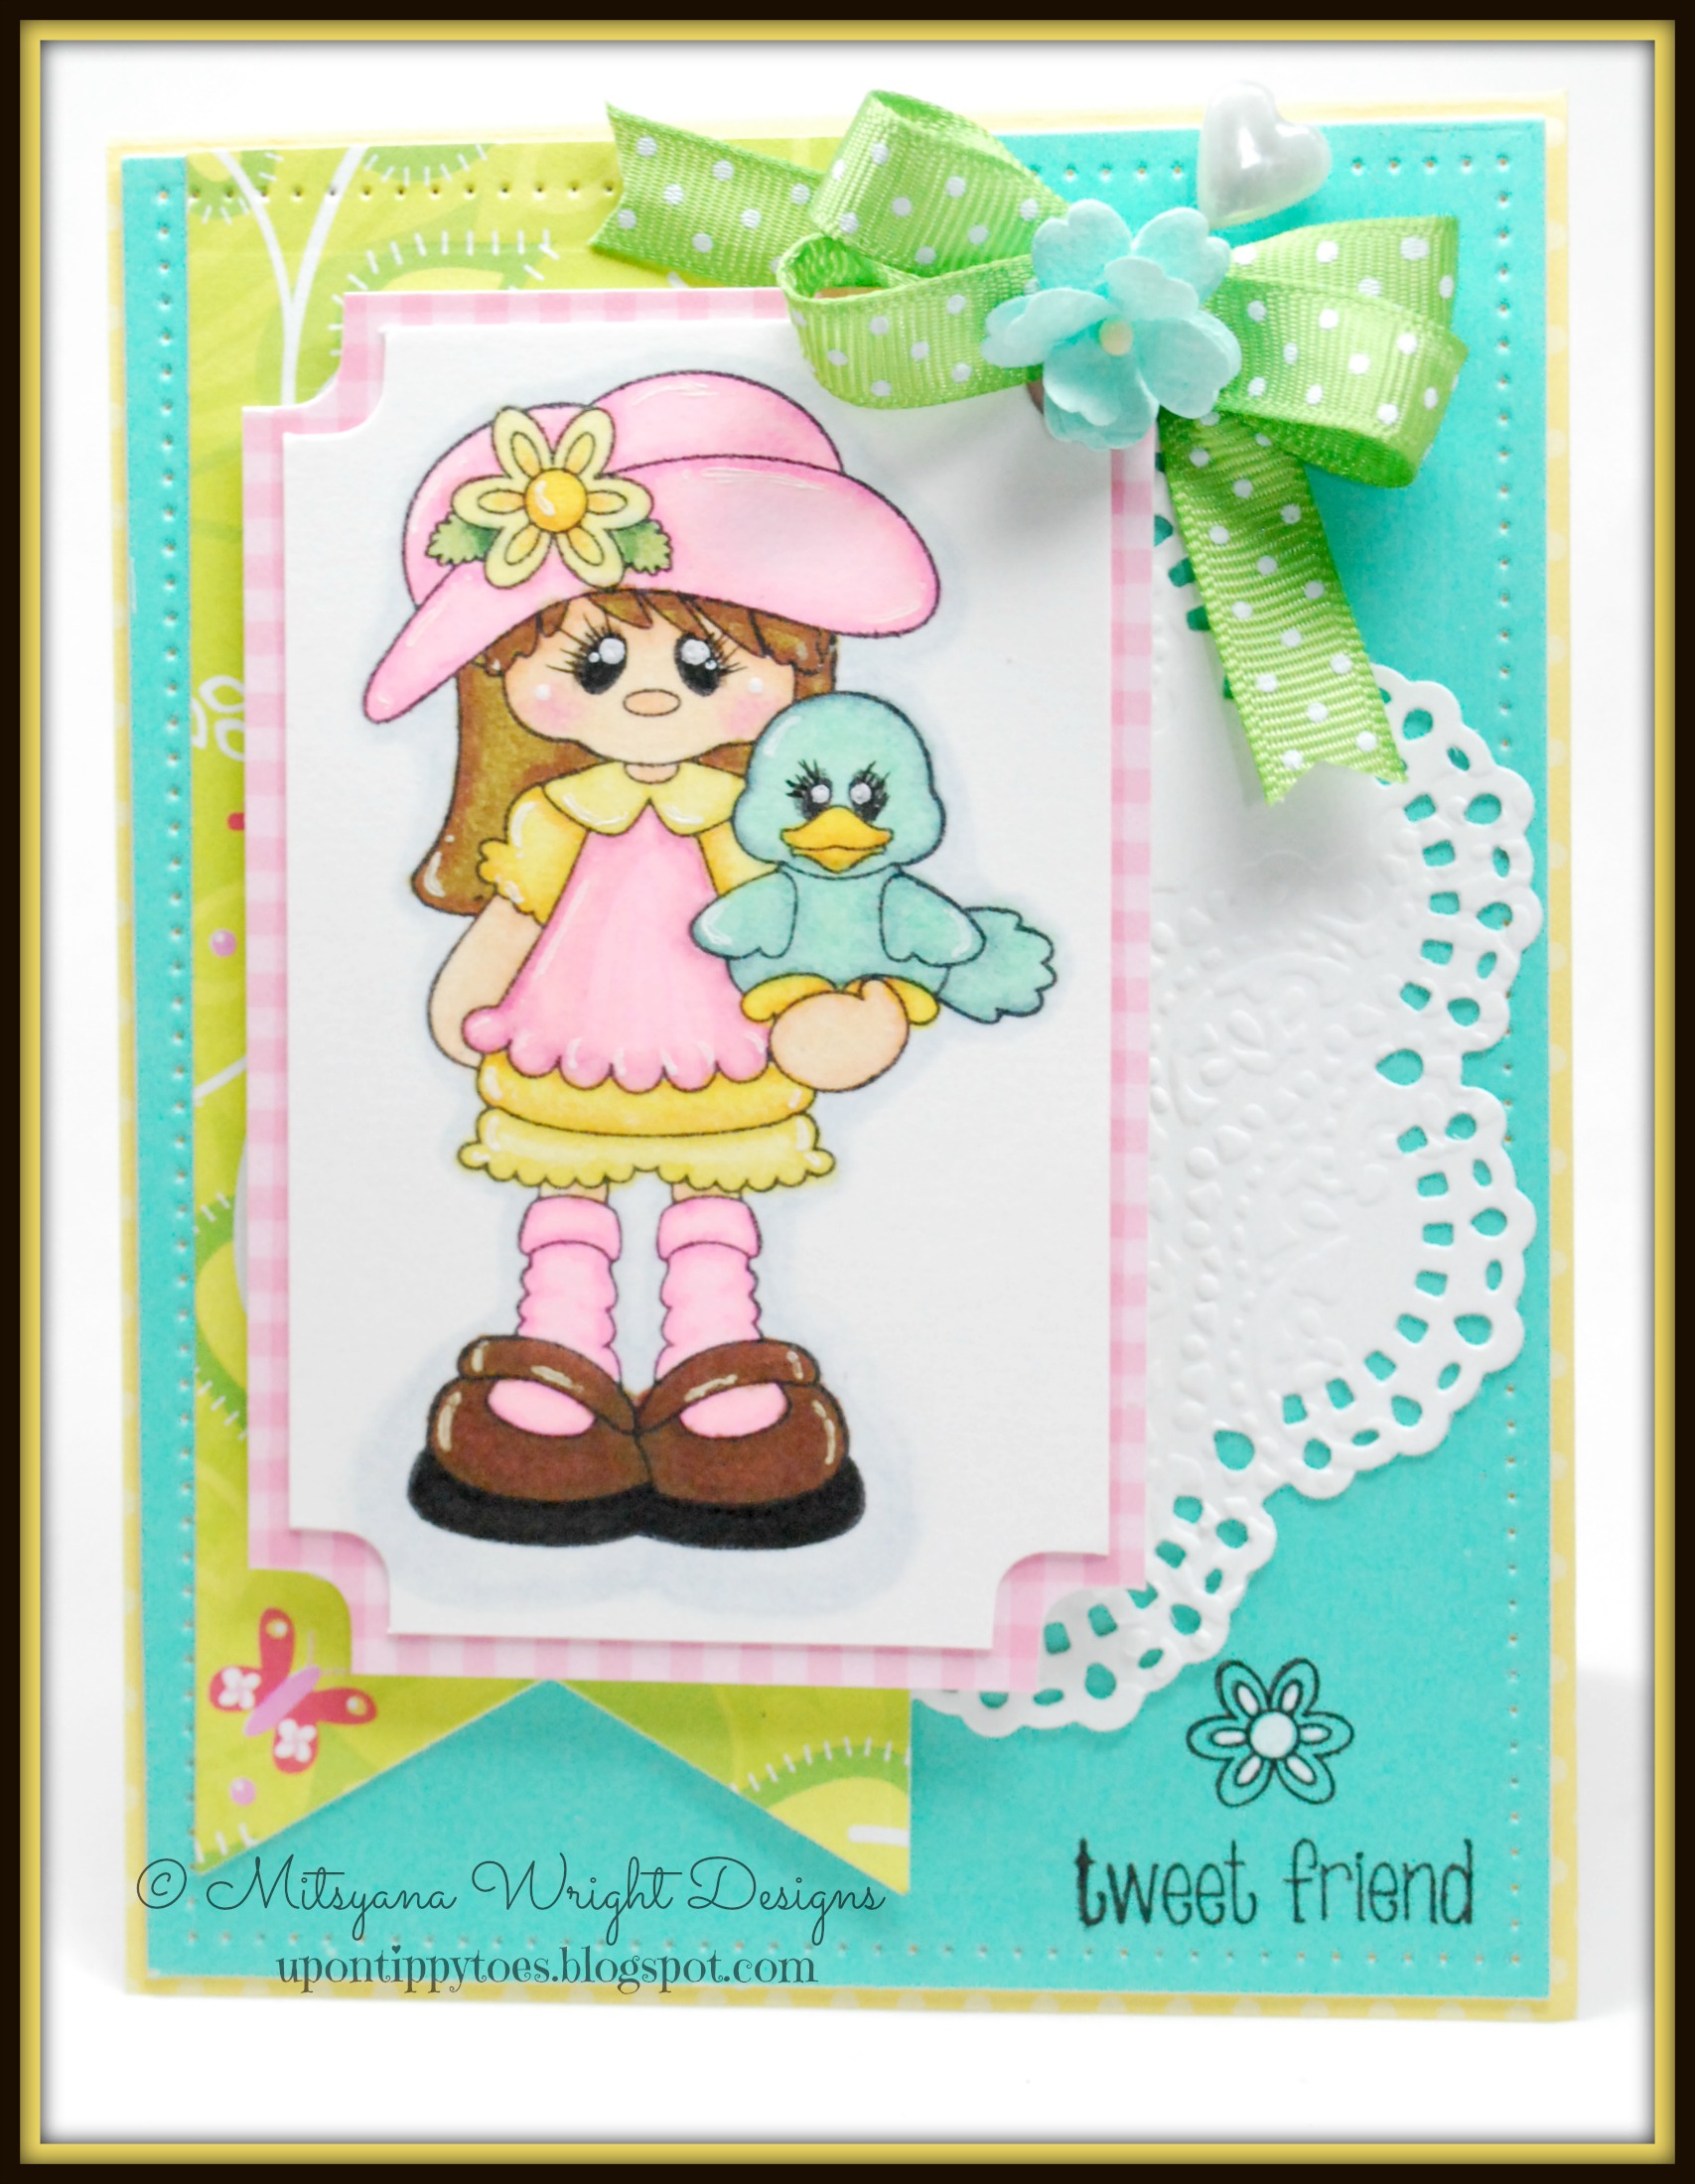
Tweet Friend

Hello Crafty Friends… I can’t wait for Spring to be here and the warm weather to come back! I really shouldn’t complain, at least I’m not buried under snow, right?! I mean, I live in Texas. And it was 80 degrees here on Saturday. Now, it isn’t all that it’s cracked up to be… our weather is rather erratic and has a hard time making up it’s mind.  We went from 80’s on Saturday to 30’s tonight… and the 50 degree jump is the norm. I still can’t get used to it. I came from an Island where the temperature between hottest and coldest never staggered more than 20 degrees from each other.
But being so far away from home all I can do now is imagine… dreaming of warmer days and not so cold nights.
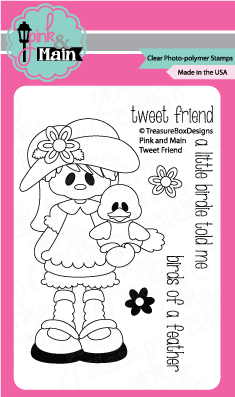
 Here I used Pink and Main’s Tweet Friend set to make this cute little card. This little set is great for Spring and Easter projects and can easily transition into  summer! This is a great everyday set and is awesome for all those “just because” moments!
tweetfriend
tbd_tweet_friendWEB
I Love this little “tweet-y”! She is an adorable must-have addition to your Pink and Main Collection!
Happy Stamping!!

Sunday, August 24, 2014

Sassy Silhouette Barbie Inspired Tags

Hello Crafty Friends! Today's project is a set of Barbie inspired gift tags. They are pretty big they are about 5.5" inches long. And will really draw attention to any gift.

For these tags I used Designs on Cloud 9's Sassy Girls Tags


Sorry, the "sassy" is not included in the file. I made it using my ecal software and a font that was already installed on my computer called Lucida Handwriting. If you have Microsoft Office then more than likely you have it installed on you computer too.

I cut all my paper pieces using my Sizzix eclips machine. But before assembling all the pieces I airbrushed them with my eBrush machine.

For the "Sassy" I ebrushed just the edges. The same as if I were to shade them with my ink daubers and ink pads. But this took only a matter of seconds instead a couple minutes. What an AWESOME time saver!!

I also airbrushed all the harlequin backgrounds for the all the tags with my eBrush machine. But this time I got some help of a stencil.

I created an SVG file for those of you who are interested. I will post the link below. All I ask is that you do not share them or claim them as your own. You may however direct other to my blog to download their own copy. Thanks for understanding.

Download the harlequin stencil for free here.

I also used my eBrush & stencil to make coordinating harlequin ribbon.


Tah-dah!! So pretty!

Assembled the base. Now to tie on the ribbon.

Super Sassy & Super Fabulous!

Here I have the rest of the set


These would be perfect on gifts for posh friends or for that avid Barbie lover in your life!

Thanks for stopping by & have a super fab day!!


Friday, August 22, 2014

Hello Kitty Themed Birthday Party

If you are planning on having a Hello Kitty themed party but are on a tight budget you are definitely in the right place. As a stay at home mom of 4 I have learned to stretch that dollar to it's max. I love Candy buffets and I love to do them for my children's birthdays but I can't afford to pay for one of those candy buffet services. Besides, I love to do stuff like this!  

 Almost all the decorations were made by hand which cut down on the bidget.

s
The Hello Kitty heads & sitting Hello Kitty were made by using retired Sizzix dies I had on my stash.

I had a picture of my daughter blown up at our local Walmart. I ordered it online and it was done b the same day. And just my luck walmart.com had a coupon on their website for $2 off their poster size prints for same-day service. Total cost for an 16"x20" portrait 10 bucks and some change... AWESOME!!

I didn't have a frame that size but I did have a bigger frame in my closet that had no glass because a certain someone's husband fell on it... thankfully he wasn't hurt... and that is why your parent's tell you no horse play in the house!

I wanted to detract from all the extra space that surrounded the picture getting it professionally matted wasn't an option and would have taken way too long! I had only a few days to make everything. So with the help of some digital files from Designs on Cloud 9 I decorated my frame in flourishes of the same color scheme of my party... I mean Kyan's party!


A lot of my glass containers I have used on previous parties so that was no added expense this go round. I had originally purchased quite a few pieces from Ross'... they have awesome deals and I got several pieces for as low as $3.99. The highest I paid for a glass container at Ross' was $11.99. Still, a steal seeing that most apothecary jars and and glass containers can run upwards from $30-$40. And who says you have to use "apothecary" jars?? Sometimes flowers vases work really well... just like the one above.

I downloaded some Hello Kitty images from off the internet and made little tags to decorate each container. Hot glued it in place with some coordinating ribbon voila instant Hello Kitty cuteness!!

Now, these are new! I LOVE, LOVE, LOVE, milk glasses!! Again, tight budget = no milk glass money. :(
But, my good friend Pinterest came through for me again. I saw on a fellow blogger that used Starbucks' frappuccino glasses. They look almost exactly like milk glasses but with a slightly different lip... no biggy (no one even noticed). Especially after you throw a paper straw in it! I know, über cute, right?!

Speaking of cute... would you believe this cute tray is the cardboard tray the the frappuccinos came in. I bought mine from Sam's Club for a little over $13 for a whole case. They all came in a little cardboard tray kind of like how soda companies used to sell cases of soda. I just prettified them by covering the box with scrapbook paper, ribbon, and regular white card stock. Add a button and ta-da ... awesome!!

OMG...  THESE ARE TOO STINKIN' CUTE!
I had bought some paper straws from Michael's that were on clearance a while back. They were marked down to like $0.25 a bag because they were leftover from Easter. Another "SCORE"!! So I scooped them up not knowing what I'd use them for but hey, they were pink... what can you do, right?! Good thing I did pick them up too because they matched perfectly!

Paper pom-poms. Another decorative staple in my house.Depending on where you get yours from they can also be really inexpensive.Buying pom-pom for $15 is not gonna happen. Well,  lucky me, I have learned to make pom-poms with proficiency. Added a Hello Kitty kick to them by hanging handmade HK paper medallions and now I have pom-poms that no one else have.

And, why only hang pom-poms from the ceiling? I once used pom-poms as centerpieces and they looked like huge floral blooms sitting on the table. But here, I made a pom-pom into this cute little Hello Kitty topiary.

Again... AWESOME... and sooooo kawaii!!

Here are my girls all ready for the party to start... and of course the birthday girl is the one sporting the HELLO KITTY!

Hope you enjoyed this Hello Kitty Party (on a budget) post!

Craft Happy Friends!! Always, craft happy!!
I know I do! And, I also know that I'm helping my children have amazing memories!

The cupcakes picture above were recycled from a previous post. You can check it out here.