
Hello Again Crafty Friends!! I'm sooooo excited!! Today's project is something I've been waning to make for quite some time now. And I am happy to say not only did I finally make it, I made an awesome tutorial to go along with it!! Yay!!

First things first!!
Ingredients & Supplies

You will need :
A large mixing bowl
4 cups of brown sugar
1/2 cup of olive oil
1/3 cup pure honey (not honey sauce)
2 used k-cups (dried)
1/2 teaspoon vanilla
 |
| In a large mixing bowl combine all the ingredients. |
 |
| The honey is an antimicrobial/ antibacterial and anti-inflammatory ...Which works wonders on acne. |

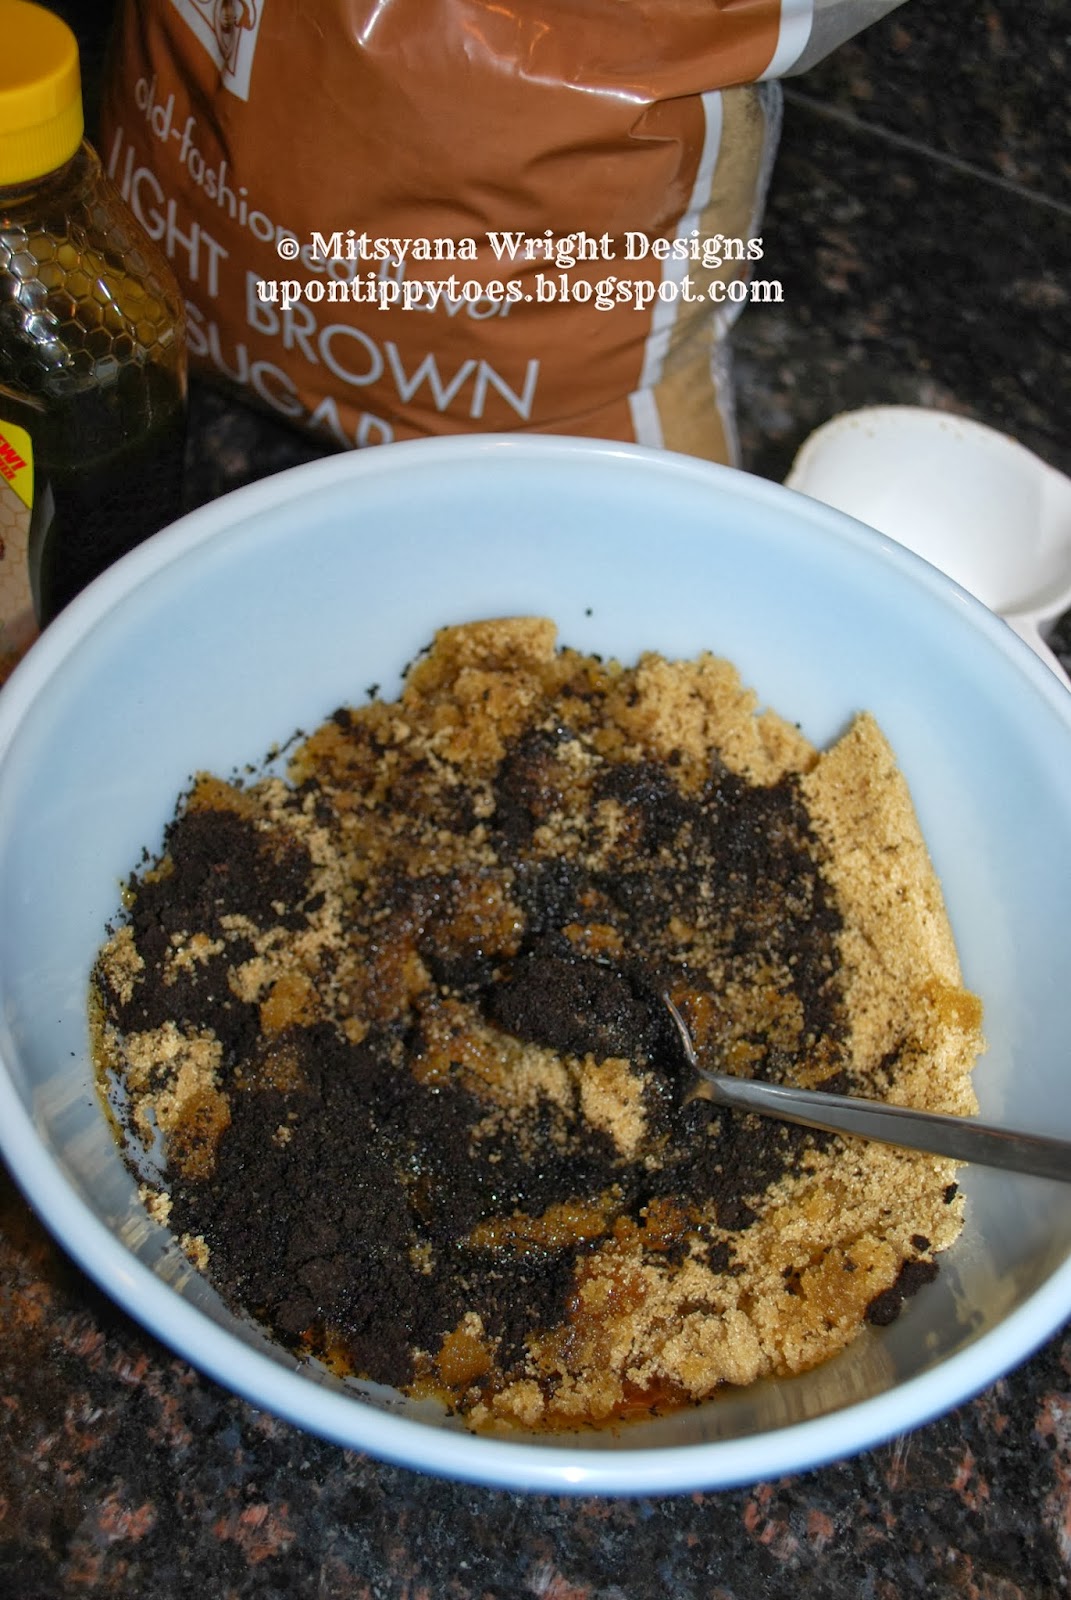

Adding coffee will wake up tired skin, takes puffiness out from around you eyes and even helps ward off cellulite. Mix and stir until fully blended.... oops, almost forgot the vanilla! Mmmmmm, yummy vanilla!! It's purely for fragrance.

You should have a mixture that resembles this. The oil should be fully incorporated and not pool at the bottom of the bowl or on top the sugar mixture.
 This batch will make four (4) half-pint sized jars.
Next... Time to prettify your jar!

First, you'll need to make your label.
For this Label I cut assorted colored cardstock with my Sizzix Eclips Machine & Ecal software and made labels using Design on Cloud 9's cutting files.
Cutting files used:
Bottles (for label)
Floral Flourishes (for floral stem/leaf)
I also added tiny a tiny Prima flower and flatback pearl.

Then hot glue label to jar.
If you don not have a die cut machine you can also find self adhesive labels especially made for canning jars. They are usually found in the section as the glass jars. If you cannot find them in your store you can also purchase them online here.
And, now the cover...

Supplies needed:
burlap
ribbon
scissors
hot glue gun & sticks

Cut your burlap at lease 4 inches bigger than your lid... leaving a 2 inch border completely around the lid when centered... you'll see why.

Apply hot glue to the top of the rim.

Turn over and apply hot glue directly onto the center of the burlap circle.

Apply hot glue along side of rim.

Quickly pull burlap taunt before the hot glue sets... be very careful not to burn yourself... the glue is extremely hot!

Burlap frays very easily... you'll need to trim off the frayed edges. This is where that extra 2 inch border around the rim is helpful... you'll still need enough burlap to overlap the cover.

Apply hot glue atop your burlap and attach ribbon.

Make sure to leave about 1-2 inch gap unglued.

You need that gap to tie your bow.
And PRESTO!!
Another FABULOUS & HOMEMADE gift!!

Thank you Mitsyana for sharing the recipe. I hope mine turn out half as fabulous as yours!! ♥
ReplyDeleteYou are very welcome Yolie! I hope you share pictures of your finished project because I know it's going to be AWESOME!!
DeleteI'm a testimonial virgin, at least until today. I just have to share my recent experience with the brown sugar scrub. I decided to use the brown sugar scrub after I had been bitten by fire ants several times,hoping it would help with healing and prevent ugly scarring. Well, it's been a week and a half and I can barely tell where I've been bitten. I love this stuff!! Thanks Mitsy! !!!
ReplyDelete