Hello Crafty Friends!!
I had such great feedback from my Berry Train case and card set that I thought that the paper would make for a gorgeous journal too! Since I had one last sheet of my precious strawberry paper left, I went for it! And I am sure glad I did... It turned out beautifully!!

Supplies Used
Eileen Hull HeARTfelt Journal Die (Sizzix)
Hazelwood Scrapbook Paper Collection- (1Canoe2)
Chipboard
Strawberry Die Set (Stamps of Life)
Stitched Circle Dies (Pink and Main)
Tim Holtz Distress Stain- Bundles Sage (Ranger)
Tim Holtz Distress Paint-Candied Apple (Ranger)
Tim Holtz Distress Ink- Walnut Stain (Ranger)
White Gel Pen (Sakura)
Jumbo Metal Bookplate
Metal Embellishment (Momenta)
Metal Leaves - Mechanicals (Prima Marketing)
Flower Lace- Trim - Magnolia (Prima Marketing)
Paper Flowers- Flower Clippings- Love Clippings (Prima Marketing)
E6000
Self-adhesive Rhinestones
Twine
I love that these journals are so incredibly easy to make! Once you got the basic concept of how the come together assembly is a breeze and you can decorate as you please. GO WILD!! Your only limited by your imagination!!

When making my journals I always cut my material down to size so they can easily be die cut. For the Eileen Hull Journal dies I start by cutting to pieces of chipboard and 4 pieces of patterned paper down to 6" x 10".
I run my patterned paper (patterned paper side UP) into my Xyron Creative Station Lite to apply adhesive to the back. I do this for the back and front of my chipboard so that one side is covered in those pretty strawberries and the other with the black with white polka dots. Do this step for both chipboard pieces.
Once, the pieces are covered, I place one covered chipboard onto just the book panel of the die. Whichever side you want to be on the outside of the book should be face down (towards the foam and blades) on the die. In the last picture above, the polka dots shown, will be on the inside of my book when assembled. Again, do this for both covered panels.

Because we attached the paper to the chipboard first, all the crease lines are already pre-scored.
Apply strong liquid adhesive to last segment of the spine on one of your book panels. Over lap the last segment of the other panel and line up all three pre-cut holes.
Make sure your covers are straight so they close nicely. Then put aside and leave to dry. I like to clip my books at each end to ensure the dry properly aligned.

I decided to die-cut some strawberries, stems, and leaves from chipboard to go with the whole strawberry theme of my paper. These will go on my cover and on my inserts inside.
I cut the strawberries out using Stephanie Barnard's Strawberry Dies. I painted the strawberries with Tim Holtz's Candy Apple Distress Paint.
I colored the strawberry leaves and stems using Bundled Sage Distress Stain.
I inked the edges of all my pieces using Walnut Stain Distress Ink.
Then glued the stems to the strawberries and drew seeds and highlights with a white gel pen.

For an focal point I die cut a circle from more patterned paper and chipboard. Then ran them through a 3" Sticker Maker and adhered them together. Then ran the piece back through the sticker maker and attached to the front cover of my book.
I used a strong liquid adhesive to attach a jumbo metal bookplate over the circle.
Then attached my strawberry leaves surrounding the bookplate and my lone strawberry over top. The rest of the strawberries were left to add to the front of each insert.
Finally, I attached beautiful Prima lace and flowers over top. Tucking in metal leaves and adding rhinestones onto the tiny flowers. Then added my metal "laughter" embellishment to the center of the bookplate.
I bound my inserts using natural hemp twine. I usually use elastic bands but I think the twine adds to the country chic charm of this book.
And here is the final project...


This projects is so bright and cheery! Who wouldn't be happy receiving this journal as a gift?
I hope you enjoyed this tutorial and it put a smile on your face!!
Till next time...
HAPPY CRAFTING!!
~Mitsy
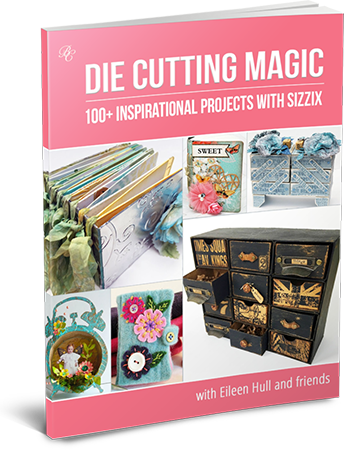
For other inspirational ideas using Eileen Hull dies, please check out Eileen's ebook...

**Disclaimer**
This site contains affiliate links. Making a purchase through these links helps support this blog at no extra cost to you.