
Hey Crafty Friends!
Hope everyone is keeping cool this summer! I sure am trying to that's for sure! And one of the ways I cool down is eating a frozen treats... ice cream, popsicles, shaved ice, smoothies... you name it! If it's cold and sweet more than likely I'm indulging in it! Which is great news for my kiddies since they do too!!
And Speaking of summer treats... head over to the KBD Challenges Facebook group to join in on the current challenge... Summer Treats!! It's been a while since I've joined in not because I didn't want to but because I've been soooo busy. This time I've decided to bypass my list of excuses and made the time to indulge in a little paper treats for myself... the pleasure of ice cream with out the guilt. LOL

Supplies Used
Sizzix eclips w/ ecal software
Birthday Wishes stamp set (Pink and Main)
eBrush (Craftwell)
Teresa Collins- Girl's Best Friend- Bow die (Craftwell)
Teresa Collins Cut'n'boss (Craftwell)
Xyron Creative Station
Ornate Square Dies (Darice)
Spectrum Noir (FS8, PP5, LY2, DR4)
Sharpie Markers ( Light Green, Light Blue)
Opaque White Marker- Snow (Recollections)
Patterned paper
Cardstock
2 way glue pen (EK Success)
Fun Foam
Diamond Glaze (Judikins)
Button(optional)
Most of my family (and a few close friends) know that I am a puzzle nut!! I love them all... wooden puzzles, metal puzzles, 3D puzzles... I am fascinated by all of them... I used to have quite the collection too (until I had kids)... but that's another story. And I see paper piecing the same way I see puzzle solving. In order to see the entire picture you have to first put it together.
Enter into the world of SVG's and cutting files! Creating with paper pieces is one of my favorite crafting pastimes! I can just get lost making little creations come to life.
Today I decided to use this uber cute Ice Cream Cone from KBD's Ice Cream Cuties file.
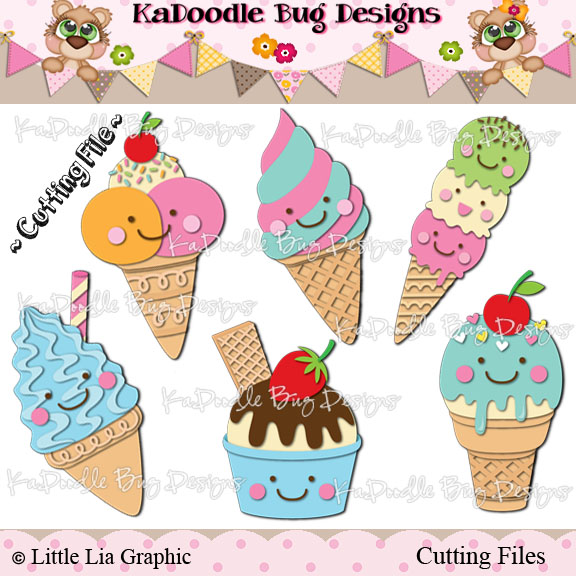
All of these are SUUUUPER CUTE but I ultimately decided on the traditional cone. I will be indulging in the rest later, definitely.
I started out by using my electric die cutting machine. In order to use SVG and other cutting file formats you need to use first download and unzip your file onto your computer. Then you need software that is compatible with your cutting machine. Today I will be using my Sizzix eclips and ecal software.
I usually use the jpeg image or store image as a reference to what colors to cut out or use in my paper piecings. After cutting out all my pieces I add shading. I just LOVE shading my paper pieces with my eBrush machine. I not only airbrush the individual pieces faster than I could with ink pads or chalk, but I get a deeper and wider degree of shading than I could those methods. And I don't get the awkward inkpad outlines or of time consuming drying time either.

For airbrushing ice cream cone I used a combination of Spectrum Noir Markers and Sharpies. Yes, just regular Sharpies... the same kind you write your children's names on their school supplies with. Once done, I start piecing my pieces together like a puzzle. For the smaller pieces I will use a glue pen to adhere them together.

But when I want to really get those pieces together and ensure that they don't flake off I almost always reach for my Xyron Machines. And I LOVE Xyron's new Creative Station! I can easily transition from BIGGER to SMALLER jobs at the drop of a hat. And the best part is I can do it all with one machine. Here I run all my ice cream pieces through the Creative Station with the smaller 5" Permanent Adhesive Refills.

The pieces come together easily... just peel and stick!

And for bigger jobs... switch out for the 9" refill!!
I run my bigger panels and some fun foam through together... Not wasting any of that adhesive real estate. Had to run my foam through on both sides so it'll be come to huge strips of foam adhesive.

And if I need small amount again no problem ... I switch it back. Because let's face it, not everyone crafts with a plan. Sometimes (Ok, more like, most times) I craft on a whim with no clear set plan.

I also used my Xyron on this panel as well! I cut the ornate shape using the largest of my Darice Ornate Squares dies and then adhered it to plain white cardstock. Since it was the largest of the dies I had to make my own next layer by fussing cutting a white border around it.

I layered my other pre Xyron'ed panels onto this one. Then used my "Sweet Birthday Wishes" from Pink and Main's Birthday Wishes set to stamp my sentiment.

Peeled and stujck my homemade foam adhesive to the back of my card panel and attached it to my card front.

I hand drew stitch lines with a Faber-Castell PITT Artist pen in M.

I used coordinating patterned paper to cut the bow from the Teresa Collins' bow die from the Girls Best Friend Collection. Glued it all together with a bit of Diamond Glaze, topped it with a button , and attached it to my card.
Here is my finished card!!

I hope you enjoyed today's super cute project!!
See you all next time
and
Happy Crafting!!
~ Mitsy
Mitzi, you do beautiful work in coordinating all those elements and color combinations. Thanks so much for all the info on what and how.
ReplyDeleteThank you Susan! I love sharing how-to's! I love teaching!! And I am more than happy to share!!
DeleteThis is way cute, my friend! <3
ReplyDeleteThank you Twila!! You are so sweet!
DeleteLove this! I want/need those ice cream cuties!!
ReplyDelete