
Hello, Crafty Friends!
I'm back again with the Eileen Hull Inspiration Team to share with you another project made with another New Release from Eileen Hull's Heartfelt collection with Sizzix!

If you love Travel Journals, Midoris, Art Journals, or Mini Albums... this is the die for you!! Now you can make you own customized journals whenever you want!
Supplies Used
Eileen Hull's Journal Die (Sizzix)
Mat Board (Sizzix)
Mariposa Stack (DCWV)
Creative Station Lite (Xyron)
Metal Flowers (Prima, Momenta)
Tim Holtz- Word Bands (Advantus Corp)
Brads (Recollections)
Rhinestone Ribbon Slide
Elastic
Faux Dori Inserts
E6000

For this journal cut 2 pieces from Sizzix's Mat Board and patterned paper. I like to cut both pieces at the same time. When you cut both paper and mat board together it cuts the patterned paper along the crease lines and saves time from having to do that extra step. The paper I used to make this album is from DCWV's Mariposa Stack.
I like to lay the pieces in the order that they were laid out on the die. Then run it through my Xyron Creative Station machine. This makes sure that they are attached to my album in the correct order.
I cover both the sides of the album cover. Then attach at the spine using a strong liquid adhesive. I like to use clips to hold in place while the glue sets to prevent shifting and assure proper alignment.
This journal die has holes pre-made to attach your inserts. I inserted thin elastic strands through the holes and secured with a simple knot.

For the outside of my journal, I used a thicker elastic band (the type used for headbands) and simply wrapped it around the outside of my album. I did not use the premade hole but just laid it over the cover and beneath the strands for the inserts. I fastened a rhinestone slide onto my elastic before tying off my knot and trimming the ends into dovetails making it look like a bow.
Then used some E6000 to attach gorgeous metal flower embellishments to the front cover.
I also attached a Tim Holtz word band to the upper corner.

On the inside of the journal, if you inserted an elastic into each hole, you will have enough room to add up to 3 Midori/ faux dori inserts.
These inserts you can buy pre-made separately or you can make yourself. Because I wanted my inserts to coordinate with my cover I opted to make my inserts myself and just used more gorgeous paper from my Mariposa Stack. I absolutely love all the gold foil and glitter from this stack!!
And here is my finished album...

At the very last minute, I decided to add these metal photo corners to onto my album cover. They really finished off the edges and gave it a more finished look.
I hope you were inspired by this project and try making your own travel journals!! Eileen's new Journal die will be available for purchase from Sizzix in April.
Don't forget to check out the rest of her Heartfelt collection of dies.
Heartfelt

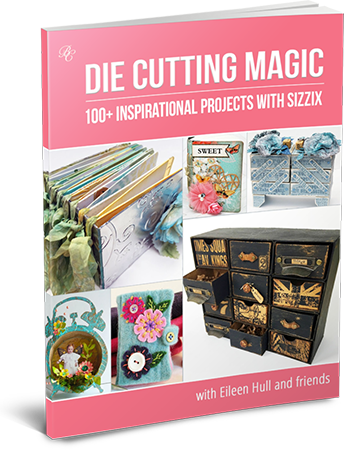
And for more inspiration using Eileen Hull Dies, check out her new book...
Hope you all enjoyed this tutorial!
And as always...
Happy Crafting!
~Mitsy
**DISCLAIMER**
This site contains affiliate links. Making a purchase through these links help support this blog at no extra cost to you.
GORGEOUS as always my sweet friend! LOVE it!
ReplyDeleteTheresa
Theresa’s Crafty Creations
OH WOW... I cannot wait to get my hands on this die! Your journal is gorgeous and all the yummy paper! Look at you put those huge pieces of paper through the Xyron. I am hoarding the 5" cartridge since I use it the most! But, you have made me feel brave!
ReplyDeleteGorgeous journal Mitsy. I really like the flowers!
ReplyDeletei love the elegance of this journal!!! i am thinking i may need one of those machines!!
ReplyDeleteBeautiful Journal Mitsyana- so lucky to have the real thing right here in my studio! Great post- thanks!
ReplyDelete