Showing posts with label enamel dots. Show all posts

Wednesday, December 9, 2015

Christmas Joy

Hello, Crafty Friends!! Christmas is almost here!! Can you believe that just in a few short weeks it will be Christmas day?! How Crazy is that?!

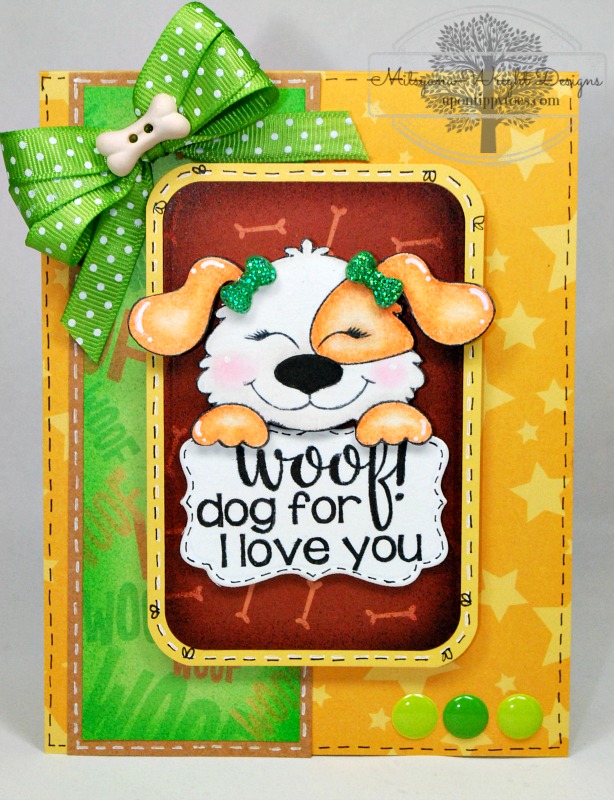
Today, I have a very merry Christmas card. It is bright, cheery, & very whimsical!

Supplies Used
Spectrum Noir Markers
Pierced Rectangle Dies (Spellbinders)
Pierced Traditional Tag Stax Dies (My Favorite Things)
Stitched Greetings Dies (Pink and Main)
 Starry Night Embossing Folder (Sizzix)
3" Sticker Maker (Xyron)
Mega Runner (Xyron)
Red Linen Paper
White Cardstock (Bazzill Basics)
Momento Tuxedo Black Ink Pad (Tsukineko)
Brilliance Pearlescent Orchid Ink Pad (Tsukineko)
Assorted Ribbon
White Pen (Sakura)
Glitter Pen (Sakura)
Stapler


First, I stamped my image using Momento Tuxedo Black ink. Then, I colored in my image in using Spectrum Noir Markers.

I used the following colors...

Eyes: GT2 &GT3
Hair: GB7, GB9, EB4, & TN9
Skin: FS5, FS7, & FS9
Har & Clothes: CR9, DR4, DR6, & DR7
Green Box & Polka Dots: CG3 & CG4
Pink Ribbon: CR6 & PP4
Boots: IG4 & IG6

I also highlighted different areas using a white gel pen.

Then I trimmed my image using my Spellbinders Pierced Rectangles dies.

I cut a tag shaped backer using my MFT tag die.


I used my Xyron 3" Sticker Maker to adhere my image onto my tag. Then, Stapled an assortment of coordinating ribbon onto the top of the tag.

 I used my double fishtail die from my Stitched Greetings die set to cut white cardstock.

 I used my Xyron Mega Runner to adhere and mat onto green cardstock and cut out a border around it by hand. Then I repeated those steps to make another mat of red cardstock.

I used Tuxedo Black ink to stamp the word "Joy to the center. Then I used Brilliance Pearlescent Orchid Ink to stamp a snowflake on both sides of my word.  

I used Diamond Glaze to glue my little banner onto my ribbon.

I embossed a 3.75"x5" piece of bright green cardstock with Sizzix's Starry Night embossing folder. 

I mounted my tag onto it and attached my ribboned tag to the bottom of my tag. I wrapped the ends of the ribbon around the back and fasten with more adhesive.

 I used my Mega Runner to attach this panel onto a 4"x5.25" of white cardstock. 

Then, attached everything onto an A2 (4.25"x 5.5") sized card base.

For the finishing touch, I added glittered enamel dots to my background.

And, here is my finished card...
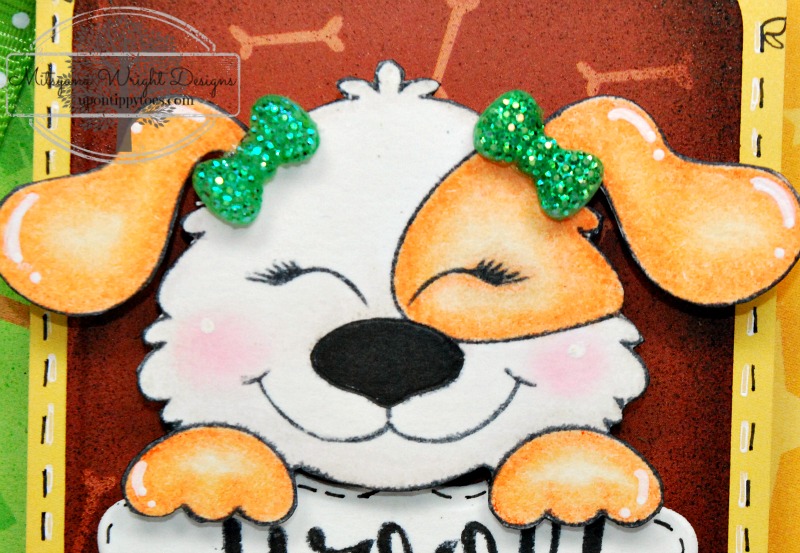


Closer View


Hope you all enjoyed today's project and the holiday season!!

Until next time...
HAPPY CRAFTING!!
~Mitsy


Wednesday, November 25, 2015

life is good ballerina


Hey, Crafty Friends!! We're having gloomy weather down here in the south. So, I am taking a short break from holiday crafting to bring you this bright and cheerful card. Hopefully, it sheds a little bit of sunshine because who couldn't use a little sunshine, right?!


For this card, I used Oak Tree Stamps' Moody Ballerina stamp set. This is such a darling set. I know it pretty much sums up all my moods! LOL

Supplies Used
Moody Ballerina (Oak Tree Stamps)
Big Shot (Sizzix)
Bigz Dies Nested Hanging Stars (Sizzix)
Classic Ovals LG (Spellbinders)
Floral Ovals (Spellbinders)
Teresa Collins Pocket Die, Life is Good- Lover's Lane (Craftwell)
Mega Runner (Xyron)
eBrush (Craftwell)
Pink, Orange, Brown Sharpies
Momento Tuxedo Black Ink (Tsukineko)
Brilliance Twilight Ink Pad (Tsukineko)
White Cardstock (Bazzill Basics)
Patterned Paper- Assorted
Colored Pencils (Spectrum Noir)
Glittered Enamel Dots (Virginia Turtle)
Pink RicRac Ribbon
Pink & White Twine (Recollections)
Blending Tortillions
Gamsol or low odor thinner
2-Way Glue Pen (Ek Success)
Diamond Glaze (Judikins)
Acrylic Blocks (Fiskars)

I started by stamp my little giggling ballerina with Tuxedo Black ink. I used my Spectrum Noir colored pencils to outline my ballerina. Then using my tortillion blending stumps and gamsol I blended the colors out.

I used the little star stamps that came in the Moody Ballerina set and the pink section of my Brilliance ink pad to stamp stars around my little girl.  

Then I used my Classic Ovals to die cut her out. I also die-cut a pink mat for my oval using my floral ovals set.

Then I die cut the "life is good" phrase from white cardstock. I ebrushed half my phrase using a soft baby pink sharpie.

To make sure these don't go anywhere, I ran all my pieces through my Xyron Creative Station with a 5" permanent refill cartridge. This ensures that my pieces don't go anywhere.


I created an A2 (4-1/4"x 5-1/2") sized card base from green cardstock.
 The white mat measures at 4-1/8"x 5-3/8".
Sprinkles paper measures at 4" x 5-1/4".
The star strip on the bottom measures 1-1/2"x 5-1/4".
The ricrac ribbon measure 5-1/4" long.

I ebrushed my sprinkles paper with a brown Sharpie around the edges. And ebrushed the stars paper with an orange Sharpie.

Then, I assembled my card panels using my Xyron Mega runner and attached the ricrac using Diamond Glaze.

I cut an assortment of stars from pink and blue patterned paper using my Sizzix Nested Hanging Stars die.

And used a glue pen to attach them to my card. Now I can attach my sticker I made from my ovals and phrase onto my card, layering them over my stars, then trimmed off the tips that overhung the edges of the card.

I topped my ballerina with a double loop twine bow and attached it with Diamond Glaze. Then added pink glittered enamel dot throughout my card.

And here is my finished card...


A closer view of my little ballerina


I hope you enjoyed today's card and that it brought some sunshine to your day... or, at the very least, a smile to your face.

Until next time...
HAVE A CRAFTY DAY!!

Wednesday, November 11, 2015

Bear Hugs (Gummy Bear Edition)


Hi, Crafty Friends! 
I have another uber card for you today!! I hope you like gummy bears... because today I'm gonna show you how to make these adorably delicious looking teddies!

 Supplies Used 
Ink Jet Transperancy Film
Momento Ink Pad- Tuxedo Black (Tsukineko)
Ebrush (Craftwell) w/ sharpie(SP) adapter
Sharpie Markers- Orange, Red, Green
Die-namics Blueprints #14 (My Favorite Things)
Sizzix Big Shot
Patterned Paper (Happy Day- My Mind's Eye)
Craft Cardstock (Colorbok)
Glitter enamel dots (Virginia Turtle)
PITT Artist Pen (Faber-Castell)
Diamond Glaze(Judikins
Acrylic Blocks
CutterBee Scissors (EK Success)
Foam Adhesive

 I started by stamping my image onto my ink jet transparency using Momento Tuxedo Black ink. There are two sides to the transparency... one side is smooth and the other a little rough. Make sure to stamp on the rough side... this is the side that holds/grips to the ink. This makes the images stamp clearer with little to no smudging.

Then, I airbrushed all my bears using my ebrush machine and sharpie markers (also done on the rough side of the transparency). 


 Using scissors, I cut out each of the bears. Then applied a generous amount of  Diamond Glaze over my bears (also done on the rough side of the transparency). This sealed in the color as well as added dimension. 

Then I set them aside to dry. I put them onto my acrylic blocks for easy transportation. 

This part is very important...
SET ASIDE TO DRY & DO NOT TOUCH!!
Don't even bother to check it if it is dry or not!! The glaze goes on opaque and clears as it dries so just to be on the safe side, allow to dry overnight. The waiting is the longest part and I'm sad to say I had a couple of orange casualties!!

 **NOTE TO SELF... Just because it looks dry doesn't mean it is!!**

While I was waiting for my bears to dry... I started on the body of my card. 
I built my A2 card base from cardstock and layered a 4"x5.25" mat and a 2"x5.25" strip. Adhered everything together using my trusty Xyron Mega Runner.

 My "Bear Hugs" sentiment fit perfectly onto this ticket die from my Blueprints #14 dies set. I stamped it in more Momento Tuxedo Black ink and added faux stitching details with my PITT Artist Pen in XS.

 For even more dimension, I added black foam adhesive squares (cut down to size). I strategically placed them behind all the bears' eyes and noses to hide them nd used black one because they blend into the black I used to stamp with.

Then, I applied my bears to my card front staggering them as if the were falling.

And here is my finished card...


I love how the light shines through each bear and reflects their colors onto the paper behind them!!

Well, I hope you enjoyed my project for today and try this technique for yourself!!
And if you do make a project with this technique I would love for you to share it on my Facebook Fan Page HERE!!

Until next time...

HAPPY CRAFTING

Tuesday, November 10, 2015

Woof! Dog for I love you

Hi, Crafty Friends... I have an adorable card for you today! I am so loving these new interchangeable faces from Pink & Main's "Sweet Faces" Collection!! I love being able to customize these little cuties. It's amazing how not only changing the faces but also positioning the faces (either higher, lower, or more to one side) can change the look of each character. I am just over the moon excited about these sets ( I hope it's not too obvious, LOL)!!

Here is a card I made using the puppy head from the Animal Faces set with the squinty animal face from the Sweet Faces Set 2.


I stamped my image using Momento Tuxedo Black ink. First, I stamped the head. Then I stamped the face. For this particular face, I wanted the nose to be touching the patch around  the eye.

 Next, I used my Spectrum Noir color pencil to outline the paws, ears, and patch. I used odorless thinner to blend the color pencil out, Then I added a tiny bit of pink chalk onto the cheeks for blush and used a white opaque marker for highlights. After my puppy was colored, I used a scissors to cut out my image.

I stamped out my sentiment and used my Darice Nested Rectangles dies to cut it out. I used my rounded rectangle die from my Die-namics Blueprints 14 die  set.


I cut a strip of craft cardstock to 2" x 5-1/2"... and a mat from patterned paper 1-3/4"x 5". Then I also cut another piece of patterned paper 2-5/8"x 4" to mat the rounded rectangle piece. Then I airbrushed my patterned paper pieces with my ebrush machine.

I used my Xyron Mega Runner to attach all the panels together onto my A2 (4-1/4"x 5-1/2") card base.

For added dimension, I added foam adhesive dots behind these pieces before attaching them to my card front.

Lastly, I made a triple looped bow and attached a bone shaped button to the center. Then I used 3D Laquer to arrach the bow to my card.

And here is my finished card...

woof

I love to make my characters girls for some reason and it super easy to do! I just attached a bow onto each puppy dog ear and presto... a cute little girl puppy!!

woof-a

And there you have it!!

I really hope you enjoyed today's card!!

Until next time...
Happy Crafting!!


Monday, October 26, 2015

Grateful heart treats

Hello, Crafty Friends!!
I'm back again with another treat/ favor idea. This year, why not treat Thanksgiving dinner guests with a special treat. Or if you have a fall birthday baby in your family (like I do) these would make awesome party favors or thank you gifts.


Supplies Used
 Cut'n'boss (Craftwell)
Teresa Collins Pocket Dies (Thankful, Lover's Lane)
Spellbinders Grand Nestabilities (Labels One)
eBrush (Craftwell)
Thankful Stamp Set (Pink and Main)
Xyron Mega Runner
Stapler
VersaFine Onyx Black Ink Pad
Martha Stewart Scoring Board 
Foam Tape
Cardstock -Brown, Craft
Patterned Paper

These come together super easy and you can change your colors to suit your own theme or color scheme.
For each treat I cut out a doily (from the TC Lover's Lane set), a label (smallest from the Labels One set),  a ticket label (from the TC Thankful set), and 3 springs (Also from the TC Thankful set).

 Using a scoring board I scored a line down the middle of my label and doily, creased it, then folded them in half. I used my Xyron Mega Runner to add adhesive to the back of my doily and mounted it onto the label. This created the base of my treat toppers.

Then I used my ebrush and dark blue Sharpie to shade my sprigs to coordinate with the patterned paper I used to make my doily. Then I glued them to the front of my topper.

I filled a food safe cellophane bag with carmels, place the "topper" over the open end of the bag and staple close.

I used the CENTERS of the ticket frame (from the TC Thankful set) and stamped my sentiment onto it with black ink.

I used foam tape to mount my label, covering the staple.

And here is my finished favor. Specially wrapped treats for all those special guests.


These would also be great on a table setting. Instead of stamping you could have each treat labels with the name of your guests for amazing place cards!!


Hope you enjoyed today's "treat"!! LOL

Until next time...

Happy Crafting!!
~ Mitsy

To see more holiday inspiration please visit my personal blog at:
www.upontippytoes.com